
Papa Smurf Mods
Mods, skins, ATS, ETS2 and more


Icon visible in the workshop
Create a new image that is 256px wide by 64px high.
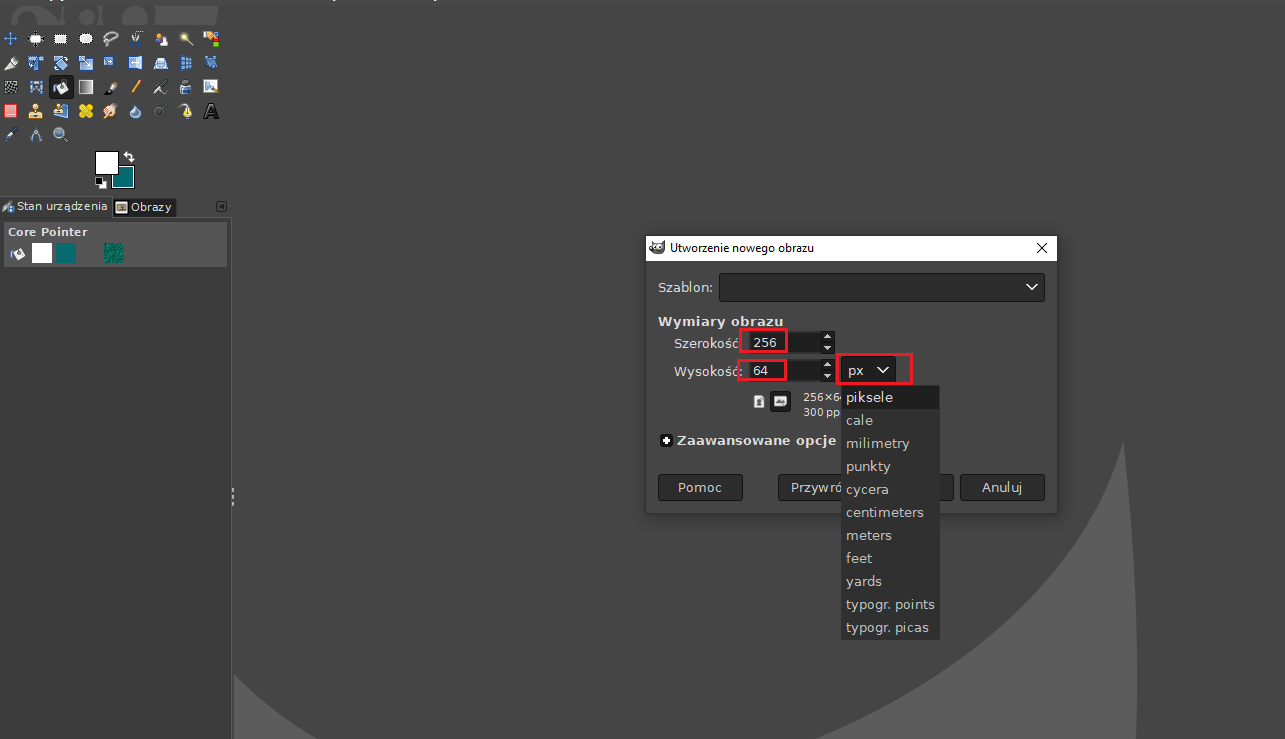
Add text or apply a different layer with the photo. It’s a very small thumbnail so don’t worry about the quality as whatever you do, the quality will be low. Then export it as a PNG image to wherever you want so that you can easily find it later.
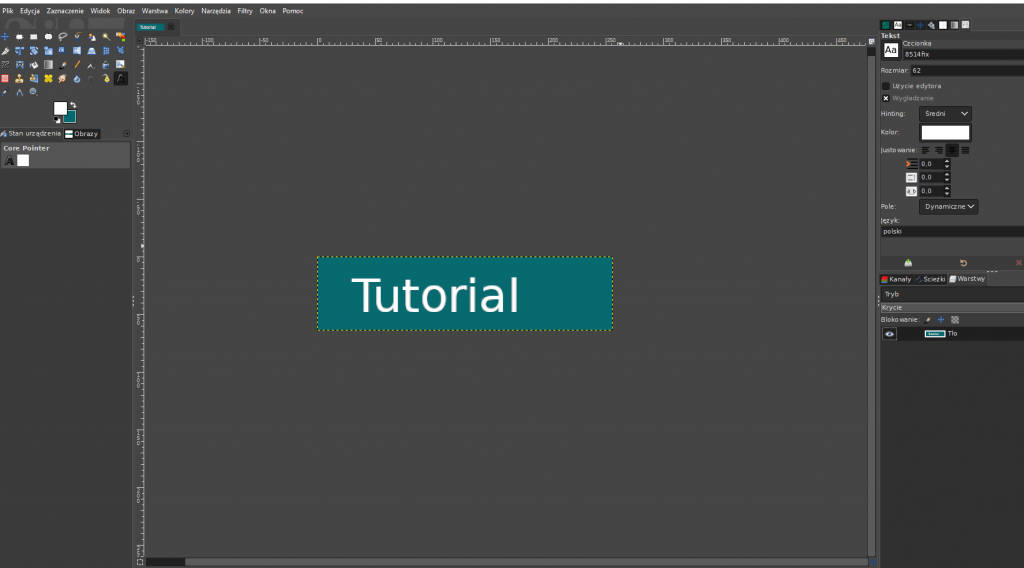
And that’s it. Icon done. It will be visible in the workshop when you buy the skin.
How to make a skin for trailer with mods studio 2? Full step-by-step guide/tutorial. Part 1
Before you start, it is worth reading this. Save the link in the tab because you will probably need it more than once. Remember that Mods Studio 2 is a free program. The creator did a great job completely for free and the program is in beta version. The creator of the program has to face many problems in order to maintain the project. Probably many people report problems and I am convinced that the creator is doing his best. Without this program, many people would not be able to make a skin. So let’s show our gratitude. If you have any problem with the program, you can go to the creator’s website and report the issue. But before this, please review the dealing with issue section here. If you are not convinced by what I wrote, make your own program. We’ll see how long it takes you. I think you shit sooner;-), but if I’m wrong then take the challenge and make a better program. For free of course.
Unfortunately you have to learn to use some graphics program. For example, GIMP, Photoshop etc. There are many tutorials on YT. I am not able to teach you that because it take time. Knowing the basics of using e.g. gimp, is good enough to do a skin without any problems.
Let’s start!
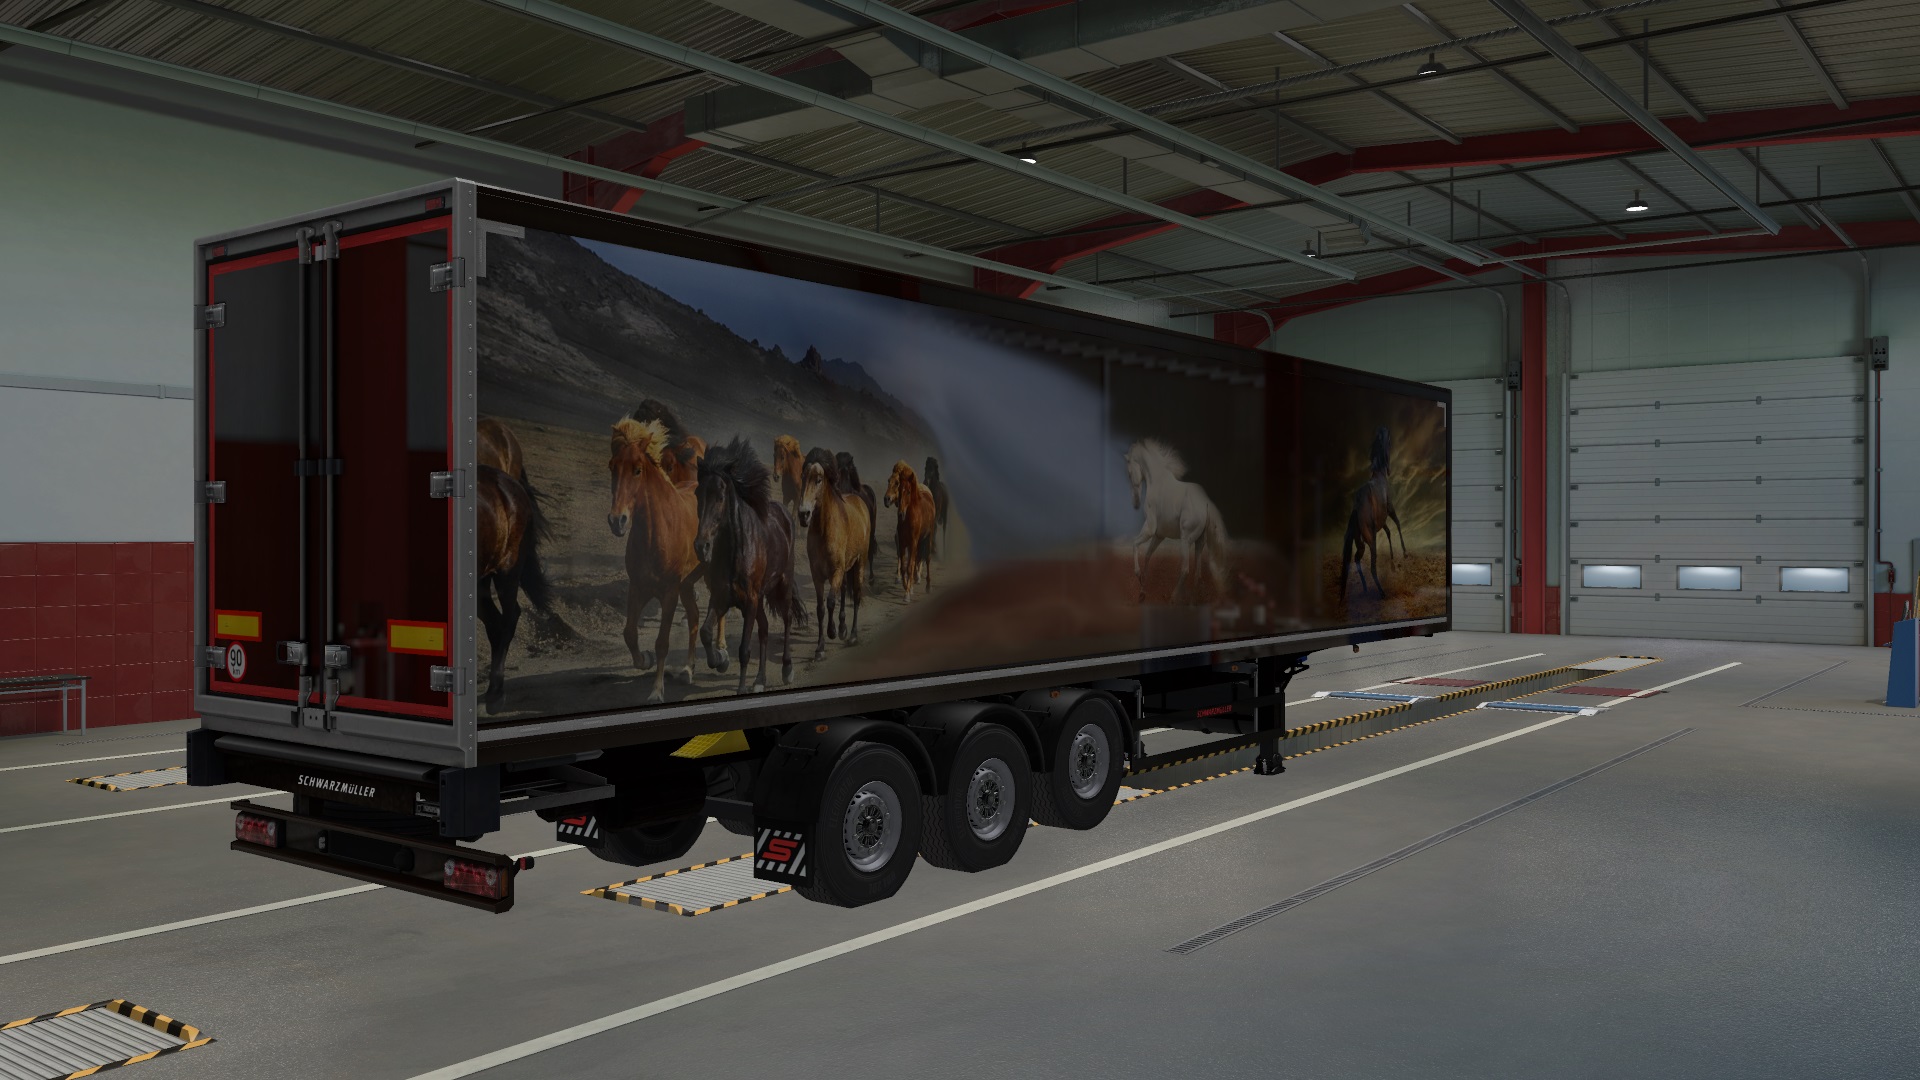
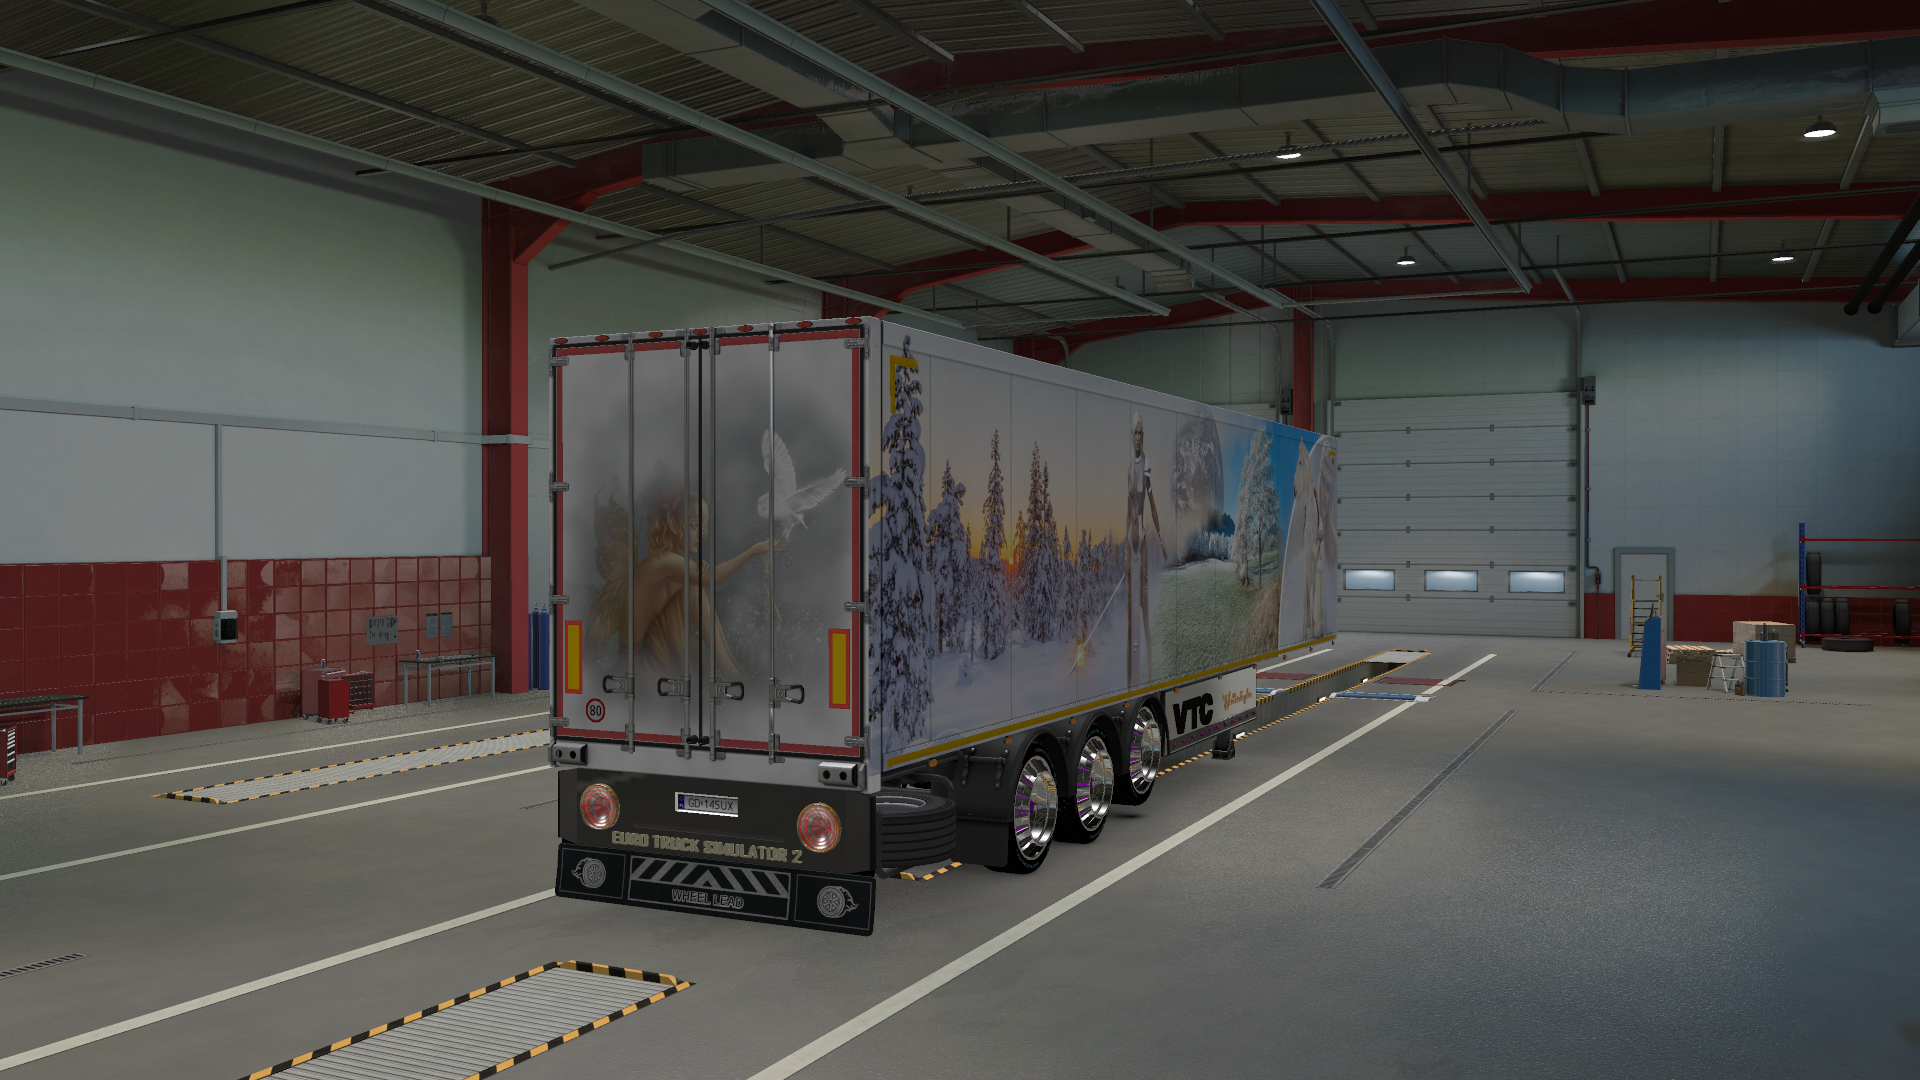
You need to download templates. There are plenty of them on the internet. Enter something like: Templates for ETS2 etc. Download and put them in a place where you can easily find it. Once that’s done, find the template for your standard scs box trailer. This template should look like this:
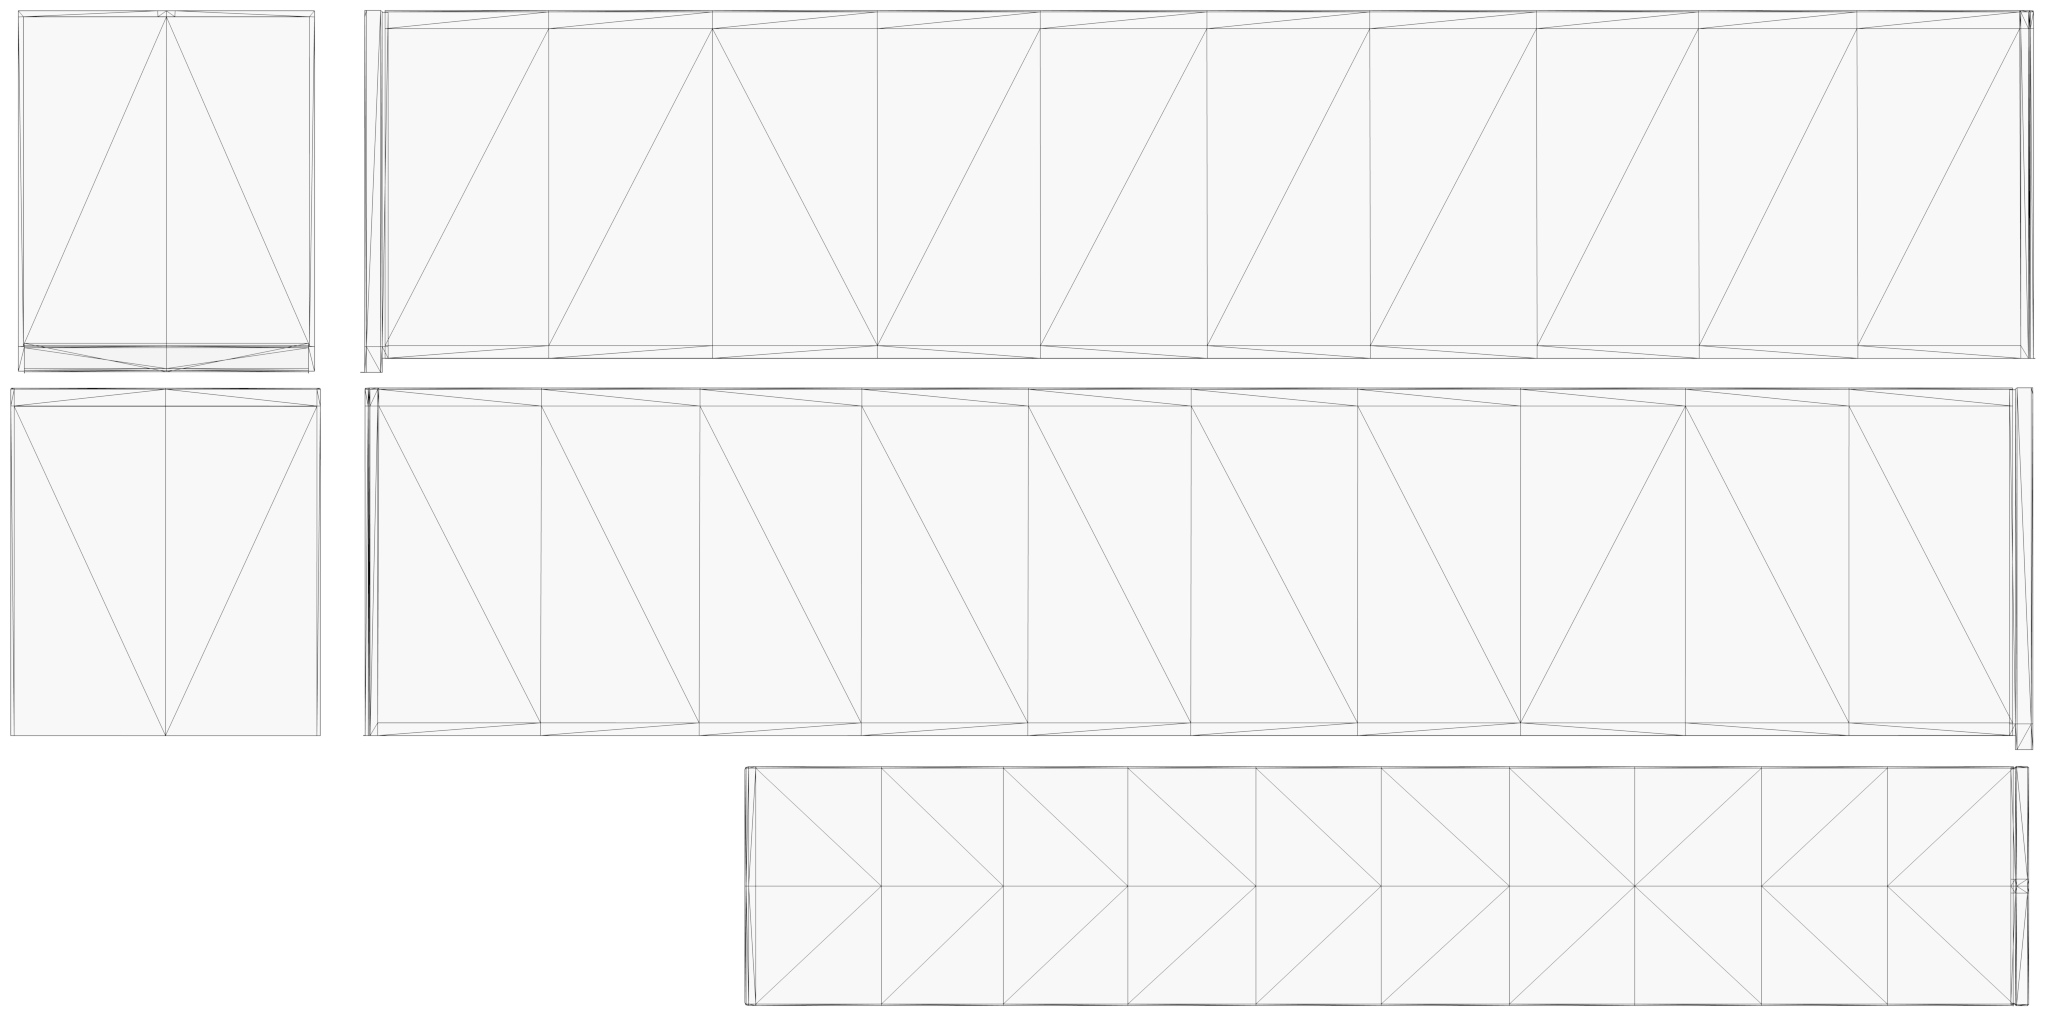
Both templates are from Dry freighter and I use them because the paintjobs/skins will suit all trailers best. (At least that’s my experience). Both templates should have at least the following dimensions: 1024px width / 512px height. Each subsequent size will make the skin of higher quality. 2048px / 1024px or 4096px / 2048px. Personally, I only use 4096px / 2048px because it gives the most beautiful effect and does not crash the game. Size 8196px/4096px will work too, but it happened to me that it crash the game when I put the skin on because it is an extremely large texture and can be up to 400mb. So I recommend the size 4096px / 2048px.
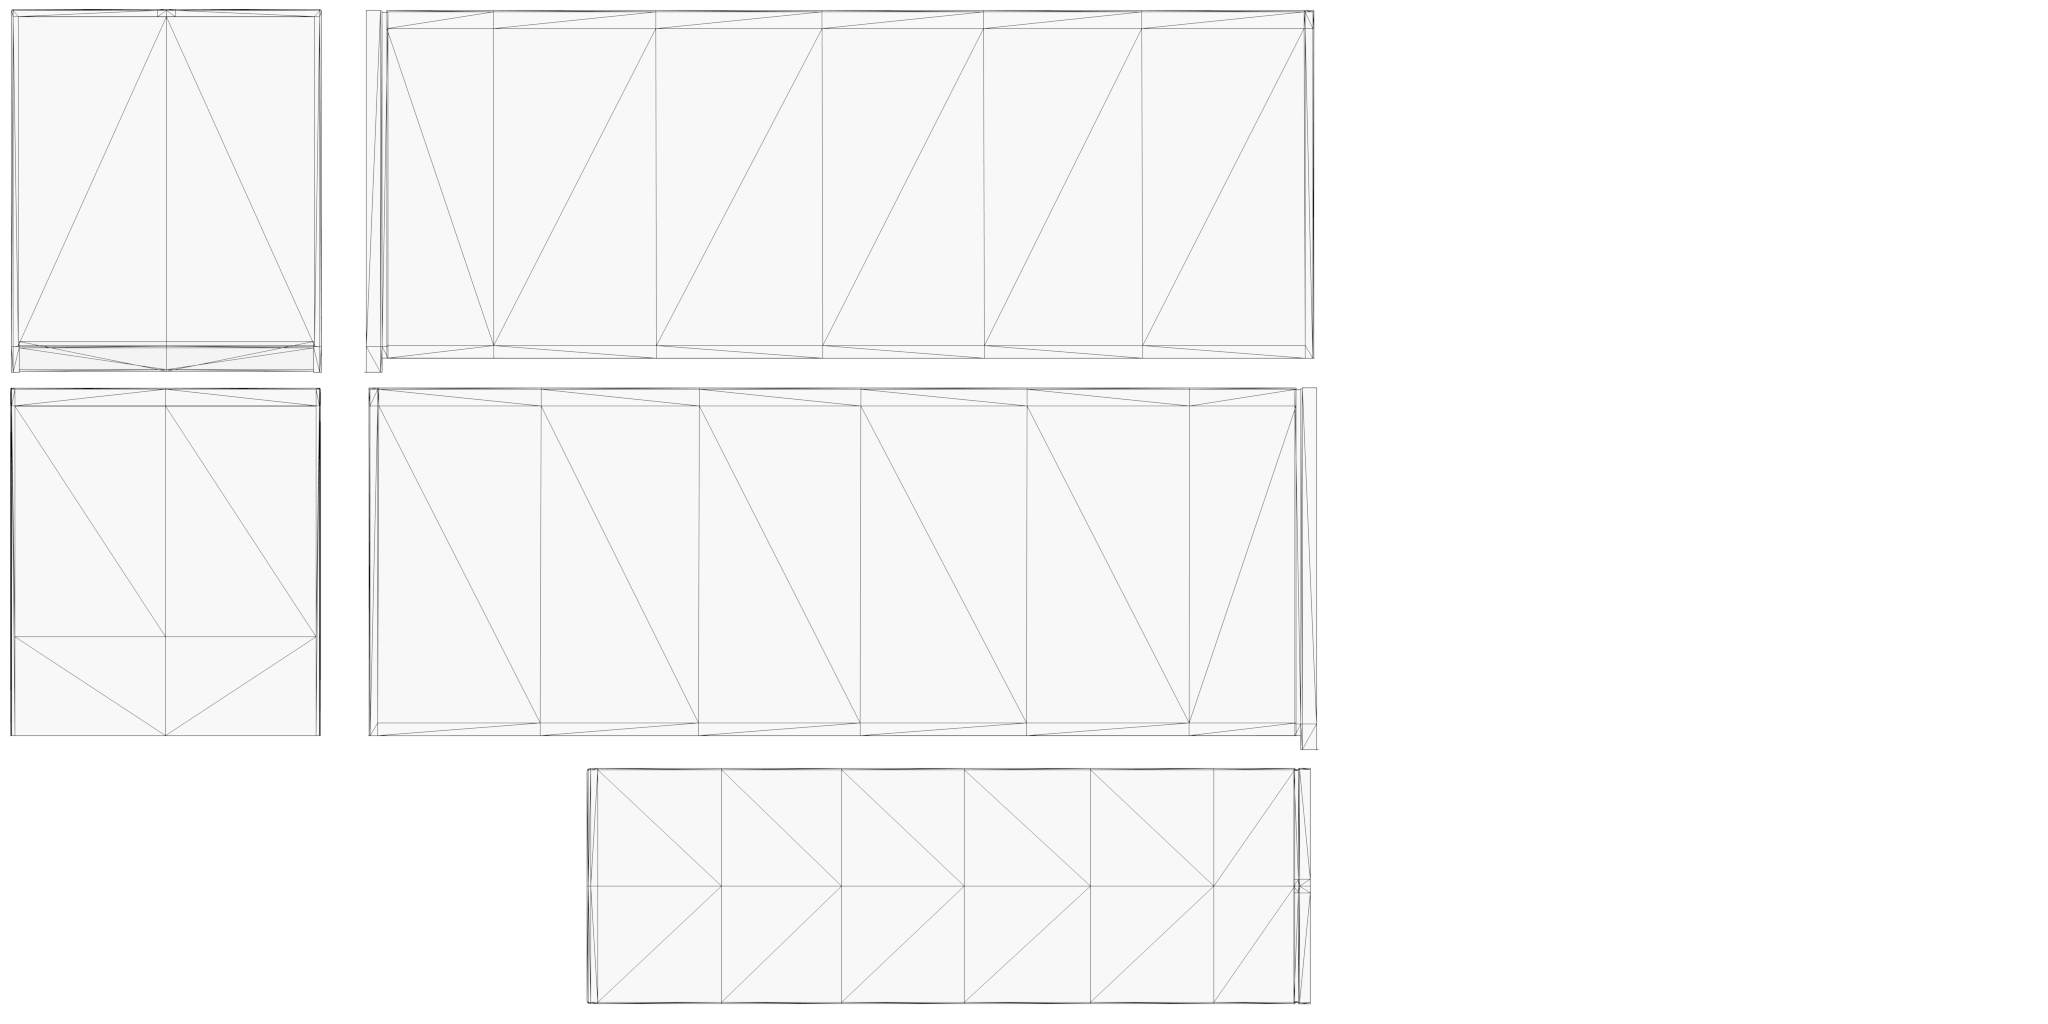
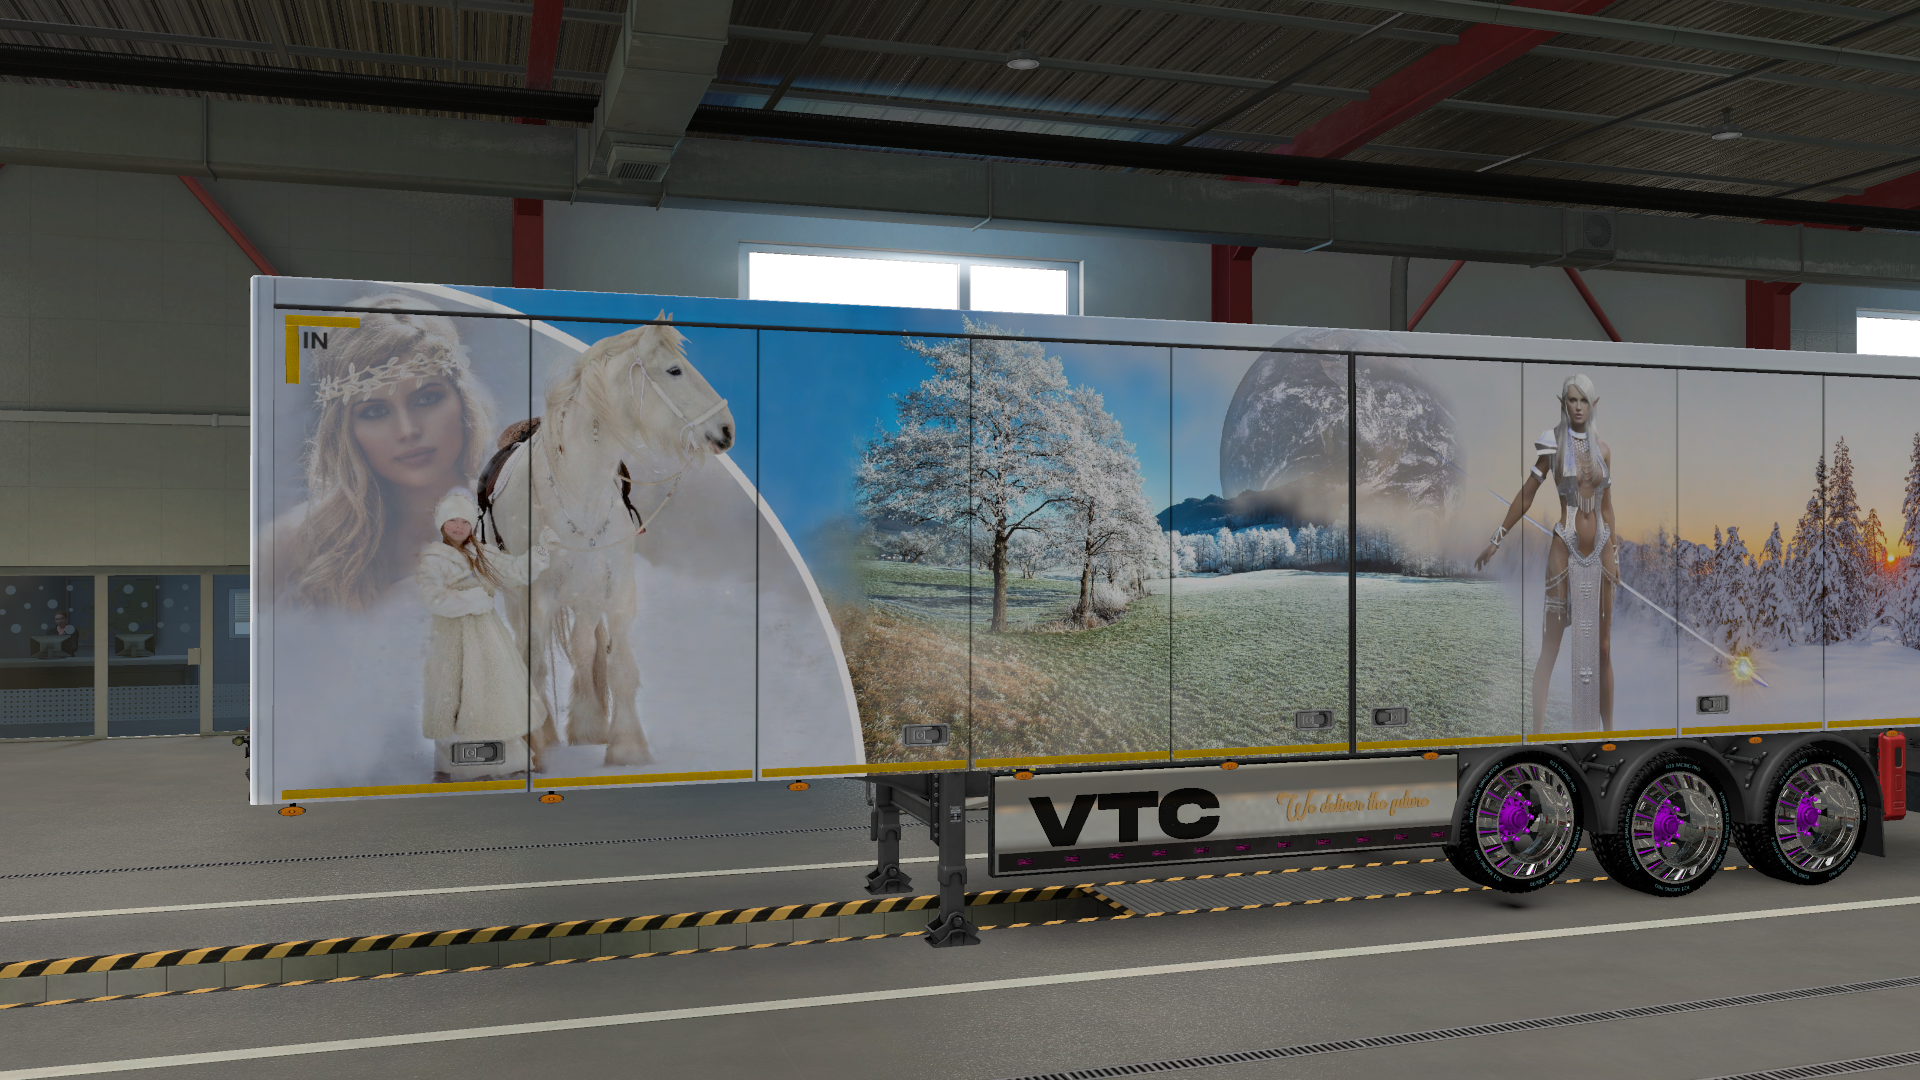
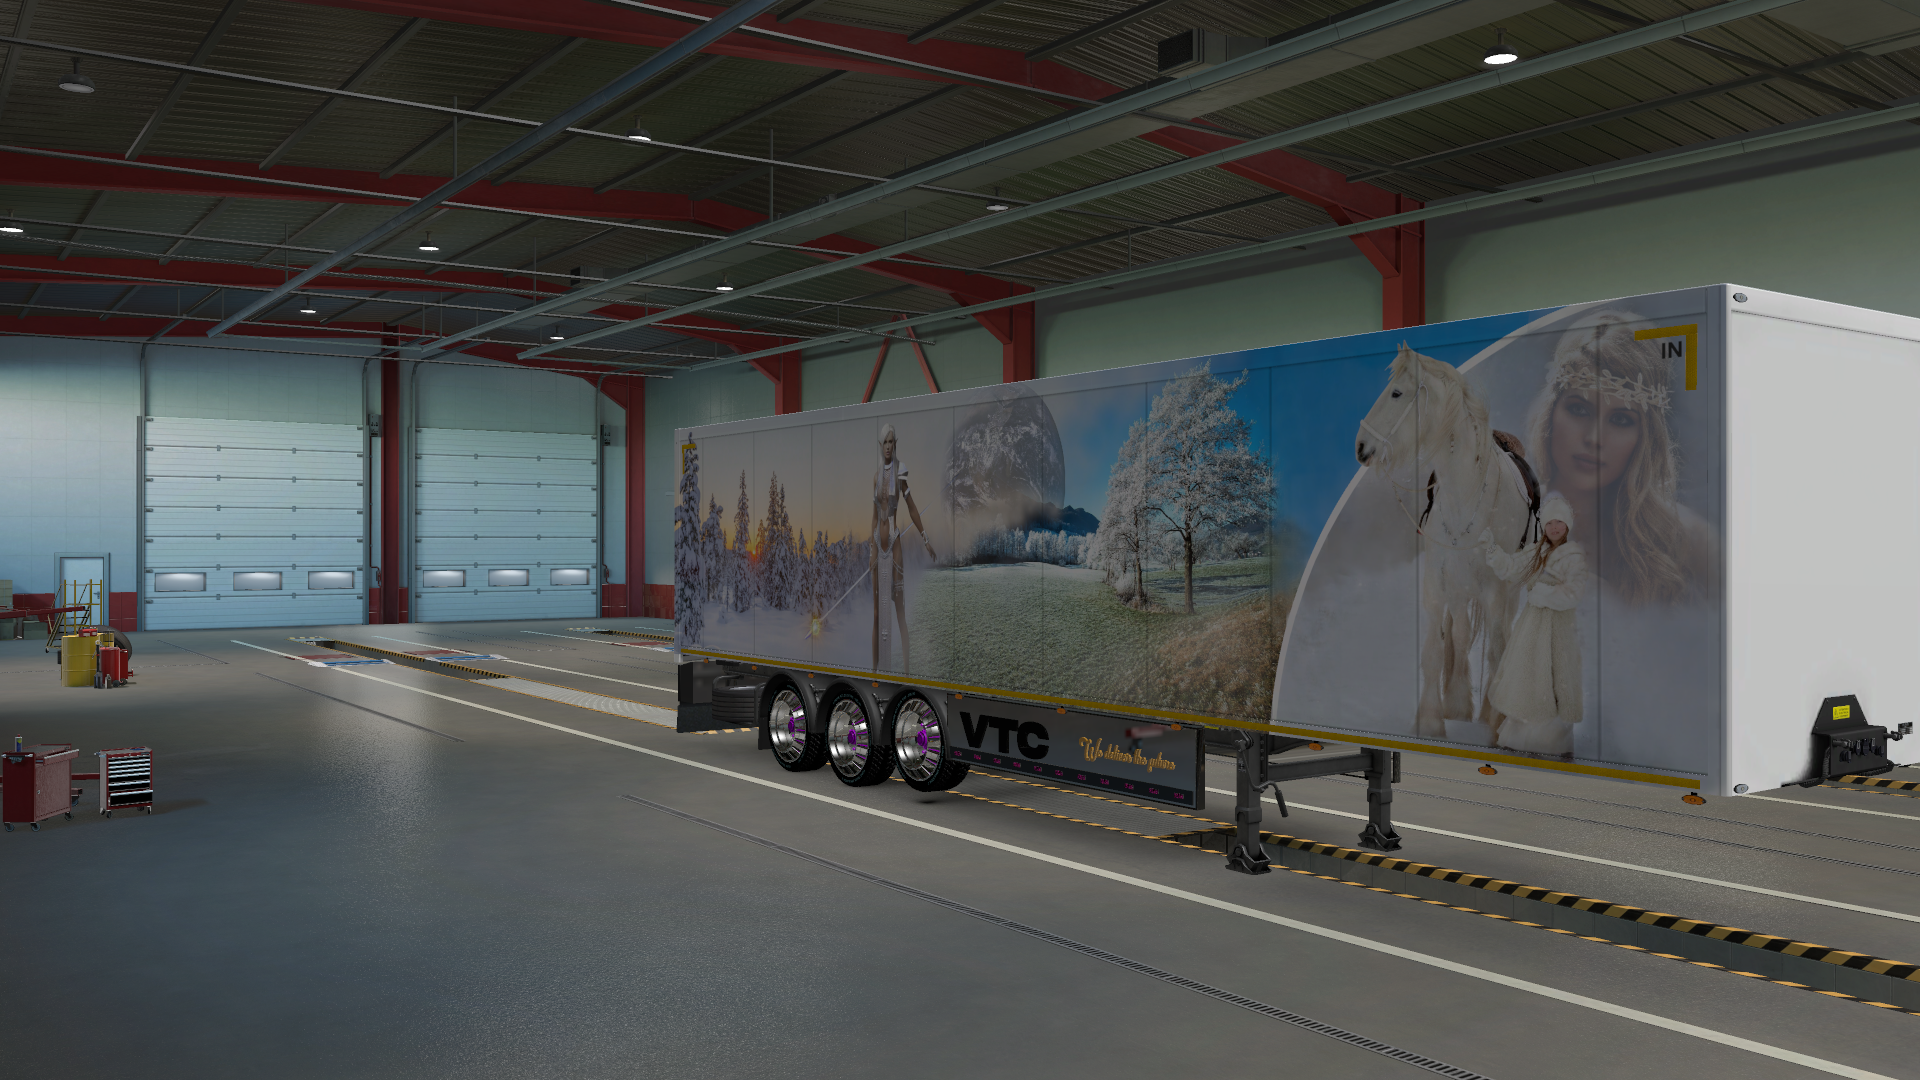
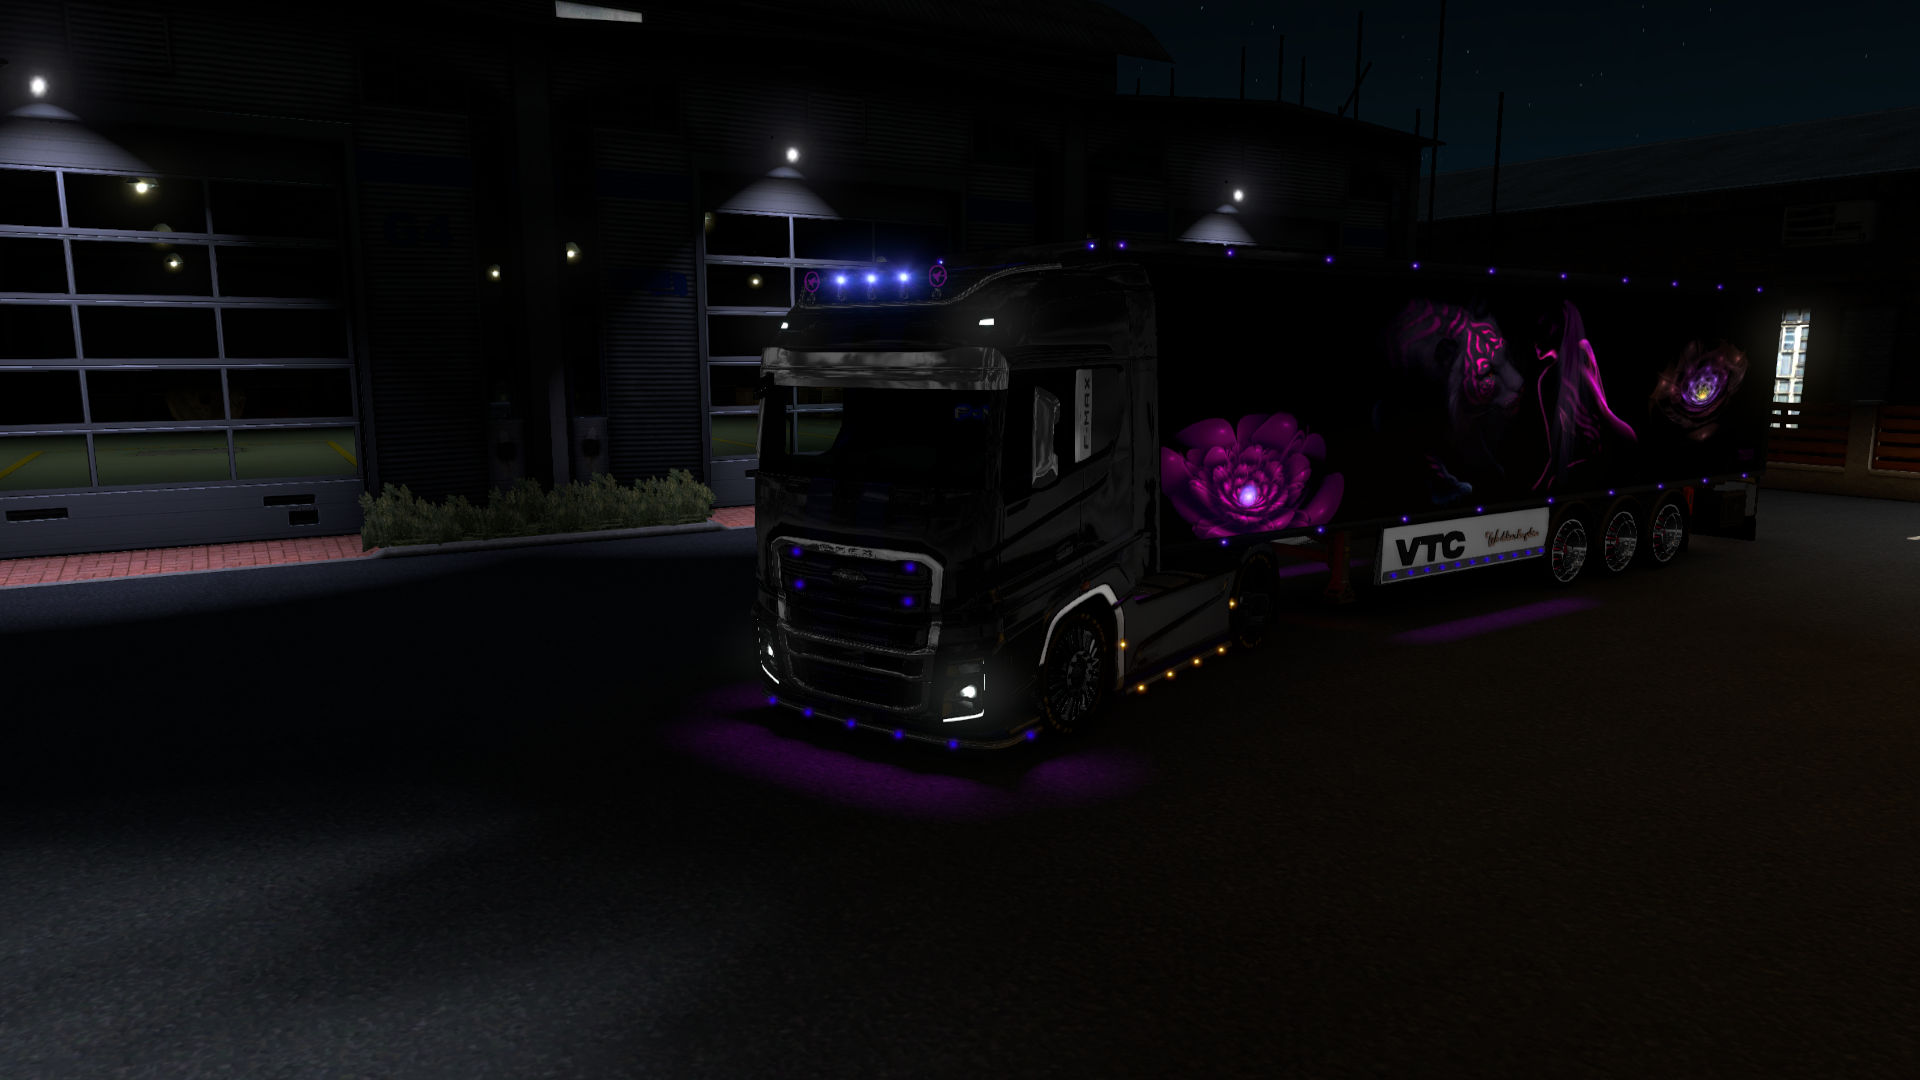
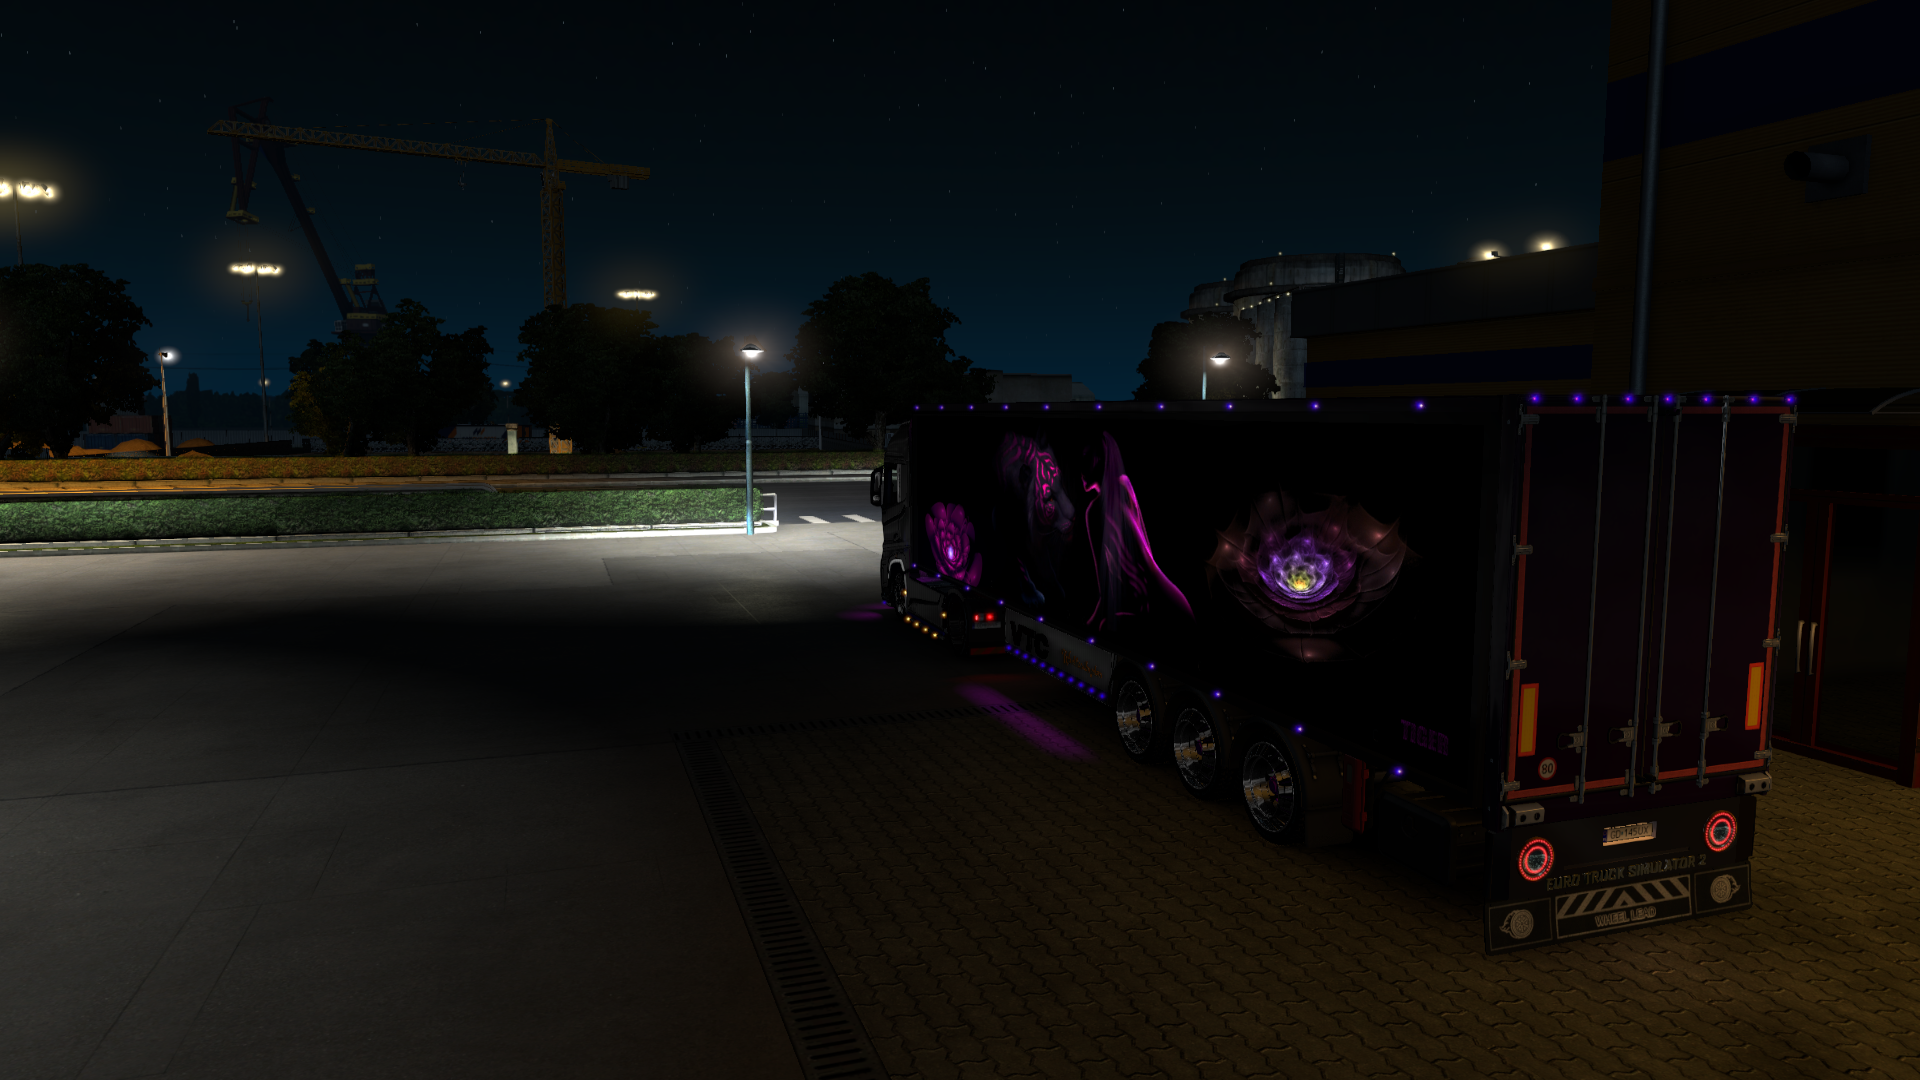
Once you’ve downloaded and opened the templates in your graphics program, make some beautiful painting and export them to a png file to a place that you can easily find later. Do not rush. Focus on the long trailer template for now. When you’re finished, it should look something like this:
When you have this done, go to Part Two
Write a comment if you have a question. English please.
How to make a skin for trailer with mods studio 2? Full step-by-step guide/tutorial. PART 2
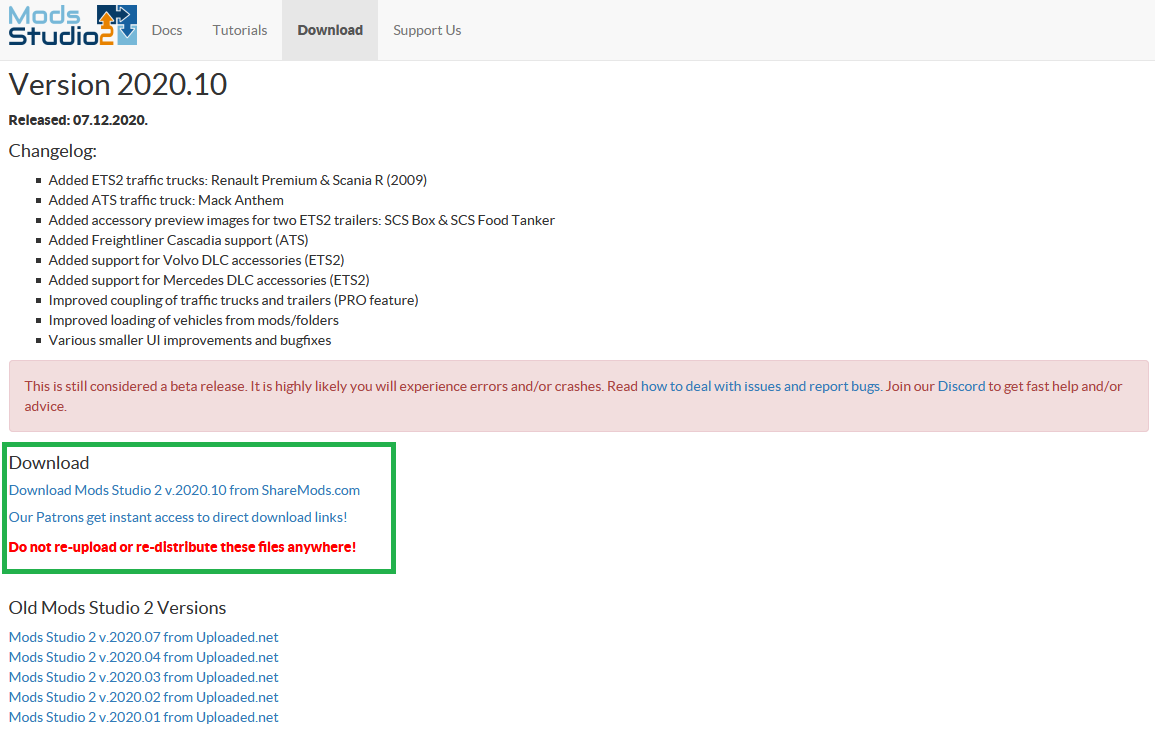
So now it’s time to install MODS STUDIO 2. To do this, go to the developer’s website HERE
Go to the “Download” section and find the download links. See picture below.
Download the archive somewhere so you can easily find it. Choose a location on your computer where you can copy the archive and create a folder with whatever name you want, so you know it’s mods sudio. Move the archive to the created folder and extract it there. After unpacking, you can delete the archive because you won’t need it anymore. After unpacking it should look something like on the picture below.
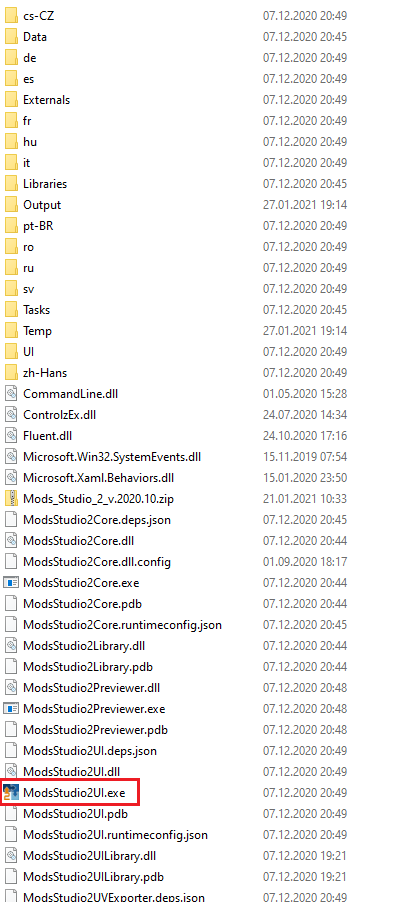
We are interested in the file marked in red. Right-click on it and create a shortcut on the desktop. You can try to run mods studio but it probably won’t start. Go here
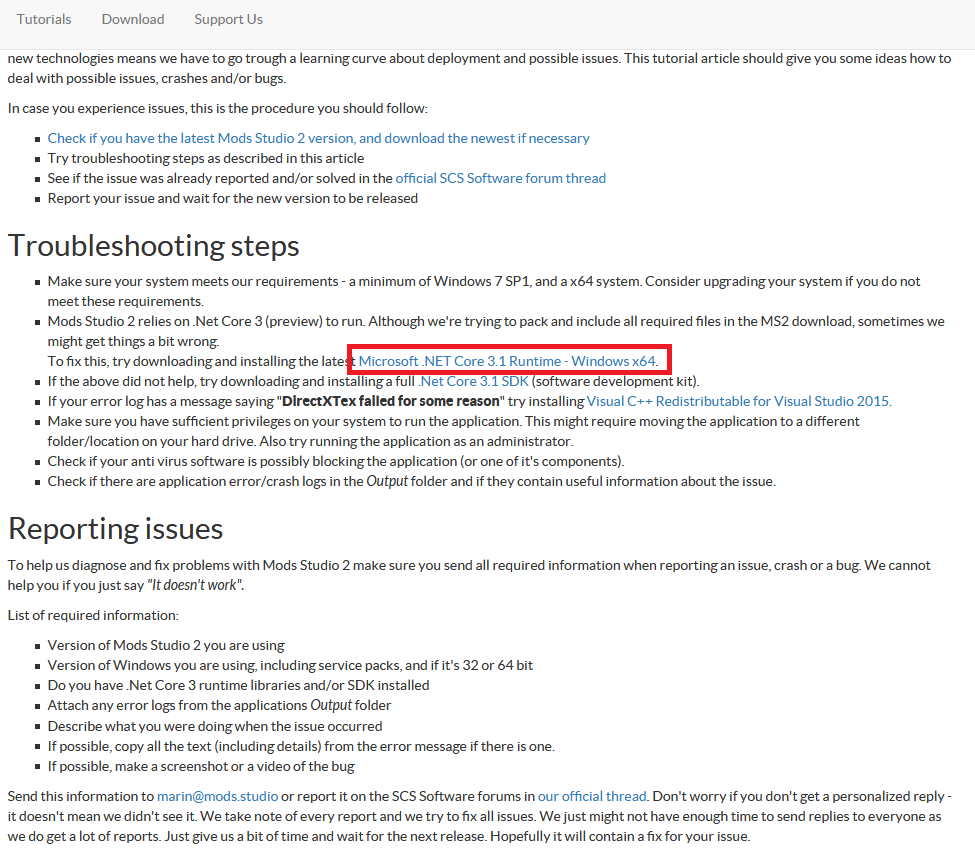
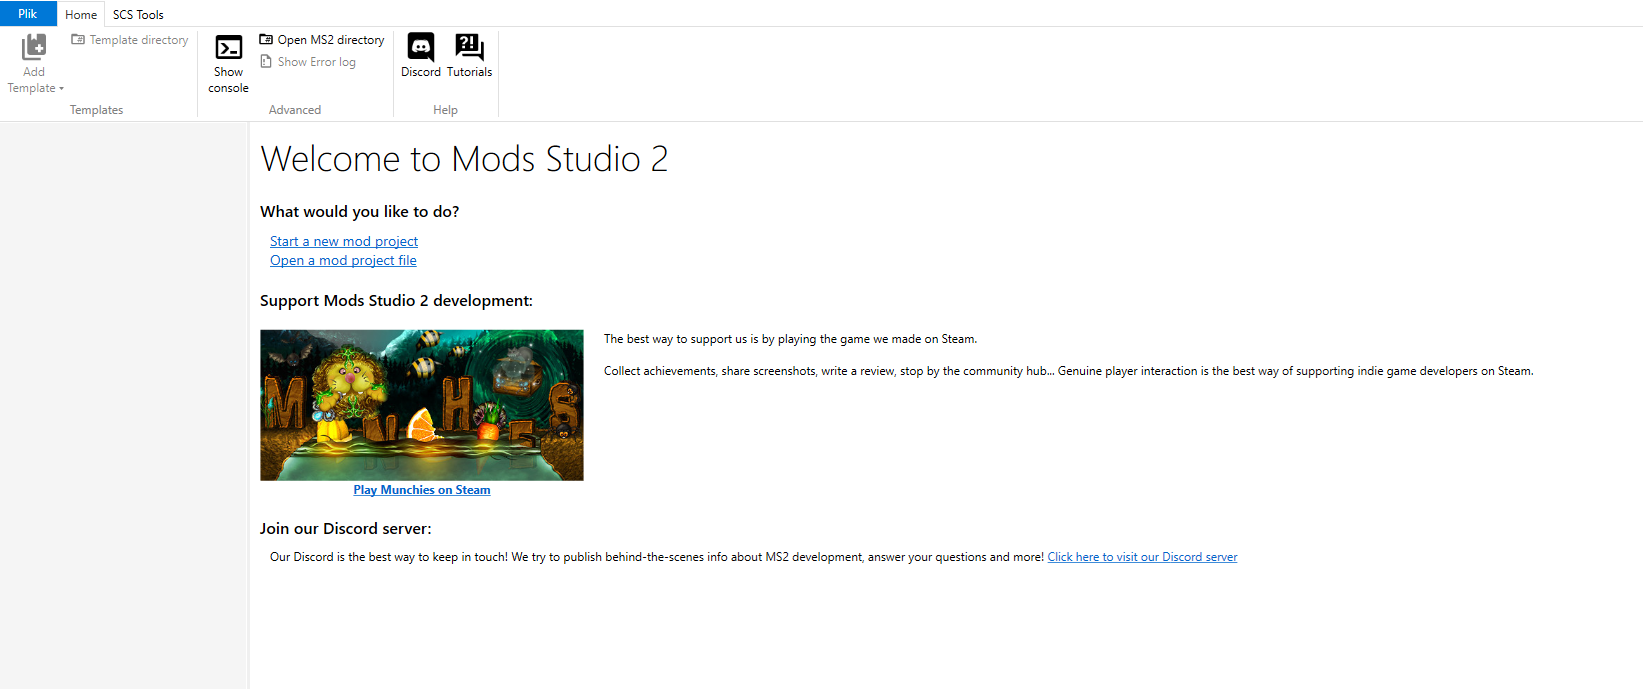
Download and install Microsoft .NET Core 3.1 Runtime and try to run mods studio, if it doesn’t start, follow the steps described on the developer’s website. In my case, I had to download and install Visual C++ Redistributable for Visual Studio 2019. After these steps, you should be able to run Mods Studio 2. And you should see this:
In case of problems you can watch this video: https://www.youtube.com/watch?v=Xg599gwW0W4


How to make a skin for trailer with mods studio 2? Full step-by-step guide/tutorial. PART 3
In the last step, you installed mods studio 2 and you should be able to run it and see a window like this. Click:
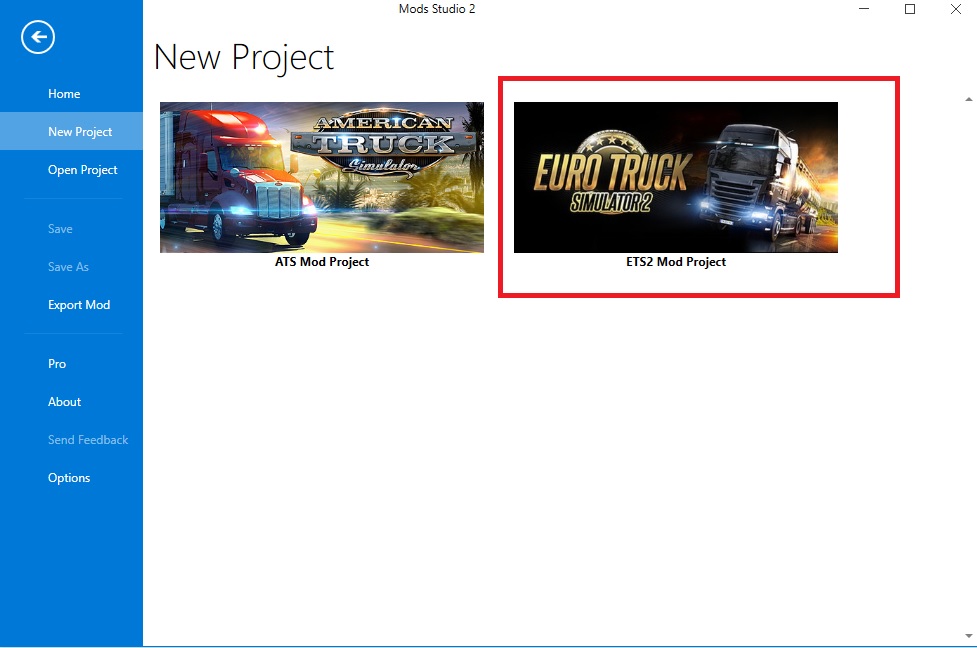
Start a new mod product
A new window will open. Click ETS2 Mod Project.
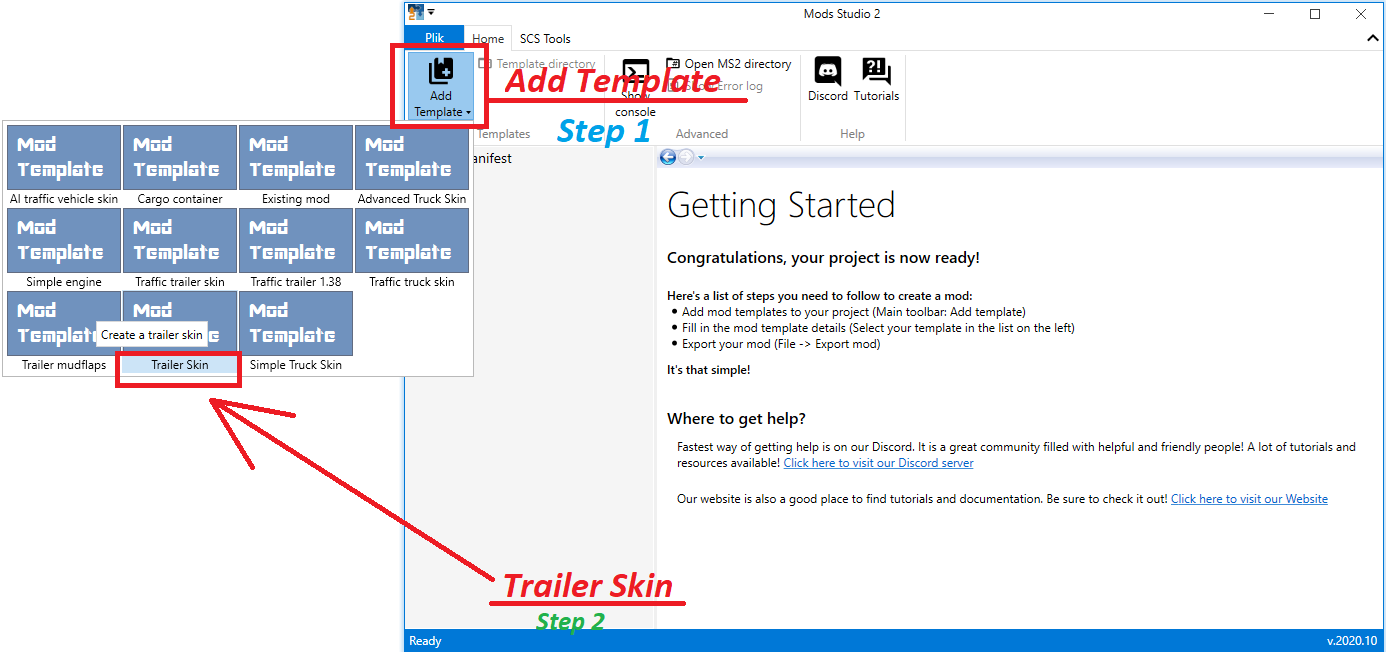
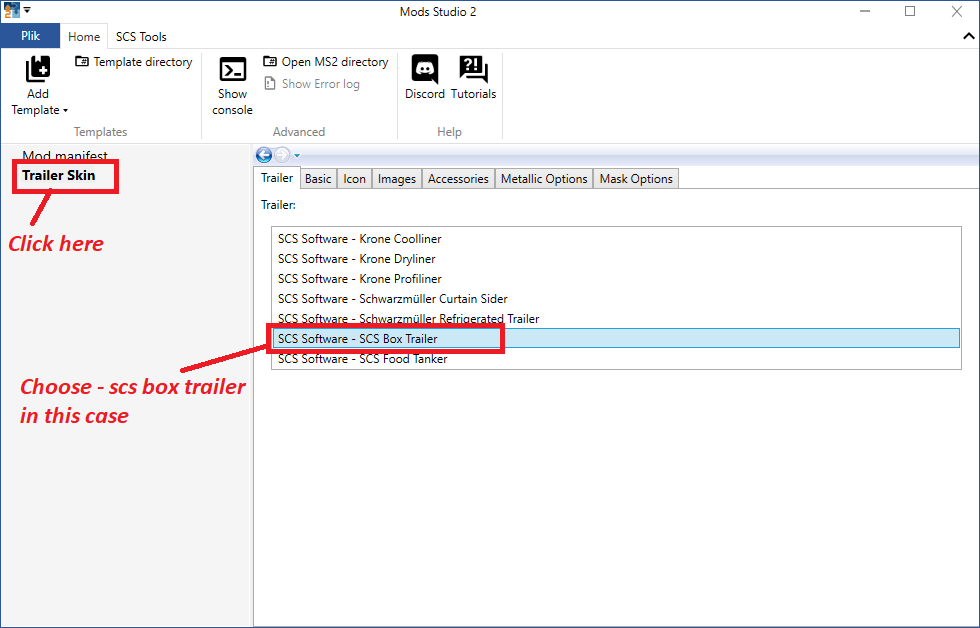
Click “Trailer Skin”
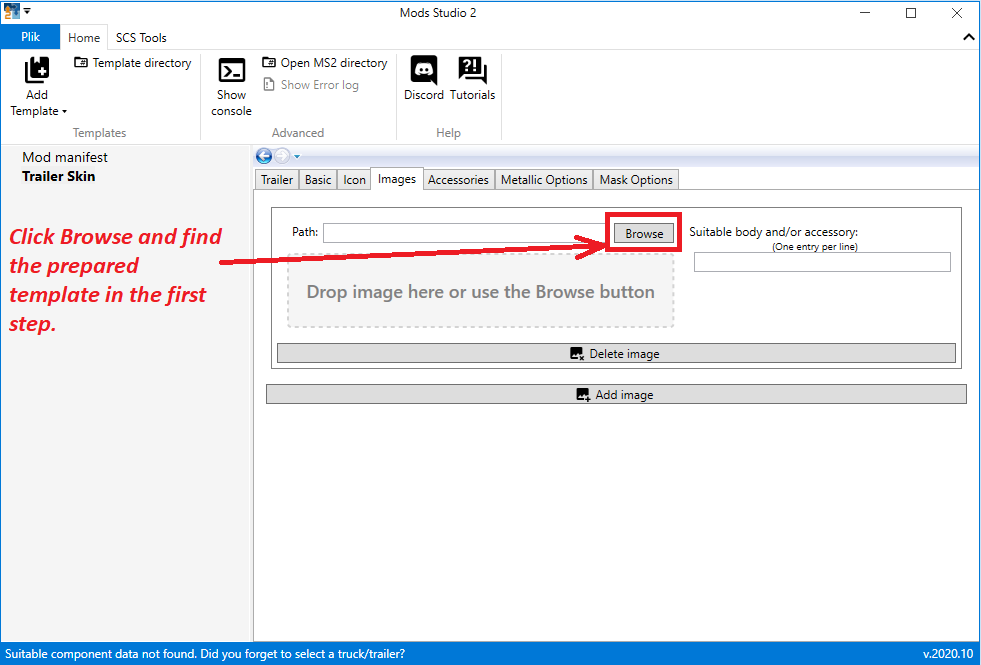
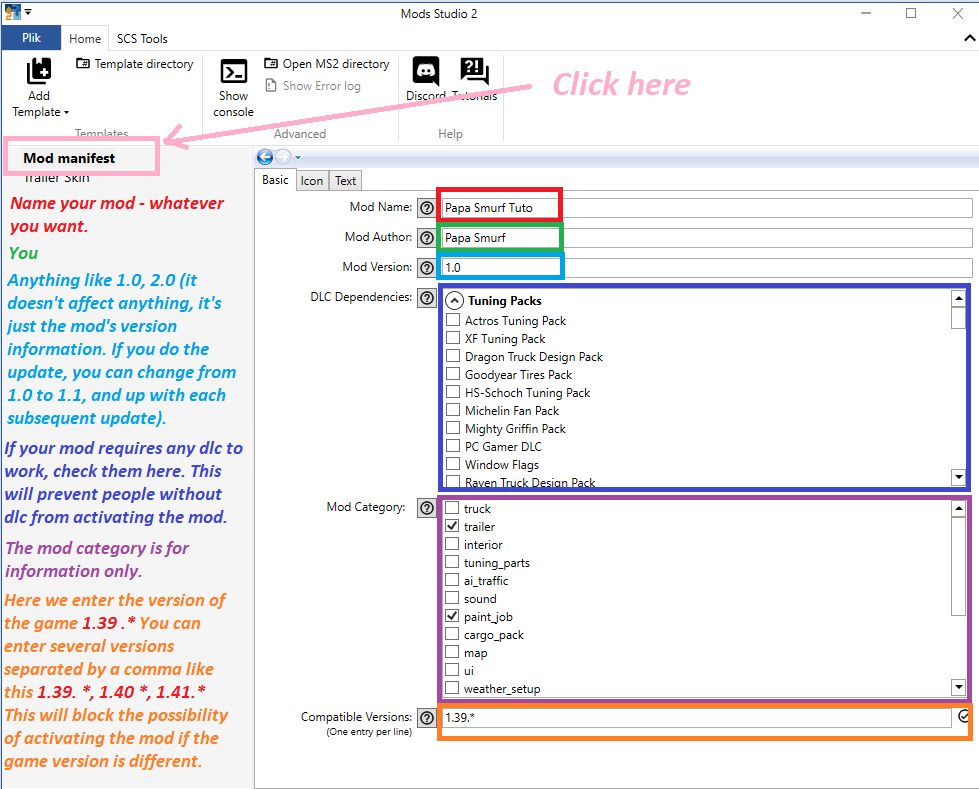
Go to Basic now and fill out all the fields as shown in the pictures below.
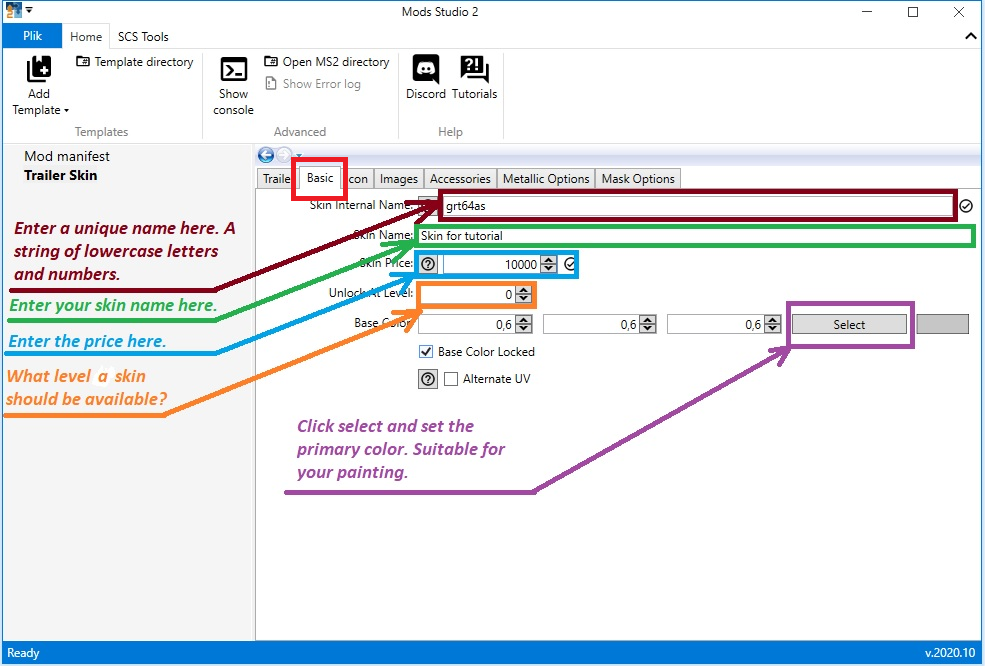
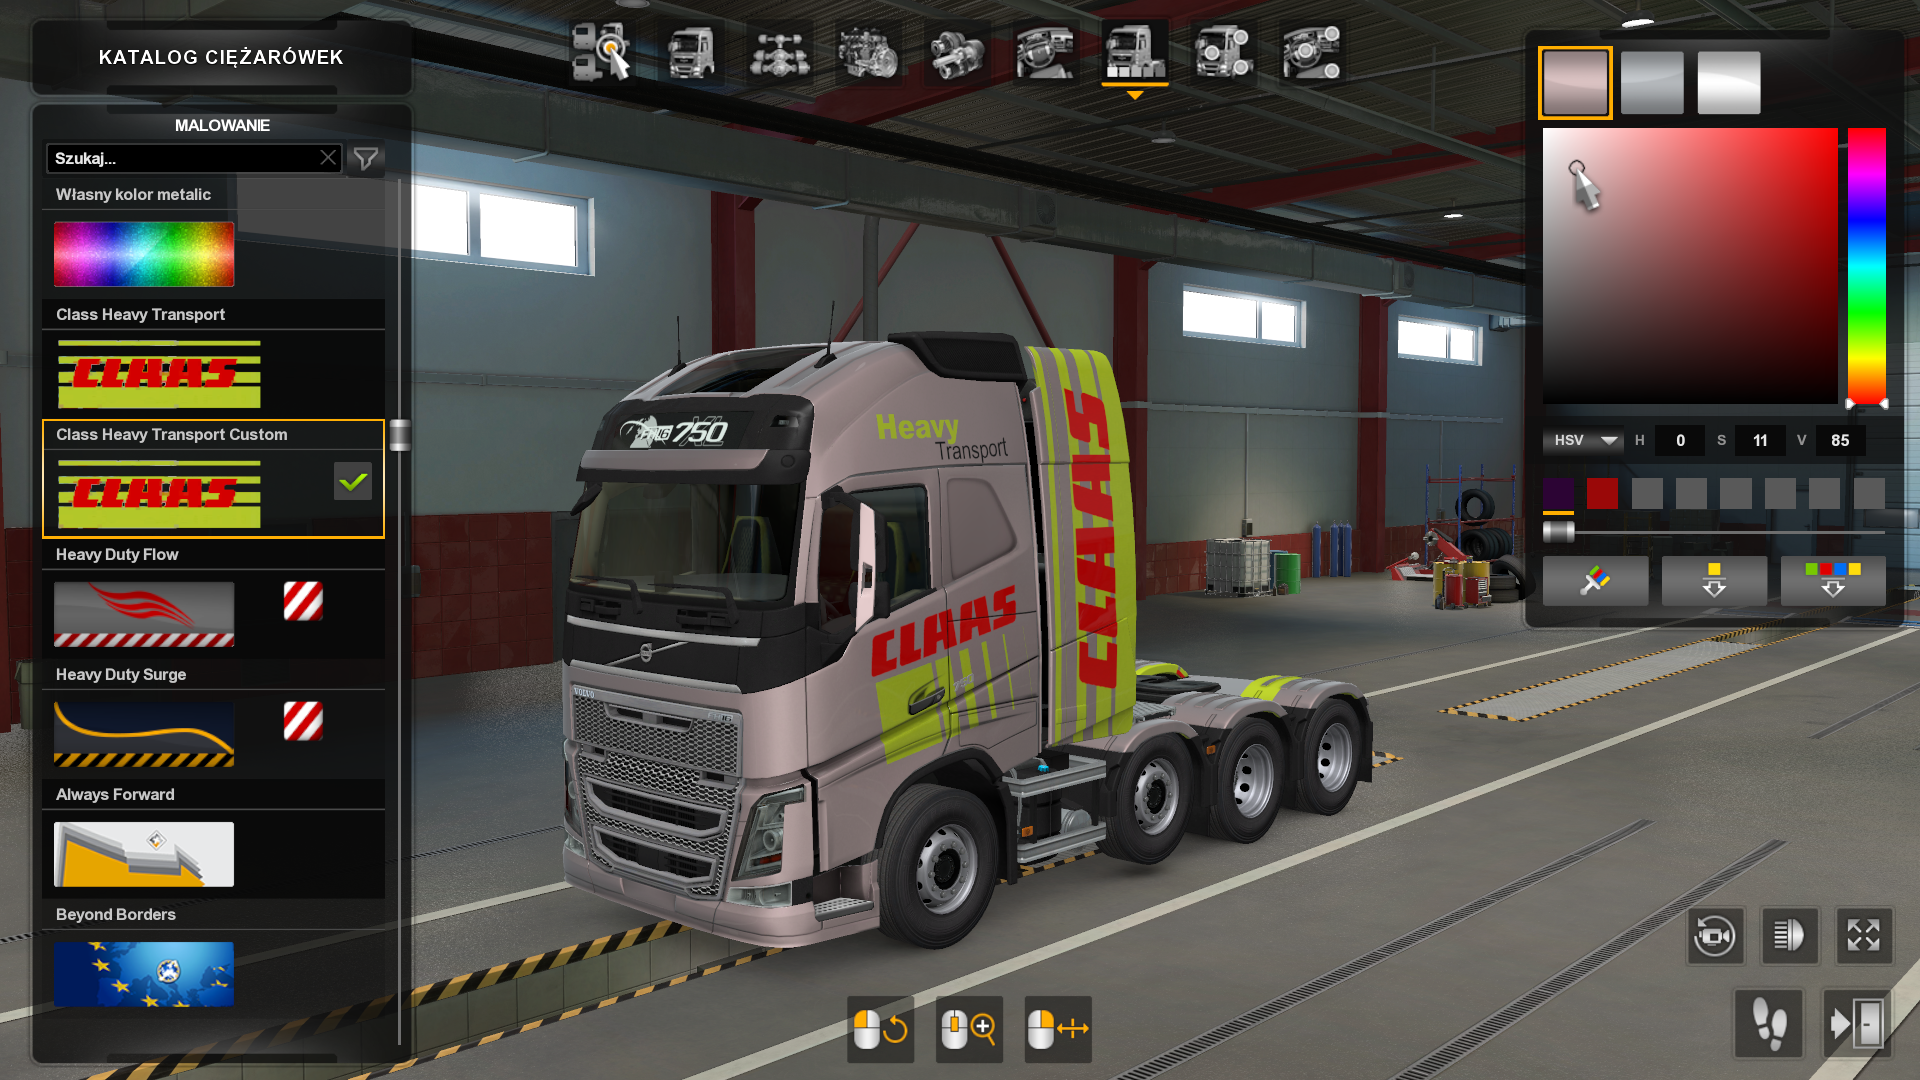
This is the primary color, you have to set the color to suit your painting. If you made a template with a lot of red color, set a similar color here.

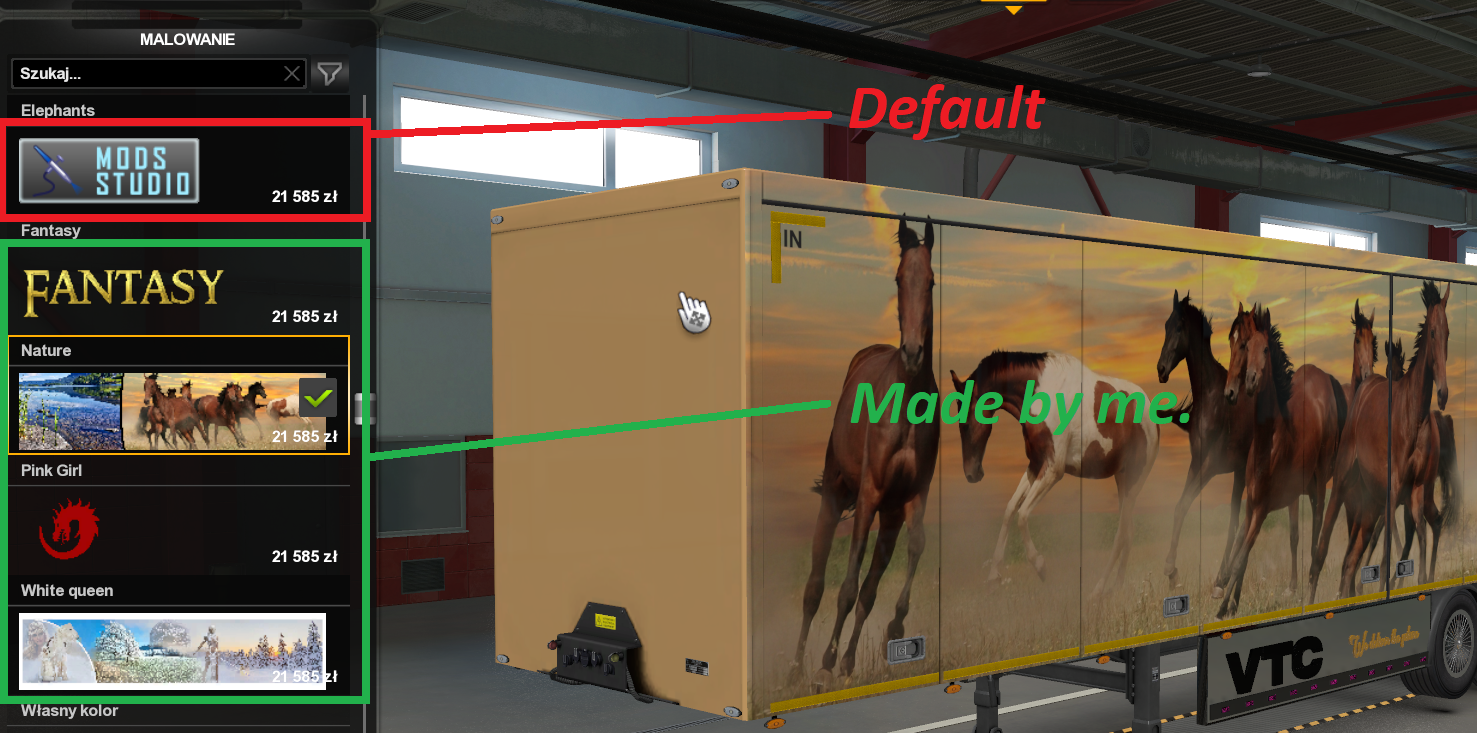
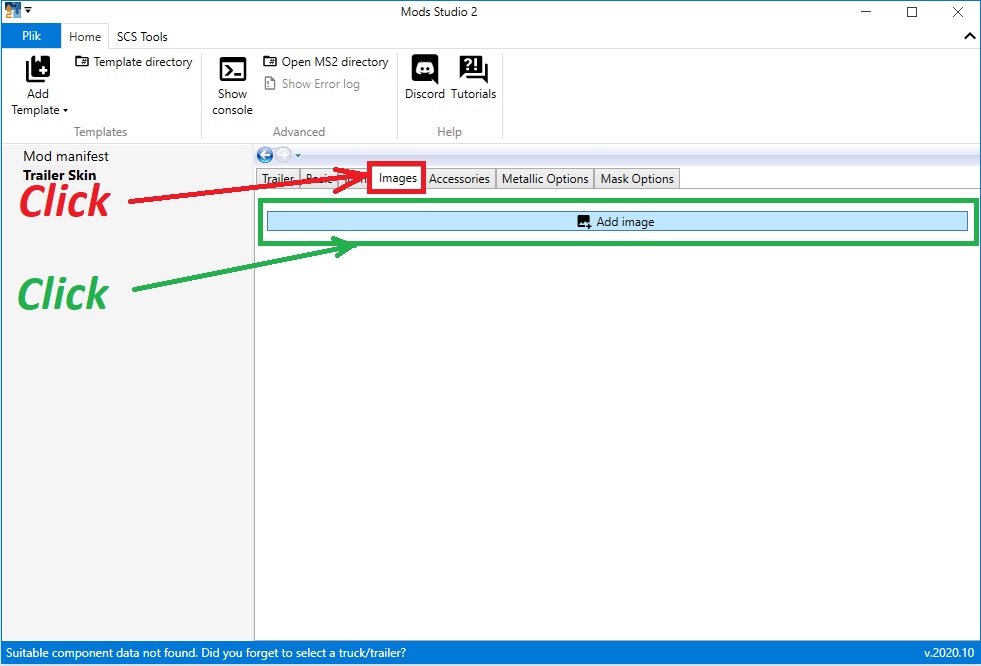
Next step is setting up the icon. Take a look at the photo below.

How to prepare your own icon? CLICK

Once done, do not close mods studio 2 and go to PART FOUR
How to make a skin for trailer with mods studio 2? Full step-by-step guide/tutorial. PART 4 – Manifest file setup and short explanation.
The manifest file is mainly used to provide all information in the mod manager and to set mod properties such as game version, mod category or required dlc. Entering the game version in the game version field will cause the mod to be blocked and it will not be possible to enable it on a different game version than the one set in the manifest file. If you do not enter anything, the mod can be activated on all versions of the game. I think that when it comes to typical mods, it is worth using this security, but in the case of skins it is unnecessary, but this is my private opinion. Just as the game version affects whether the mod can be activated, the required dlc fields do the same. I think that in the case of skins it is unnecessary to check any box because if someone does not have, for example, a krone trailer, they will not use this skin anyway. It is different in the case of mods, but this is a separate topic and I will not deal with it now. I would not enter anything in the game version field and I would not mark any dlc.
See the picture below.
If you’ve done everything, it’s time to export your skin. Go to Part Five