How to make a skin for trailer with mods studio 2? Full step-by-step guide/tutorial. PART 2
So now it’s time to install MODS STUDIO 2. To do this, go to the developer’s website HERE
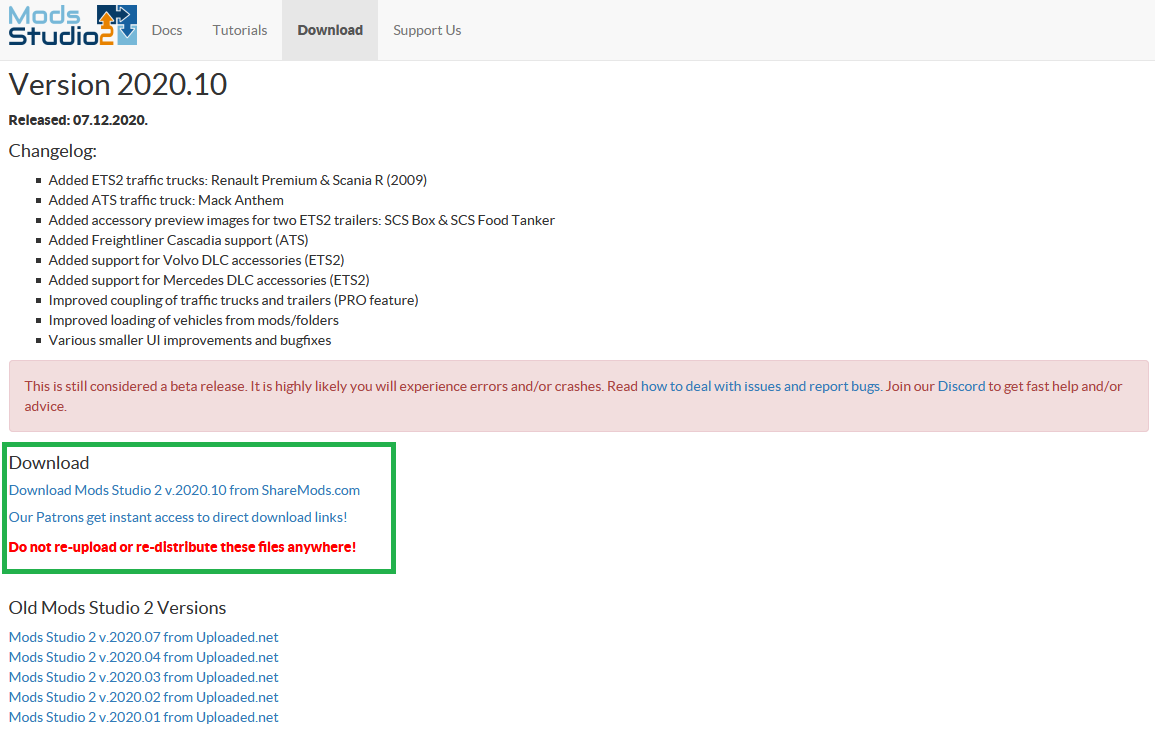
Go to the “Download” section and find the download links. See picture below.
Download the archive somewhere so you can easily find it. Choose a location on your computer where you can copy the archive and create a folder with whatever name you want, so you know it’s mods sudio. Move the archive to the created folder and extract it there. After unpacking, you can delete the archive because you won’t need it anymore. After unpacking it should look something like on the picture below.
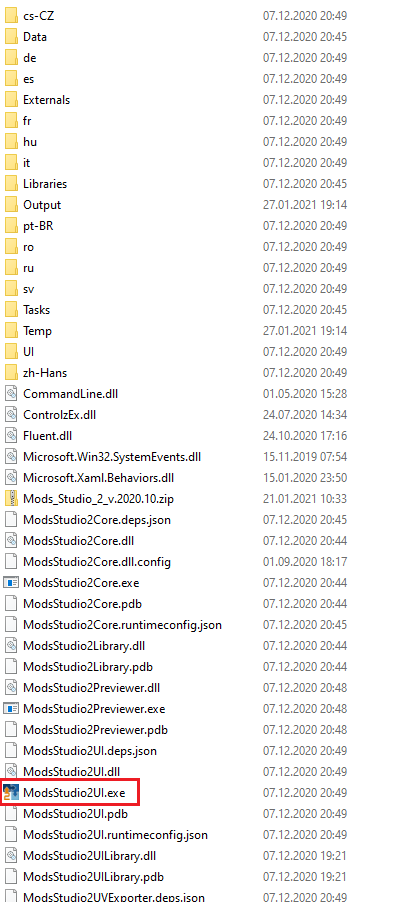
We are interested in the file marked in red. Right-click on it and create a shortcut on the desktop. You can try to run mods studio but it probably won’t start. Go here
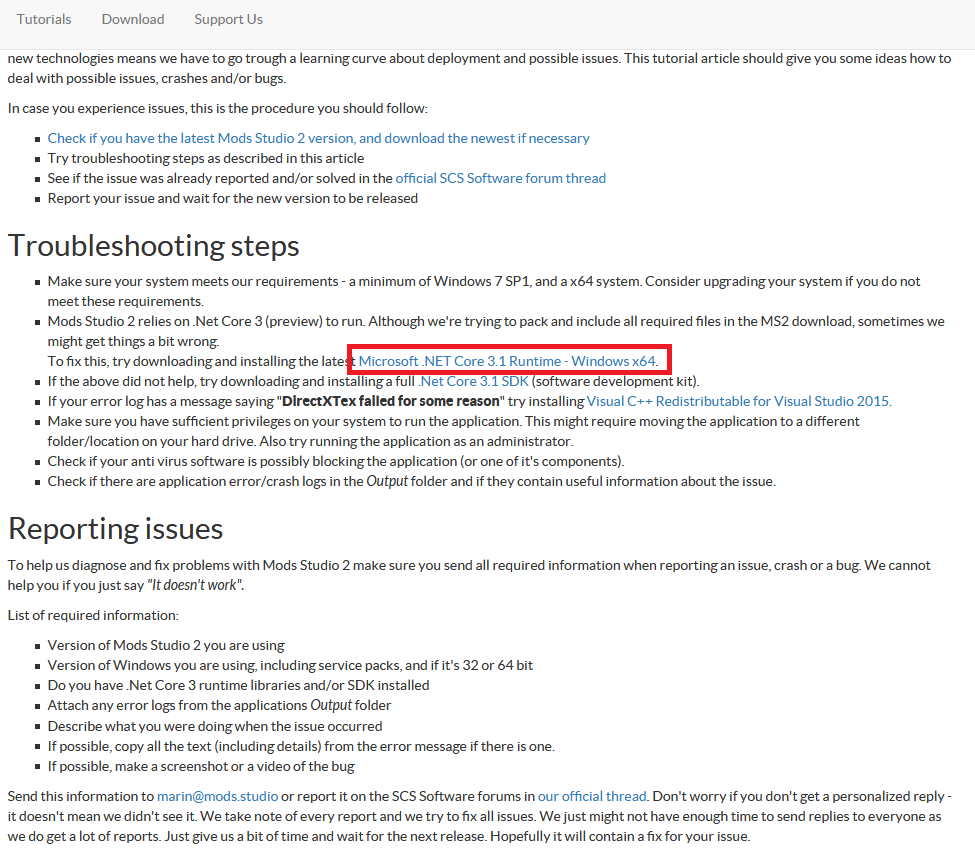
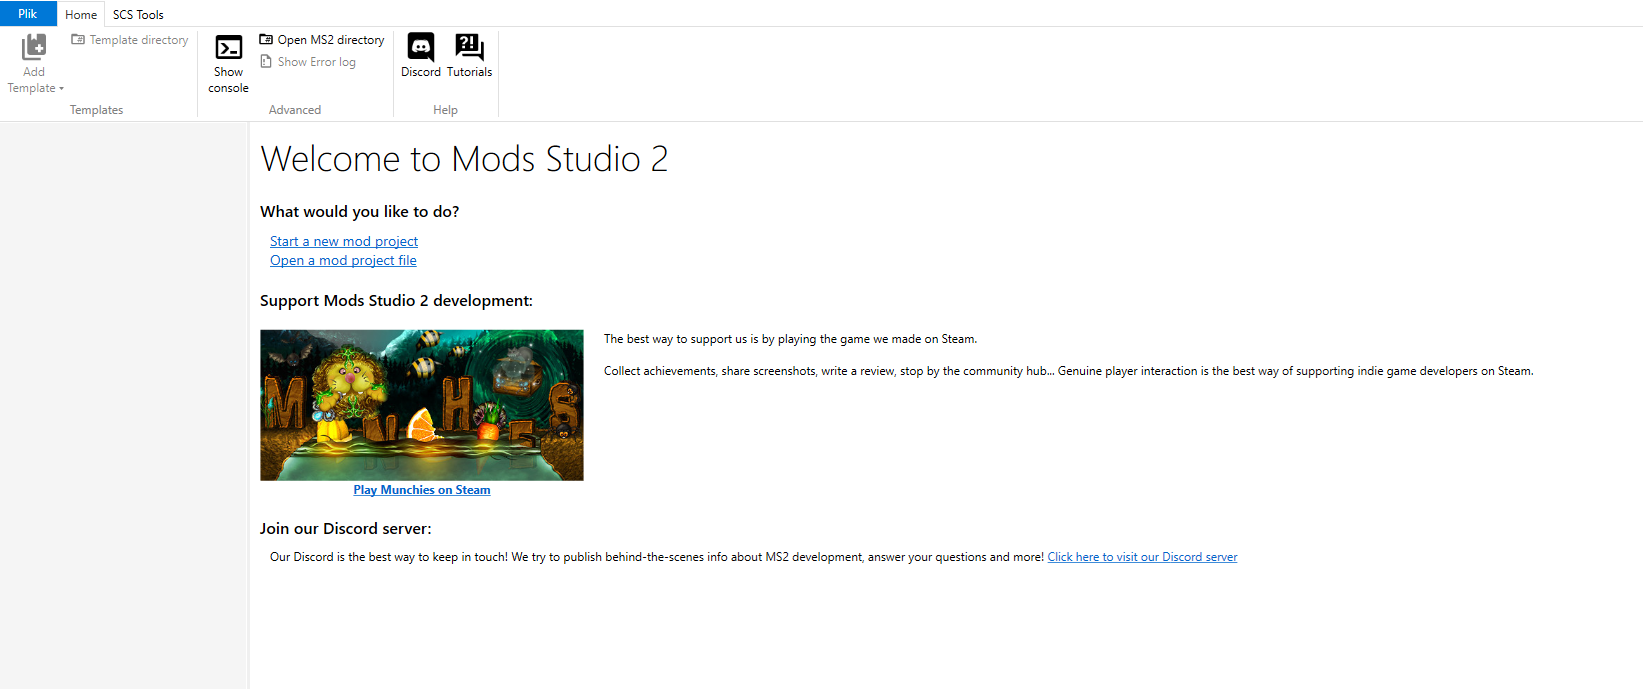
Download and install Microsoft .NET Core 3.1 Runtime and try to run mods studio, if it doesn’t start, follow the steps described on the developer’s website. In my case, I had to download and install Visual C++ Redistributable for Visual Studio 2019. After these steps, you should be able to run Mods Studio 2. And you should see this:
In case of problems you can watch this video: https://www.youtube.com/watch?v=Xg599gwW0W4