Papa Smurf Mods
Mods, skins, ATS, ETS2 and more

Mods studio and what you need to know?
Mods Studio is an easy to use program. You just have to follow a few tips.
TIPS
- Remember about texture sizes (dds). It must always be 256px / 64px for the thumbnail visible in the store. If instead of 64px will be 65px probably the skin will not work or we will have a game crash. The same applies to the jpg photo shown in the mod manager, it must be 276px / 162px. However, when it comes to truck textures, sizes may vary, but you must follow a certain rule. So for example for each truck will work texture 512px / 512px and its doubled value, i.e. 1024px / 1024px and again doubled, i.e. 2048px / 2048px and 4096px / 4096px. (I even made a skin with 8192px / 8192px texture but it is an extremely large texture so 4096 will be enough for quality lovers).
- The manifest file is the file responsible only for the information displayed in the mod manager. These are information such as: mod name, mod thumbnail setting, mod description, version and game compatibility (i.e. is it version 1.36 or 1.35 etc.).
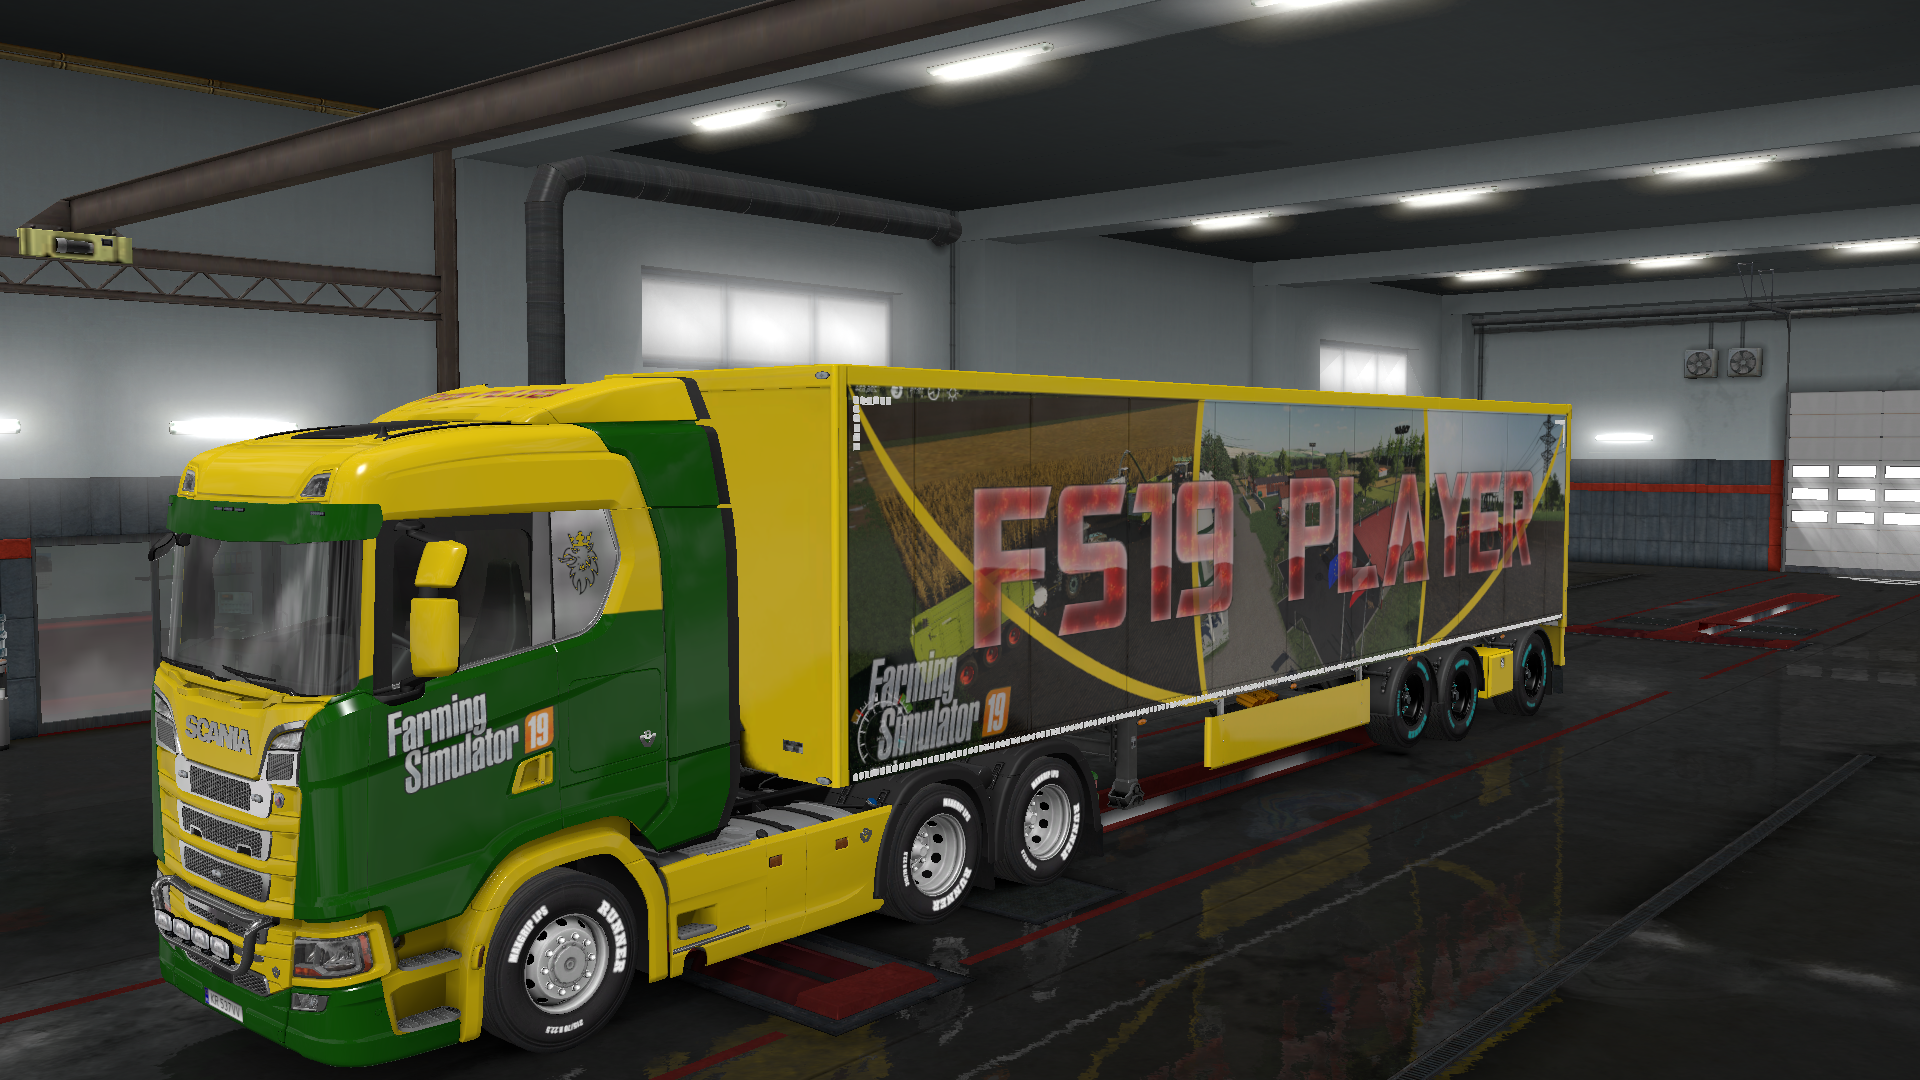
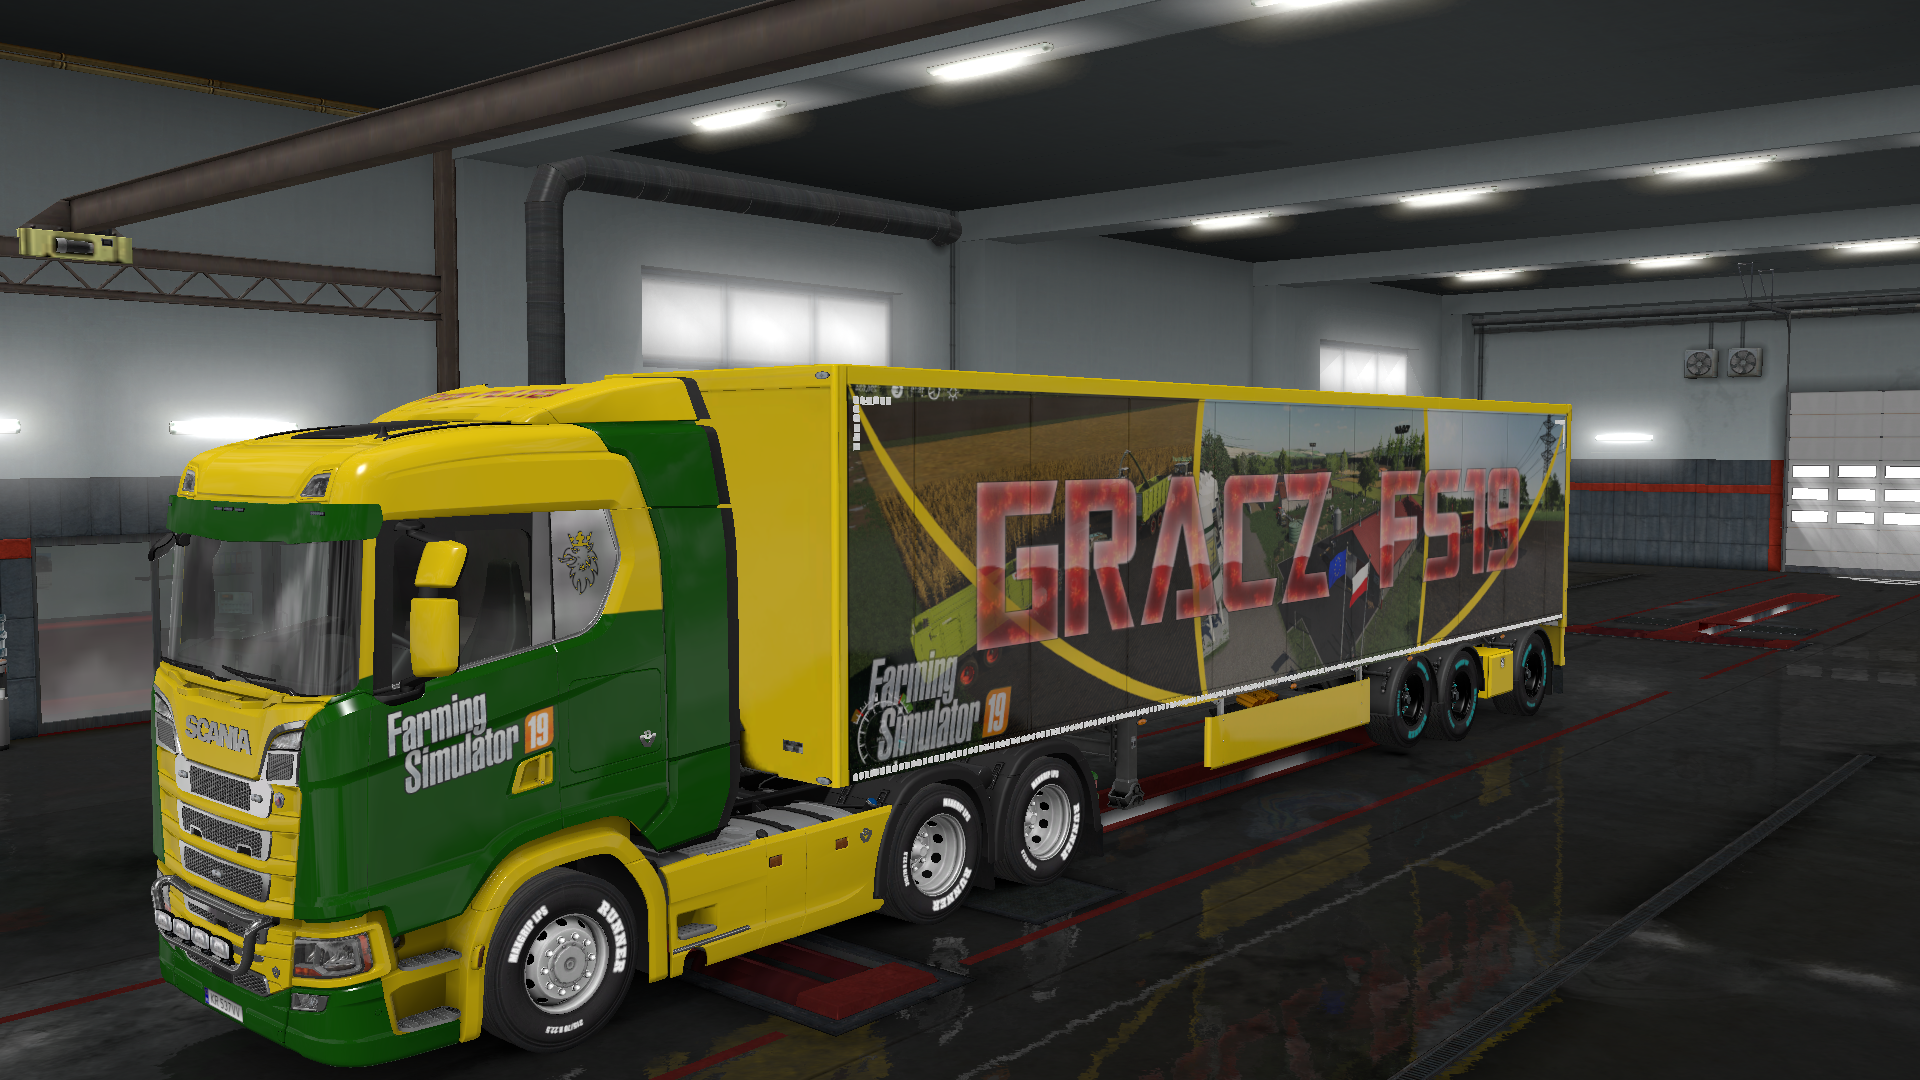
- For semi-trailers, the principle of doubling is identical, except the texture of the semi-trailer is a rectangle, not a square, as in the case of trucks. Its values start from 1024px / 512px as well as 2048px / 1024px and up 4096px / 2048px. In my opinion, it is best to work with 4096px / 2048px and the quality is also excellent.
- To use mods studio you must install the .NET Framework in the version specified on the mods studio developer website. However, to use the .NET Framework and for everything to display correctly you need to install Visual studio and this information is often provided on the website when downloading the .NET Framework. Read exactly what you need to run a specific package / program.
- If you are doing an advanced truck, you also need to set accessories. You will know what’s going on when you start your first project. The point is that advanced trucks have a accessories. For some of them you will find templates in the internet, for others, I don’t know because I have never looked for every temp. I do it so that I create a png square with dimensions 64px / 64px (of course, if you do 16/16 it will work too). Then I set the square with a color matching the skin of the truck and that’s it. I set it later in the mods studio for accessories and mark all the boxes on the right. If you do not have boxes, only information about entering the name of the element, it means that you do not have correctly installed all components such as net framework or visual studio.
- The most important tip 😉 Everything must match. As I mentioned, one pixel difference is enough and it will crash. If you don’t believe me, do an experiment. Skin internal name – the point is that it is like the name that the program will set in most file names, textures, tobj files etc. It must be unique with each new mod/skin so that there are no conflicts. DON’T GIVE MORE THAN 10 CHARACTERS.
Program author’s website https://www.mods.studio/
How to enable the developer console – Euro Truck Simulator 2
Go to Documents\Euro Truck Simulator 2 and find a file called:
config.cfg
Open it with Notepad and find a line:
uset g_developer “0”
Change it to:
uset g_developer “1”
Find the line:
uset g_console “0”
Change it to:
uset g_console “1”
Save the file and that’s it.
Start the game and you should be able to use console by pressing the button just below the Esc. In my case, this one:

The Crew 2 and problem with Logitech G29 steering wheel, how to fix the Issue.
Note!!! You have to do everything in the right order and the steering wheel will work properly.
Step 1 – Check the file attribute.
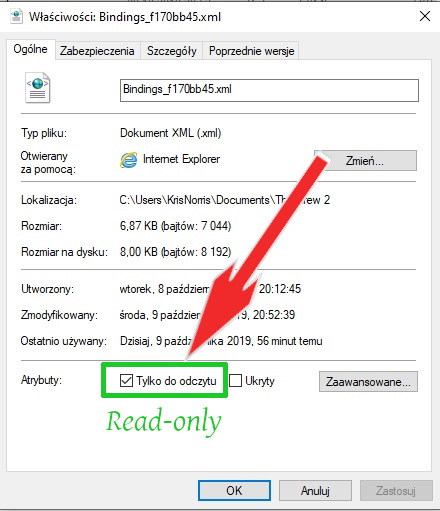
Go to: This Pc/Documents/The Crew 2/ and find the file called Bindings_f170bb45. Once you locate it, right click on it and select properties.
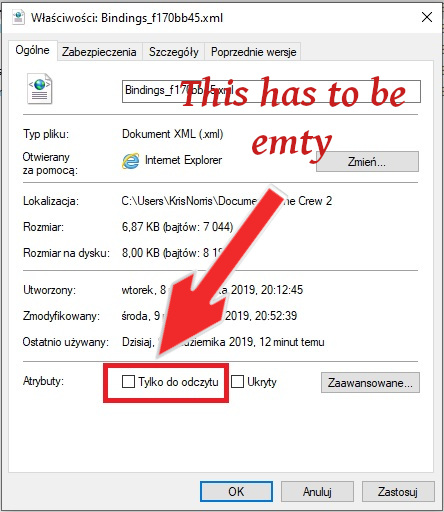
If the read-only attribute is unchecked, this is how it should be. Click ok and start the game.
Step 2 – Steering wheel settings.
Start the game, enter the steering wheel settings and set all settings to default and restart the game. When the game restarts, check in which direction the steering wheel is incorrectly twisted and remember this. Enter the steering wheel settings and set everything the way you like. Assign all necessary buttons. Set up the car, boat etc. Do it slowly and carefully because after you finish you won’t be able to change it. (This is because, finally, we will change the attribute of the file responsible for these settings and the game will not be able to overwrite it. Otherwise, after starting the game the file would overwrite and all our work does not make any sense).
If you have already set everything up, close the game and do not start it until until we finish!!! This is very important, do not START THE GAME!!!
Step 3 – File editing.
Now go to the file which we found earlier. This Pc/Documents/The Crew 2/ and open this file using notepad++. If you have opened a file, type in the program’s search box: COMBINED


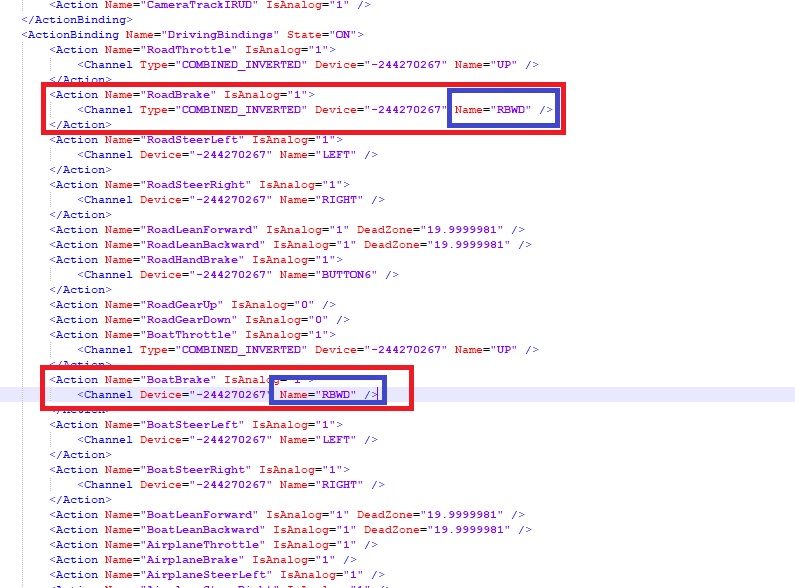
Now, if your steering wheel turn right you have to delete COMBINED, but if the steering wheel turn left you have to delete COMBINED INVERT. Look at the picture:

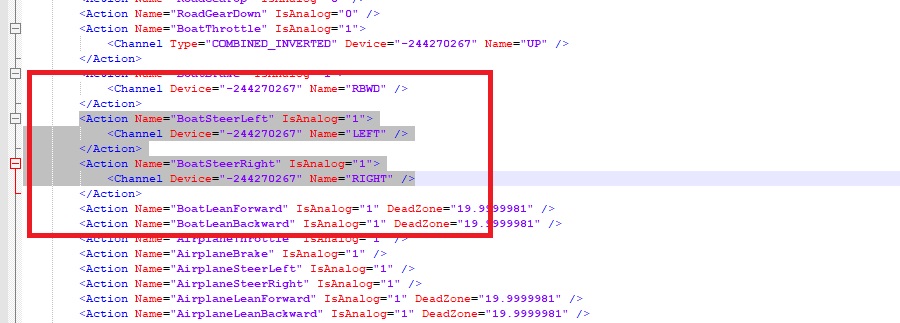
As you can see, this is in the steering wheel settings section. You have to do exactly the same in boat section. It should be little bit lower. Look at the pictures:
In the car settings and in the boat settings you have to add button brake name. In line RoadBrake and BoatBrake you have to type RBWD between quotation marks at the end of the line. Look at the photo:
Save the file. We not finished yet.
Step 4 – Change the file attribute to Read-only.
Go to: This Pc/Documents/The Crew 2/ and find the file which we just edited. (Bindings_f170bb45). Once you locate it, right click on it and select properties and change attributes for Read-only.
That’s all. Run the game and check if it works. If you mixed up in a file and would like to start from the beginning, all you have to do is change the attributes of the file we just edited and the game will overwrite it with the default settings.

ETS2 – Camera 0 without numpad not working? No problem.
First, you need to find controls file. File is named controls.sii and is located in: This PC/Documents/Euro Truck Simulator 2/profiles/profile number.
Open the controls.sii file usung a notepad++ and search for this lines:
config_lines[151]: “mix dbgfwd keyboard.num8?0“
config_lines[152]: “mix dbgback keyboard.num5?0“
config_lines[153]: “mix dbgleft keyboard.num4?0“
config_lines[154]: “mix dbgright keyboard.num6?0“
config_lines[155]: “mix dbgup keyboard.num9?0“
config_lines[156]: “mix dbgdown keyboard.num3?0“
The numbers in brackets after config_lines may be different. We have to edit the the part just after keyboard. Delete num8 but only num8 and enter there the key you want to use. dbg…fwd – Forward – set the keys you want to use according to the shortcuts.
For example:
config_lines[151]: “mix dbgfwd keyboard.w?0“
config_lines[152]: “mix dbgback keyboard.s?0“
config_lines[153]: “mix dbgleft keyboard.a?0“
config_lines[154]: “mix dbgright keyboard.d?0“
config_lines[155]: “mix dbgup keyboard.q?0“
config_lines[156]: “mix dbgdown keyboard.e?0”
Save the file and that’s all!