Papa Smurf Mods

Mods, skins, ATS, ETS2 and more

Where Did Scania R 2009 and other old trucks hide in the New SCS Features?

Where is the Scania R 2009? Where is the Scania Streamline? SCS introduced several new features in the latest update. To purchase older truck models, you need to visit the used truck dealer, as shown in the picture. Unfortunately, the trucks are generated there randomly, and you need a bit of luck to find the one you want. I hunted for the Scania R 2009 for quite a while, but I finally succeeded. Personally, I’m not a big fan of the idea of used trucks, but well, the creator can do anything 😉

Battling Mod Theft: A New Direction and Choices

Hello modding community!

I want to share an important decision regarding my modding work. Lately, I’ve noticed a growing issue of my mods being stolen—creations I craft with passion and share with the community. It’s an inevitable challenge that many mod creators face on a daily basis.

Unfortunately, most of my free modifications end up on other platforms without my consent. It’s a situation that not only harms my work but also discourages me from sharing new projects. After some reflection and a bit of a crisis, I’ve decided to take a new direction in my endeavors.

With regret, I announce that the majority of my mods will no longer be available on the Steam platform. Instead, I’ve chosen to focus on hosting them on my own website. This will not only allow me better control over quality and updates but, most importantly, will serve as a deterrent against unauthorized sharing.

During this transition, I’ll be implementing a new approach to access my mods. They will either be offered as paid content or, for free, exclusively available to supporting patrons who contribute to my work.

I appreciate your understanding and continued support as I navigate these changes. Let’s continue to make the modding community a vibrant and respectful space for creators and users alike. Thank you!

About PapaSmurfMods – Why this logo?

Once upon a time, in a faraway kingdom, there was a red dragon that terrorized the land. It was a mighty beast, with shimmering red scales that were as hard as steel. Its eyes glowed like fire, and its breath was like a furnace. The people of the kingdom lived in fear of the dragon, for it would swoop down from the sky and snatch up cattle, sheep, and even people. The king of the kingdom knew that he had to do something to stop the dragon. He called upon his bravest knights to slay the beast, but they were no match for the dragon’s strength and fire-breathing. They were all defeated, and the dragon continued to wreak havoc. One day, a young farm boy decided that he would take it upon himself to slay the dragon. He had heard tales of the dragon’s weakness, and he knew that he had to act quickly if he was to save his kingdom. He set off on his journey, armed only with a sword and his wits. He climbed the mountains where the dragon lived and finally came upon the beast. The dragon roared and breathed fire at the boy, but he dodged out of the way. The boy remembered the tales of the dragon’s weakness and began to sing a lullaby. The dragon, intrigued by the boy’s song, listened and slowly started to calm down. The boy then began to tell stories and make the dragon laugh. The dragon found himself enjoying the boy’s company and soon forgot about his anger. Finally, the boy was able to climb onto the dragon’s back, and together they flew over the kingdom. The people were terrified when they saw the dragon, but the boy reassured them that the dragon would do them no harm. From that day on, the dragon became a friend to the people of the kingdom. The boy continued to visit the dragon, and the dragon would listen to his stories and sing along with his songs. The boy had shown that even the mightiest beast could be tamed with kindness and understanding. And so, the red dragon became a symbol of peace and friendship in the kingdom, a reminder that even the most fearsome creatures could be brought to heel with compassion and understanding.

Getting Started with Blender: A Guide to Installing and Using SCS Software Tool

Blender is a powerful 3D modeling software that is widely used by designers, artists, and modders. It’s a great tool for creating custom assets for games like Euro Truck Simulator 2 (ETS2) and American Truck Simulator (ATS). If you’re new to Blender and want to start using it for your modding projects, this guide will help you get started.

Installing Blender

The first step in using Blender is to download and install the software. Blender is available for free from the official Blender website, and there are versions available for Windows, Mac, and Linux. You can download the latest version of Blender by visiting the official Blender website (https://www.blender.org/download/).

Once you’ve downloaded Blender, simply run the installer and follow the on-screen instructions. Blender is relatively easy to install, and you should be up and running in just a few minutes.

Getting to Know Blender

Blender is a complex software, and it can be overwhelming for beginners. However, there are many resources available online to help you get started with Blender. Some useful resources include:

Installing SCS Software Tool in Blender

The SCS Software Tool is a plugin that allows you to import and export game assets for ETS2 and ATS directly in Blender. Installing the SCS Software Tool is relatively easy, and you can follow these steps to get started:

  1. Download the SCS Software Tool from the official SCS Software website (https://modding.scssoft.com/wiki/Documentation/Tools/SCS_Blender_Tools/Installation).
  2. Extract the contents of the downloaded file to a location on your computer.
  3. Open Blender and navigate to Edit > Preferences > Add-ons.
  4. Click the Install button and navigate to the extracted SCS Software Tool files.
  5. Select the scs_blender_tools.zip file and click the Install Add-on button.
  6. The SCS Software Tool should now be installed in Blender. You can access it by clicking on the SCS Tools tab in the Properties panel.

Conclusion

Blender is a powerful 3D modeling software that is widely used by modders and game designers. If you’re new to Blender, getting started can be a bit overwhelming. However, there are many resources available online to help you learn and master Blender. With the SCS Software Tool plugin, you can easily import and export game assets for ETS2 and ATS directly in Blender, making it a great tool for modding. By following the steps outlined in this guide, you can get started with Blender and start creating custom assets for your favorite games.

Here are some useful links for Blender and SCS Software Tool tutorials on YouTube:

Blender Tutorials:

  1. Blender Beginner Tutorial Series by Blender Guru: https://www.youtube.com/watch?v=TPrnSACiTJ4&list=PLjEaoINr3zgHs8uzT3yqe4iHGfkCmMJ0P
  2. Donut Tutorial by Blender Guru: https://www.youtube.com/watch?v=JYj6e-72RDs
  3. Blender 2.8 Tutorial – Introduction to 3D Modeling by CG Geek: https://www.youtube.com/watch?v=TPrnSACiTJ4
  4. Blender 2.8 Tutorial – Create a Realistic Nature Scene by CG Geek: https://www.youtube.com/watch?v=-Yi0YYfIaDw
  5. Blender 2.8 Tutorial – Beginner’s Guide to Sculpting by Blender Guru: https://www.youtube.com/watch?v=8gSyEpt4-60

SCS Software Tool Tutorials:

  1. SCS Blender Tools Tutorial by Squirrel: https://www.youtube.com/watch?v=MG1xQB55Jho
  2. SCS Blender Tools Tutorial by Harven: https://www.youtube.com/watch?v=ELA1DwI-XvA
  3. How to Create Custom Trailers for ATS/ETS2 with Blender by DeezNutties123: https://www.youtube.com/watch?v=mlCqt5V7p68
  4. How to Export and Convert Custom Models for ETS2/ATS by Overfloater: https://www.youtube.com/watch?v=wxbjKJmnSj0
  5. Creating Custom Trucks for ETS2/ATS with Blender and SCS Tools by DeezNutties123: https://www.youtube.com/watch?v=7ScB8QhSGcA

These resources should provide you with a solid foundation to start working with Blender and SCS Software Tool. Happy learning and modding!

From Skin Mods to Advanced Mods in Blender: My Modding Journey with ETS2

I started my modding journey with Euro Truck Simulator 2 (ETS2) by creating skin mods for trucks and trailers. It was a great way to get started, as skin mods are relatively easy to create and don’t require advanced technical skills. After three years of creating skin mods, I’m now able to create more advanced mods using Blender, a 3D modeling software. In this post, I’ll share my modding journey and how I progressed from skin mods to more advanced mods using Blender.

Starting with Skin Mods

When I first started modding for ETS2, I was drawn to skin mods. Creating a skin mod involves modifying a game’s textures to create a new look for a truck or trailer. It was a great way to start modding, as skin mods are easy to create and don’t require advanced technical skills. For my first skins i didn’t use Mods Studio 2 which allowed me to learn and understand dependencies between def files.

After creating a few skin mods, I began to experiment with more complex designs. I started using more advanced techniques like using multiple layers and creating custom logos for my skin mods. As I got better at creating skin mods, I began to receive positive feedback from other players in the modding community. It was a great feeling to see other players using and enjoying my mods in the game.

Moving on to Advanced Mods with Blender

After creating skin mods for a few years, I began to feel limited by the scope of what I could create. I wanted to create more advanced mods that involved 3D modeling and custom animations. That’s when I started learning how to use Blender, a 3D modeling software. Blender is a powerful tool that allows you to create complex 3D models, animations, and game assets.

At first, learning Blender was a daunting task. It’s a complex software with a steep learning curve. But I was determined to learn and started with the basics. I watched tutorials, read articles, and experimented with simple models. It took time, but eventually, I became more confident with the software and started to create more complex models.

One of the first mods I created with Blender was a custom trailer. It was a challenging project, but I was able to use my experience creating skin mods to design the trailer’s textures. I also learned how to create custom 3D models and animations for the trailer. Now, after three years of modding, I’m able to create even more advanced mods using Blender. I’ve created custom lights, parts for trucks and trailers, and even map mods for Farming Simulator 19. It’s been a rewarding journey, and I’ve learned a lot along the way.

Conclusion

My modding journey with ETS2 started with skin mods, which was a great way to get started with modding. After creating skin mods for a few months, I began to feel limited by the scope of what I could create and started to learn Blender. It was a challenging journey, but it allowed me to create more advanced mods like custom parts for trucks and trailers, and buildings and mods for FS19. If you’re interested in modding for ETS2, I encourage you to start with skin mods and then progress to more advanced mods as your skills improve. It’s a rewarding hobby that allows you to create something unique and share it with other players in the modding community.

Why upload your skins to papasmurfmods.com

Euro Truck Simulator 2 is a game that has become well-known for its customization options, with players able to modify everything from trucks to trailers to maps. One of the most popular forms of customization is skins, which allow players to change the appearance of their trucks. If you’re an author of ETS2 skins, here are some reasons why you should consider uploading your work to papasmurfmods.com.

Wide Audience

papasmurfmods.com is a well-established website that has become a go-to destination for many ETS2 players looking for mods. By uploading your skins to this website, you’re able to reach a wider audience than if you were just to post them on your own blog or social media pages.

Easy to Upload

Uploading your skins to papasmurfmods.com is easy and straightforward, with a user-friendly interface that makes the process a breeze. All you need to do is upload your skin files, and provide a brief description of your work.

Regular Updates

papasmurfmods.com is updated regularly, with new skins being added all the time. By uploading your skins to this website, you’re able to keep your work fresh and up-to-date, ensuring that it remains relevant to the game’s community.

In conclusion, if you’re an author of ETS2 skins, uploading your work to papasmurfmods.com is definitely worth considering. With its wide audience, easy-to-use interface, regular updates, helpful community, and greater exposure, it’s the perfect platform to showcase your work and connect with the game’s community.

How to Start Modding for ETS2 or ATS: Why Skin Mods and Mods Studio 2 are Great Starting Points

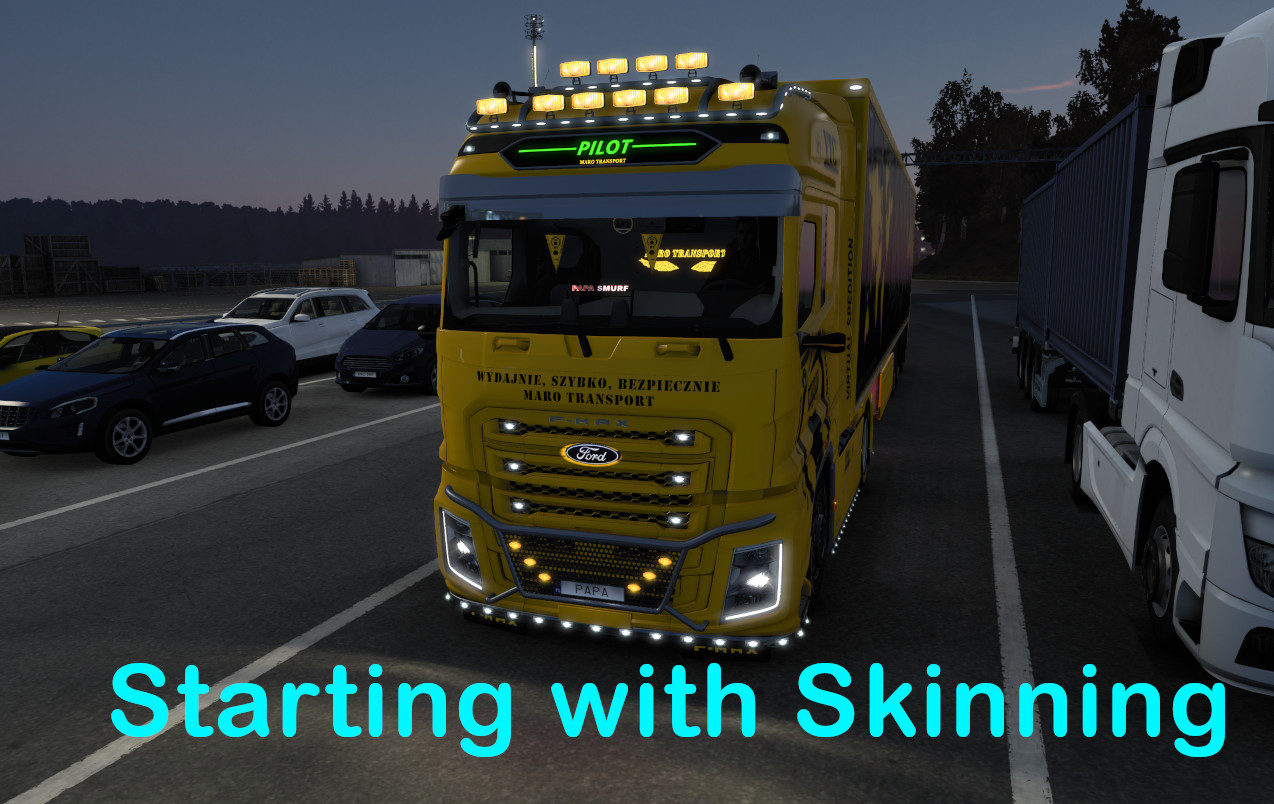
If you’re a fan of video games, you may have heard of the term “modding.” Modding, short for “modifying,” refers to the process of altering a game’s code, assets, or functionality to add new features, improve performance, or enhance the game’s visual appeal. Modding is a popular hobby for many gamers, and it can lead to exciting and unique game experiences. In this article, we’ll discuss how to start modding and why it’s worth starting with skinning first.

Starting with Skinning

When you’re just starting with modding, it can be overwhelming to know where to begin. However, we recommend starting with skinning. Skin mods involve modifying a game’s textures and models to create a new look for a character, weapon, or environment. Skinning is a relatively simple and straightforward way to get started with modding, and it can be a great way to practice using the tools you’ll need to create more complex mods later.

Why Skin Mods are a Great Place to Start

Here are some reasons why skin mods are a great place to start with modding:

  1. They’re Easy to Create: Skin mods typically involve editing a few files and don’t require programming knowledge or advanced technical skills. This means that you can start creating mods quickly without needing to spend a lot of time learning complicated tools or software.
  2. They’re Fun to Create: Skin mods are a great way to let your creativity shine. You can use your favorite art programs to design your own textures and models or modify existing ones to create something new and unique.
  3. They’re Easy to Share: Once you’ve created a skin mod, you can easily share it with other gamers. Many games have modding communities where players can upload and download mods, so you can get feedback on your work and connect with other modders.

How to Get Started with Skinning

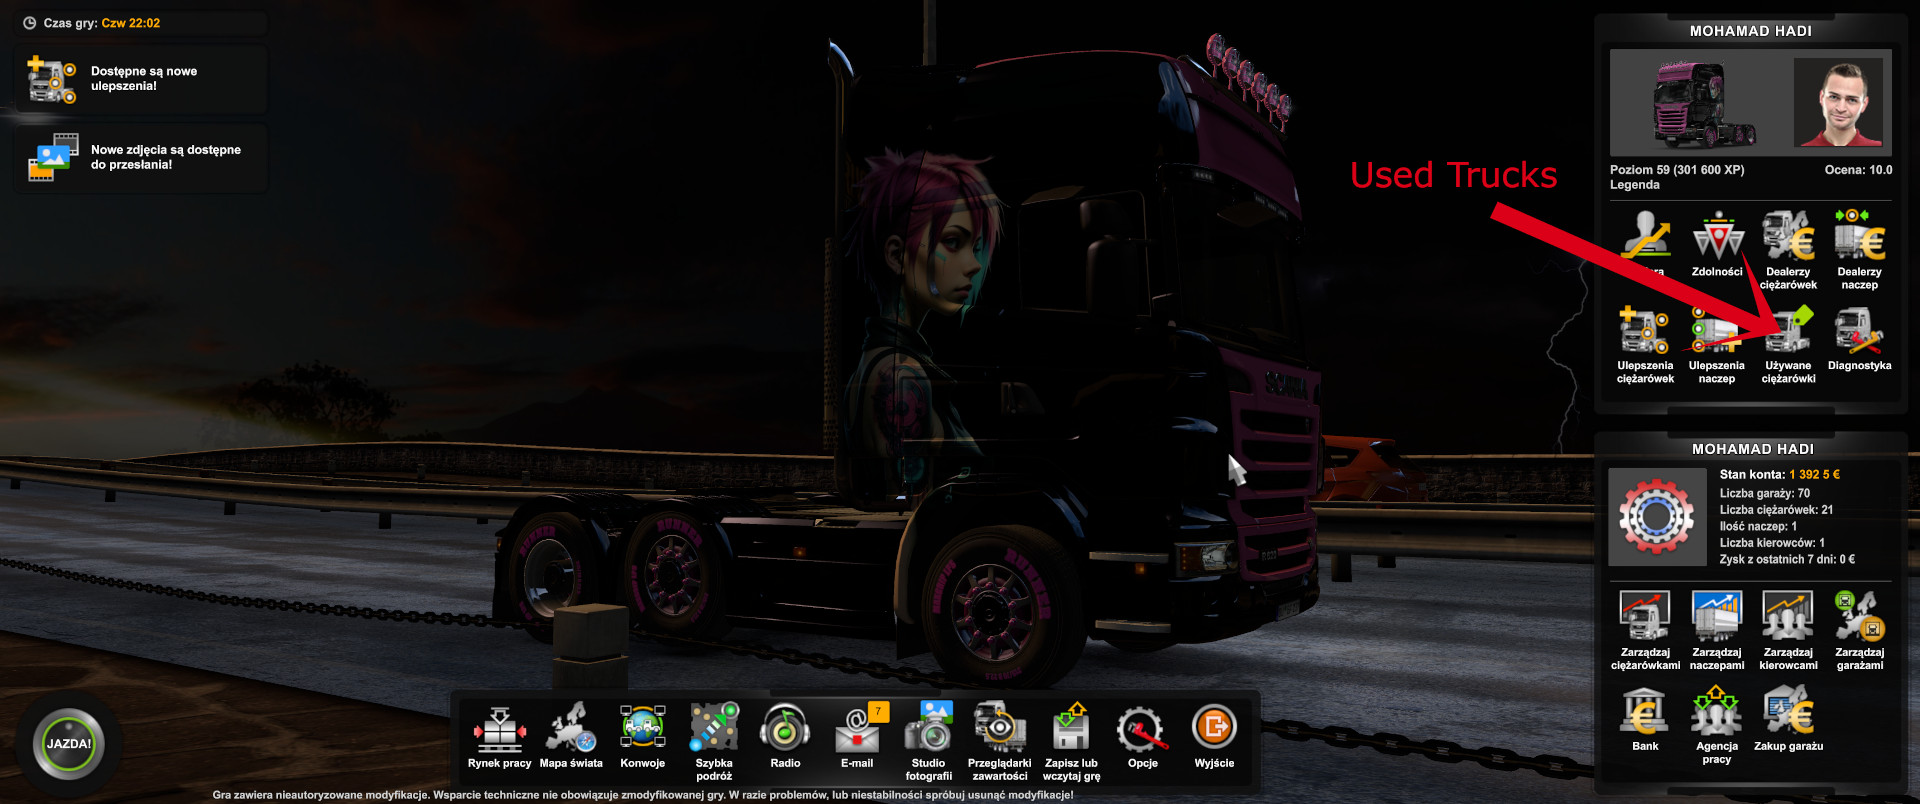
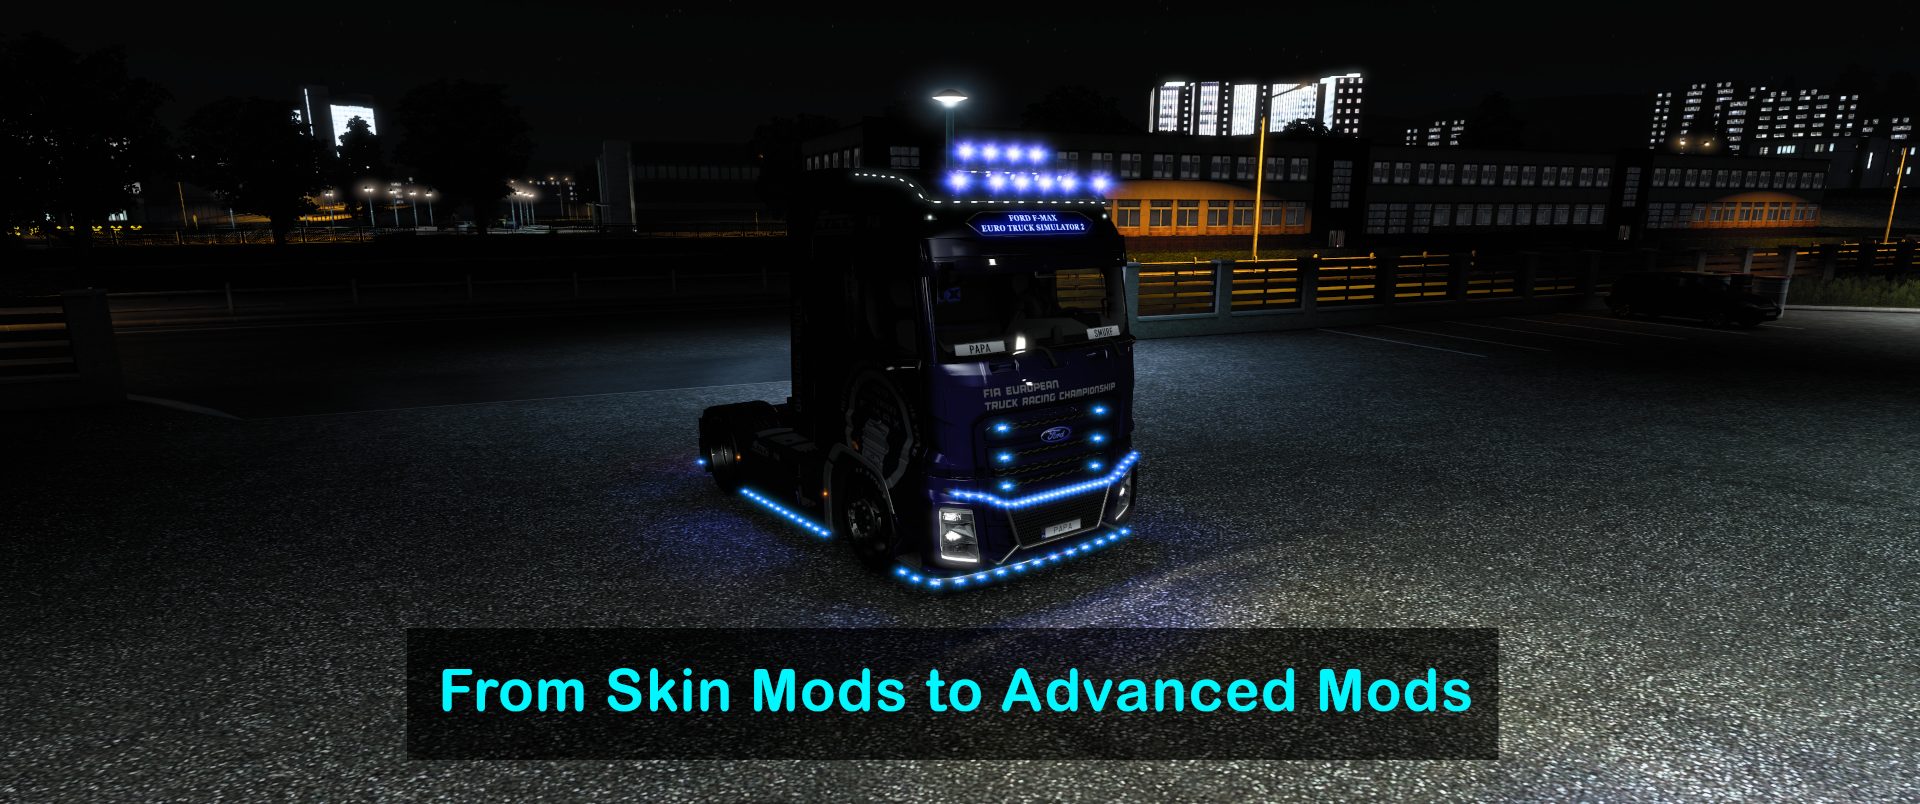
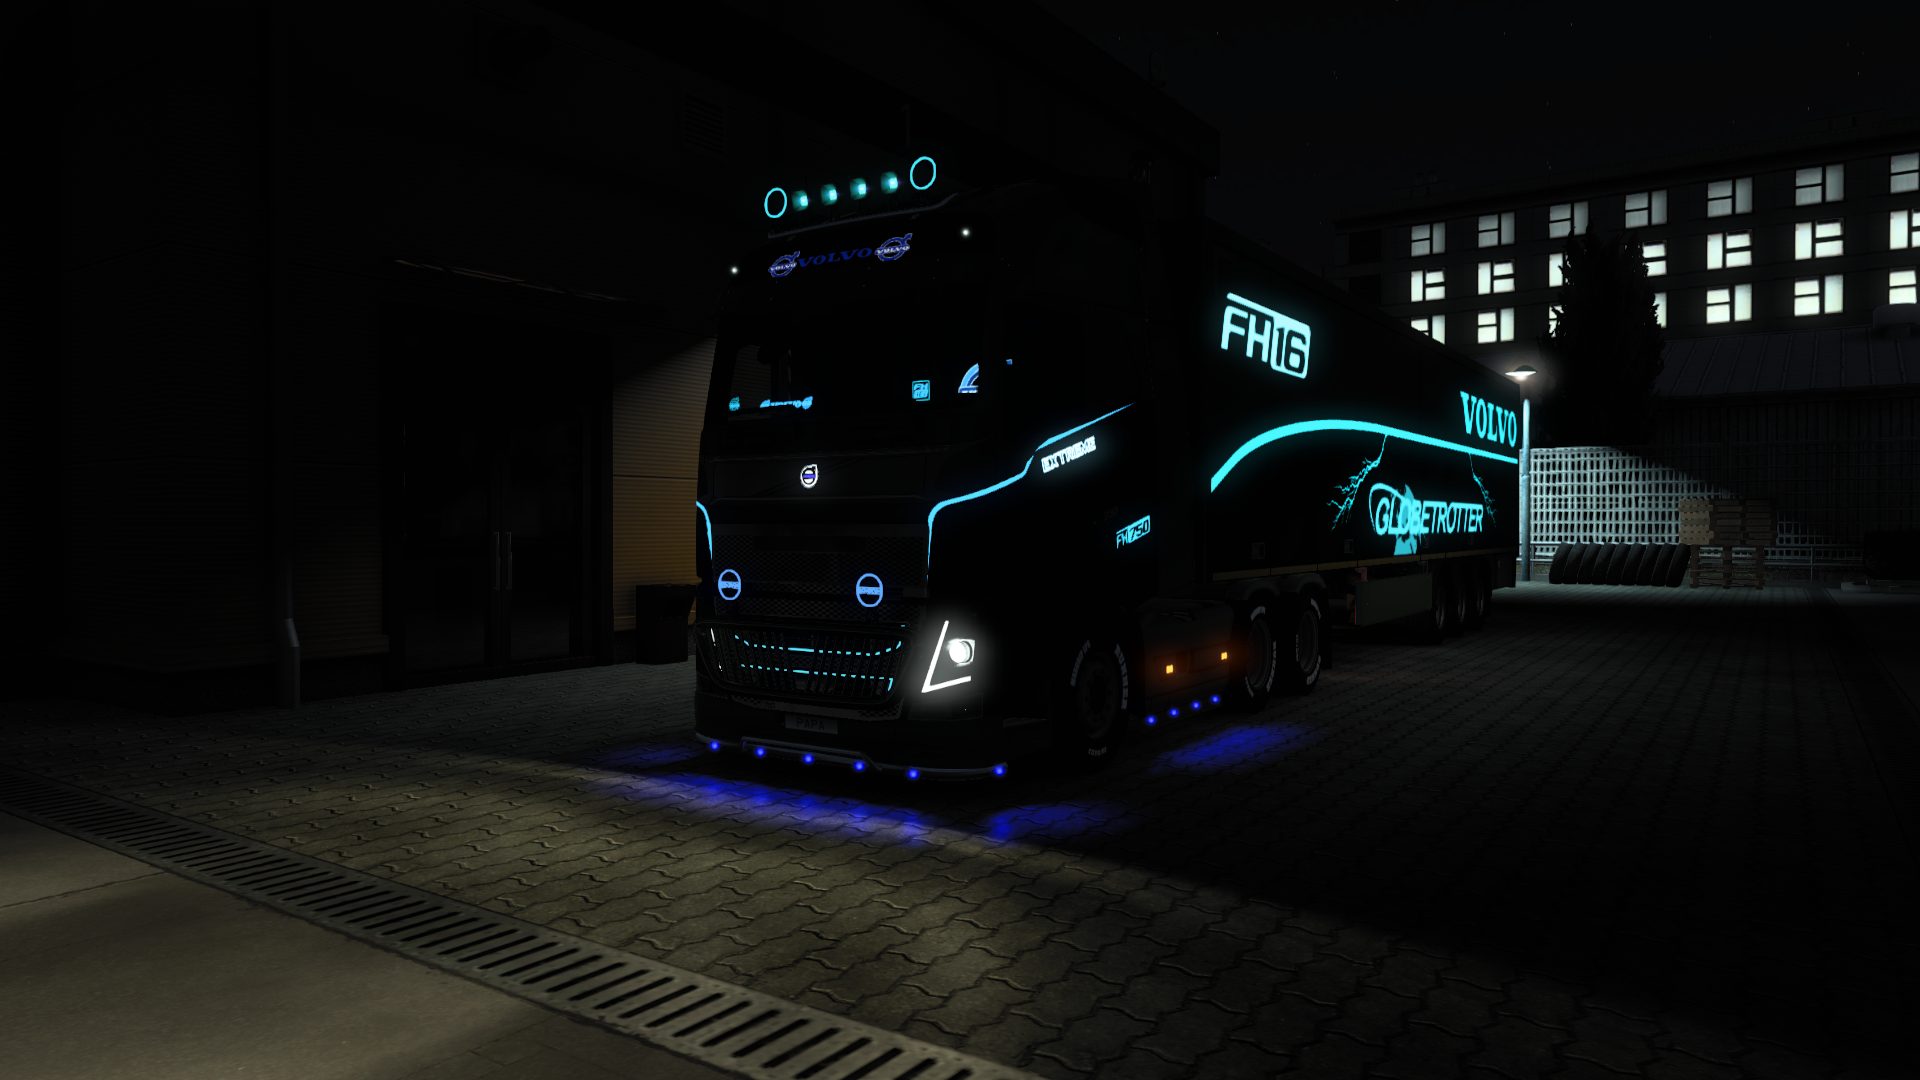
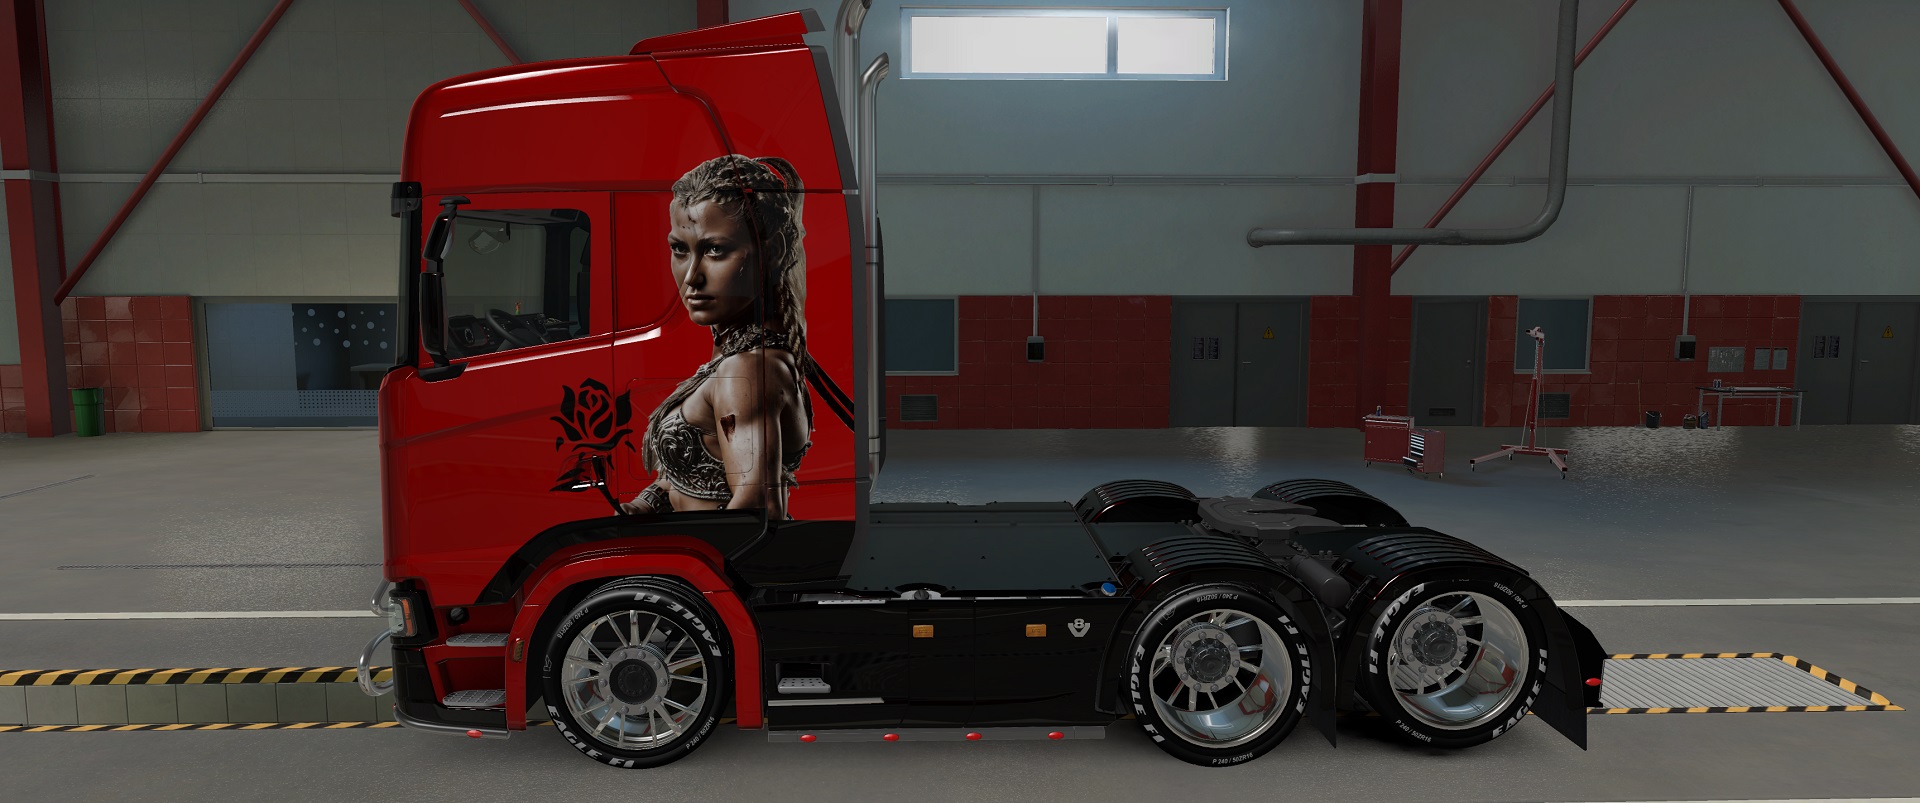
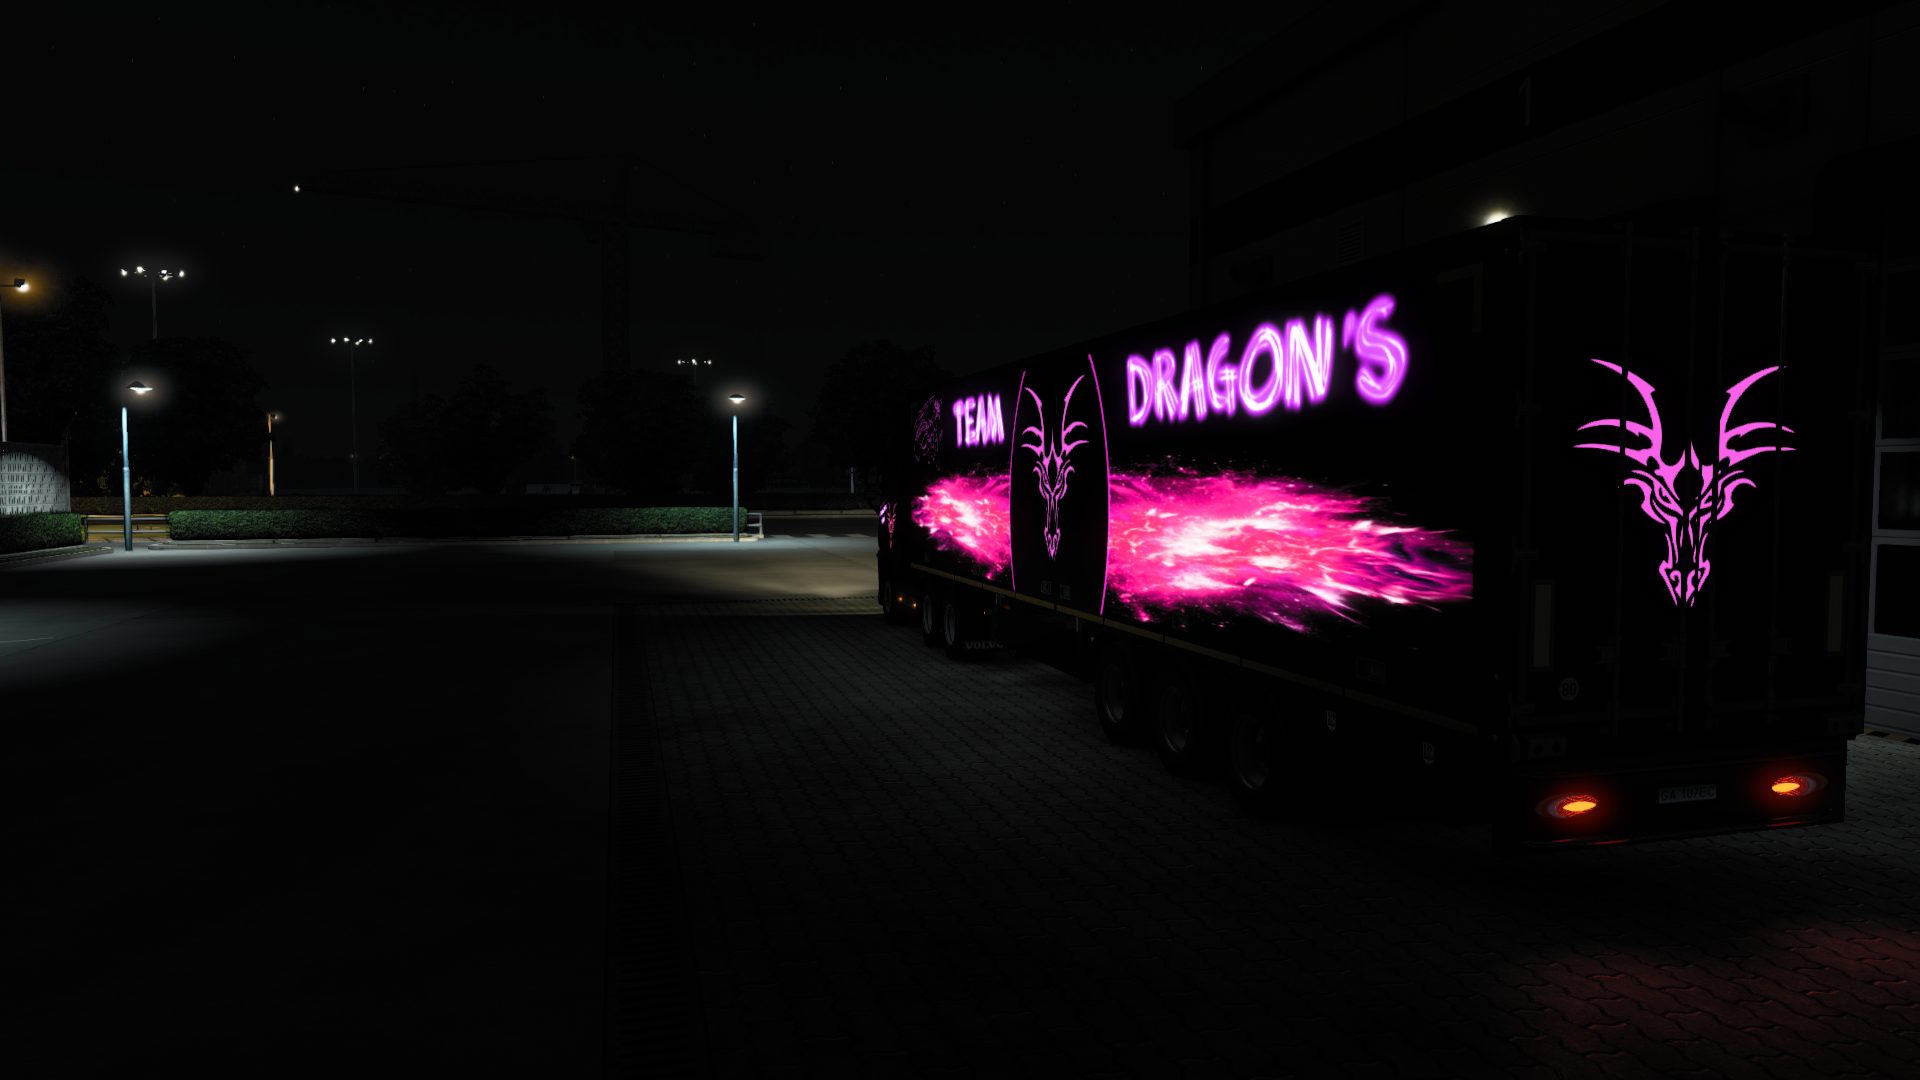
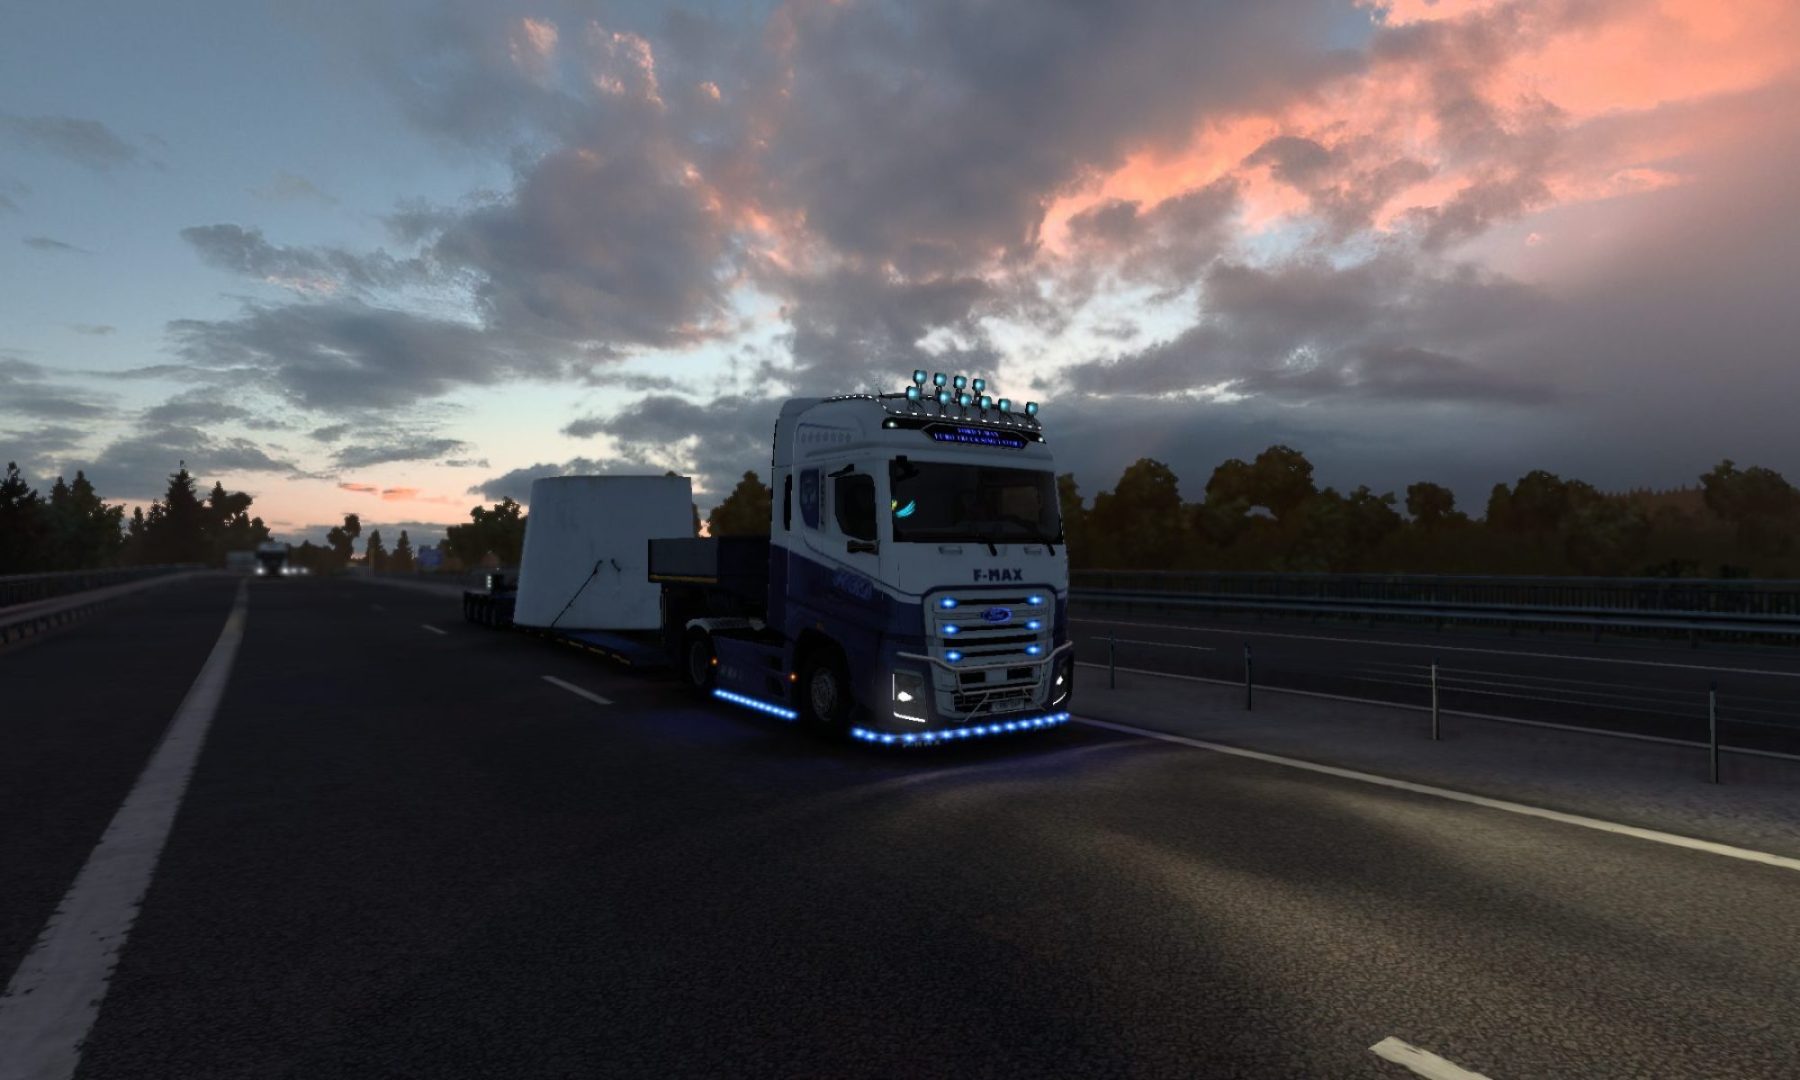
Skin mods, or texture mods, involve modifying a game’s textures to create a new look for a truck or trailer. Skin mods are a great place to start because they’re relatively simple to create and don’t require advanced technical skills. You can use a photo editing program like GIMP or Photoshop to design your own textures, or you can use existing textures as a base for your mods. Skin mods are also easy to share with other players, making them a great way to get feedback and connect with other modders.

Using Mods Studio 2 to Create Skin Mods

Mods Studio 2 is a free, user-friendly modding tool that makes it easy to create skin mods for ETS2 and ATS. With Mods Studio 2, you can create skins for trucks and trailers without needing to edit the game’s files manually. Mods Studio 2 includes templates for popular truck models, making it easy to get started. The program also allows you to preview your skin in real-time, so you can see how it will look in the game.

If you’re new to modding, using Mods Studio 2 is a great way to get started. The program is intuitive and easy to use, and it includes helpful features like color swatches and a preview mode that lets you see your skin in the game before you export it. You don’t need to have programming knowledge or advanced technical skills to use Mods Studio 2, which makes it a great tool for beginners.

Creating Skins without Mods Studio 2

While Mods Studio 2 is a great tool for creating skin mods, it’s worth noting that it’s not the only way to create skins for ETS2 or ATS. If you prefer to work with the game’s files directly, you can create skin mods manually. This involves editing the game’s def files and using a text editor to modify the game’s .sii files. This method requires more technical knowledge and is more time-consuming, but it gives you more control over the mod and can be a rewarding challenge for more experienced modders.

Conclusion

Modding is an exciting and rewarding hobby for gamers, and starting with skinning is a great way to get started. Skin mods are easy to create, fun to make, and easy to share with other gamers. If you’re interested in modding, take the first step and start experimenting with skinning – you never know where it might take you!

How to use mods in ETS2?

Euro Truck Simulator 2 is a game that has become well-known for its customization options, with players able to modify everything from trucks to trailers to maps. This is made possible through the use of mods, which are user-created modifications that alter the game in various ways. If you’re new to using mods in ETS2, here’s a step-by-step guide to help you get started.

Step 1: Download Mods

The first step to using mods in ETS2 is to download them. There are many websites that offer mods for the game, including the official Steam Workshop. Once you’ve found a mod you want to use, download it to your computer.

Step 2: Extract Files

Most mods are downloaded in compressed file formats like .zip or .rar. To use the mod, you’ll need to extract the files first. Right-click on the downloaded file and select “Extract” or use a program like 7-Zip to extract the files. Extracted files with the “scs” extension move to the mod folder.

Step 3: Move files to mod folder

Once you’ve extracted the files, you’ll need to move them to the mod folder. The mod folder is typically located in Documents/EuroTruckSimulator2/mod. Move the extracted scs files to the mod folder.

Step 4: Enable Mods in Game

Once you’ve moved the files to the mod folder, you’ll need to enable the mods in the game. Open ETS2 and go to the “Mod Manager” section. Here, you’ll see a list of all the mods you’ve downloaded. Make sure the mods you want to use are enabled by double-clicking on them and flipping them to the right.

Step 5: Enjoy Mods

Once the mods are enabled, you’re ready to enjoy them in the game. Launch the game and you’ll be able to see the changes the mods have made. For example, if you’ve downloaded a truck skin, you’ll be able to see and buy the new skin for your truck in workshop.

In conclusion, using mods in ETS2 is a great way to customize the game and make it your own. By following these steps, you’ll be able to download, extract, move, and enable mods in no time. Just make sure to only download mods from trusted websites, as some mods may cause conflicts or issues. Happy truck ride!

Drive in Style: Why Beautiful Skins are Essential for ETS2

Euro Truck Simulator 2 is all about immersing yourself in the world of trucking. And what better way to enhance that experience than by customizing your ride with beautiful skins?

Skins are custom graphics that can be applied to your truck in ETS2, allowing you to personalize your vehicle to your own tastes. There are a wide variety of skins available, ranging from realistic designs that mimic real-life trucking companies, to fun and whimsical skins featuring your favorite pop culture icons.

But why bother with skins? Here are a few reasons why using beautiful skins is essential for your ETS2 experience:

  1. Personalization – Skins allow you to add your own personal touch to your truck, making it feel like it truly belongs to you. Whether you want to represent your favorite brand or showcase your own creative designs, skins give you the opportunity to make your truck unique.
  2. Realism – Using realistic skins can help you fully immerse yourself in the world of trucking. By using skins that mimic real-life trucking companies, you can feel like you’re a part of the industry and add a new level of authenticity to your gameplay.
  3. Aesthetics – Let’s face it – driving a plain, unadorned truck can get a bit boring. Using beautiful skins can add a new level of visual appeal to your truck, making it stand out on the road and providing a fresh and exciting experience every time you play.
  4. Community – Finally, using beautiful skins can help you connect with the ETS2 community. Many modders and designers create skins specifically for other players to enjoy, and using these skins can help you feel like a part of a larger community of trucking enthusiasts.

In short, using beautiful skins in ETS2 is a great way to enhance your gameplay experience and make your truck truly your own. So why not try out a few and see which ones work best for you? The possibilities are endless!

Upgrade Your Ride: Lighting Mods for ETS2

Are you tired of the same old boring headlights in Euro Truck Simulator 2? Do you want to add a bit of personality to your ride? Look no further than lighting mods!

There are a plethora of lighting mods available for ETS2 that can enhance the appearance and functionality of your truck. Some popular options include:

Euro Truck Simulator 2 (ETS2) is a popular truck simulation game that allows players to drive a variety of trucks across Europe. One way to enhance your ETS2 experience is by installing lighting mods, which can add more realistic and immersive lighting effects to the game. In this post, we’ll explore some of the best lighting mods for ETS2 and how to install them.

  1. Realistic Graphics Mod (RGM) – This is one of the most popular graphics mods for ETS2, and it includes a range of lighting enhancements. The mod improves the overall graphics of the game, including lighting, weather effects, and more. RGM also includes a variety of options to customize your lighting settings, so you can adjust the brightness, saturation, and other settings to your liking.
  2. Project Next-Gen Graphics Mod (PNG) – Another popular graphics mod for ETS2, PNG adds a range of realistic lighting effects to the game. The mod includes improvements to the game’s weather effects, lighting, and textures. It also includes a range of customization options, so you can adjust the lighting settings to suit your preferences.
  3. Naturalux – Naturalux is a lighting mod that enhances the game’s lighting and weather effects, making the game feel more realistic and immersive. The mod includes a range of different lighting presets, so you can choose the one that best suits your tastes. Naturalux also includes improvements to the game’s sky and cloud textures, giving the game a more realistic and immersive feel.
  4. Realistic Vehicle Lights – This mod adds more realistic lighting effects to the game’s vehicles. The mod includes improvements to the game’s headlights, taillights, and other lighting effects, making them more realistic and immersive. This mod is a great choice if you want to enhance the realism of your ETS2 experience.

To install these lighting mods, you’ll need to download them from a modding website or the Steam Workshop, depending on where you purchased the game. Once you’ve downloaded the mod, extract the files to your ETS2 mod folder, which can usually be found in the Documents folder on your computer. Then, start the game and activate the mod in the game’s mod manager. You can then adjust the mod’s settings in the game’s options menu to customize the lighting effects to your liking.

In conclusion, lighting mods are a great way to enhance your ETS2 experience and make the game feel more realistic and immersive. By installing one or more of these mods, you can add more realistic lighting effects to the game, making your truck driving experience feel more authentic.