Papa Smurf Mods
Mods, skins, ATS, ETS2 and more
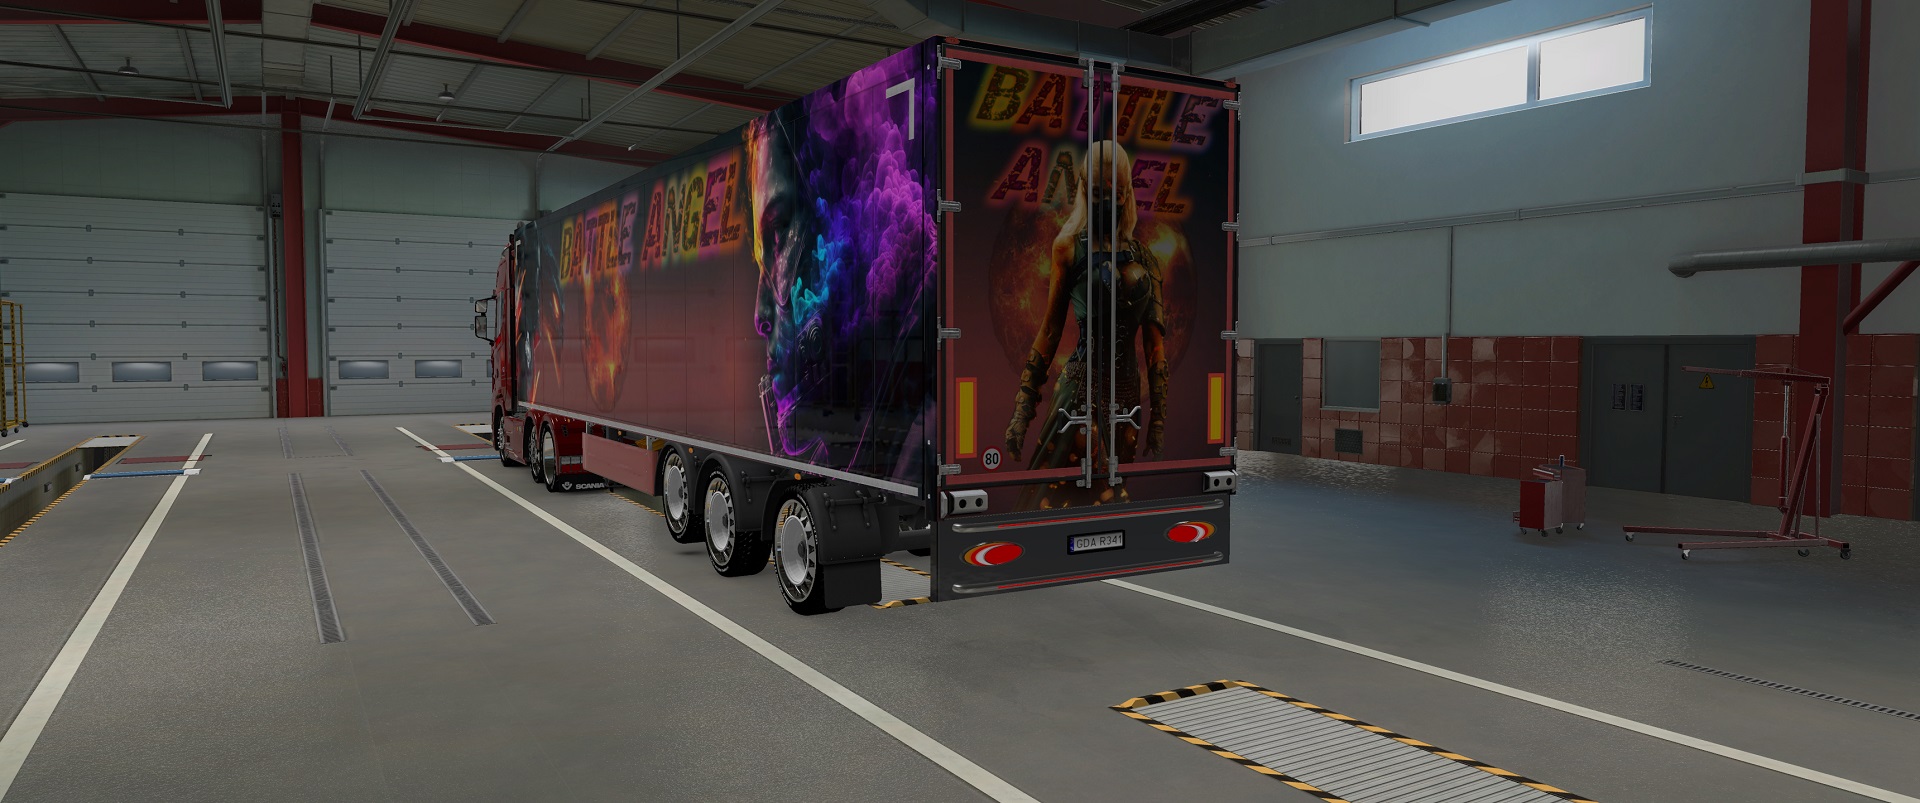
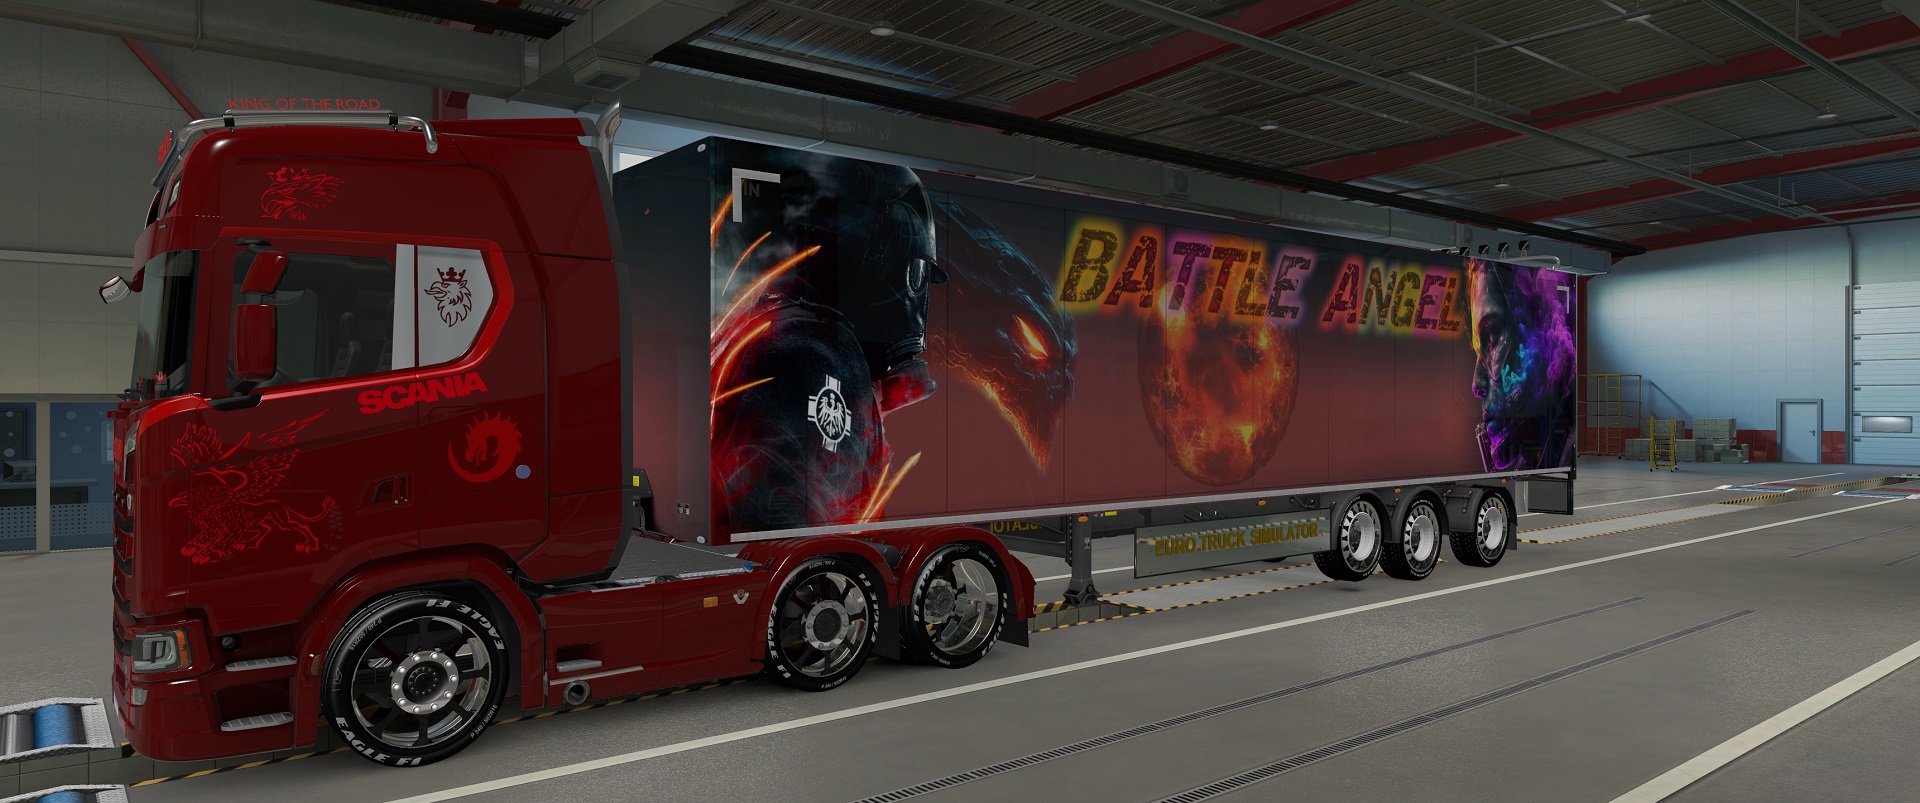
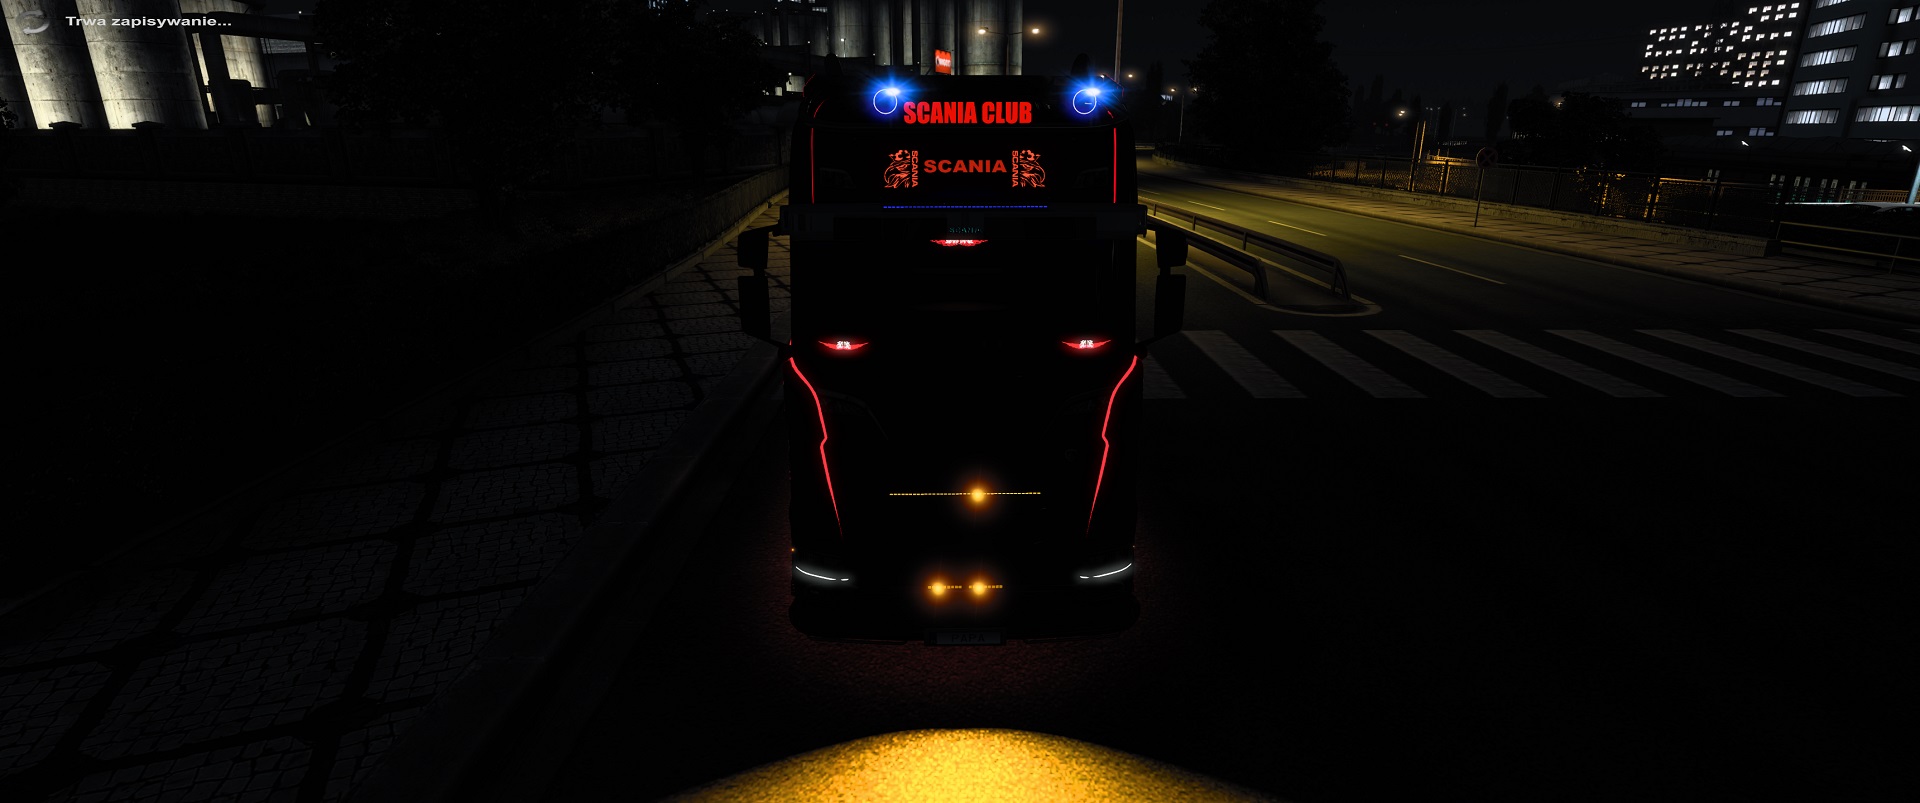
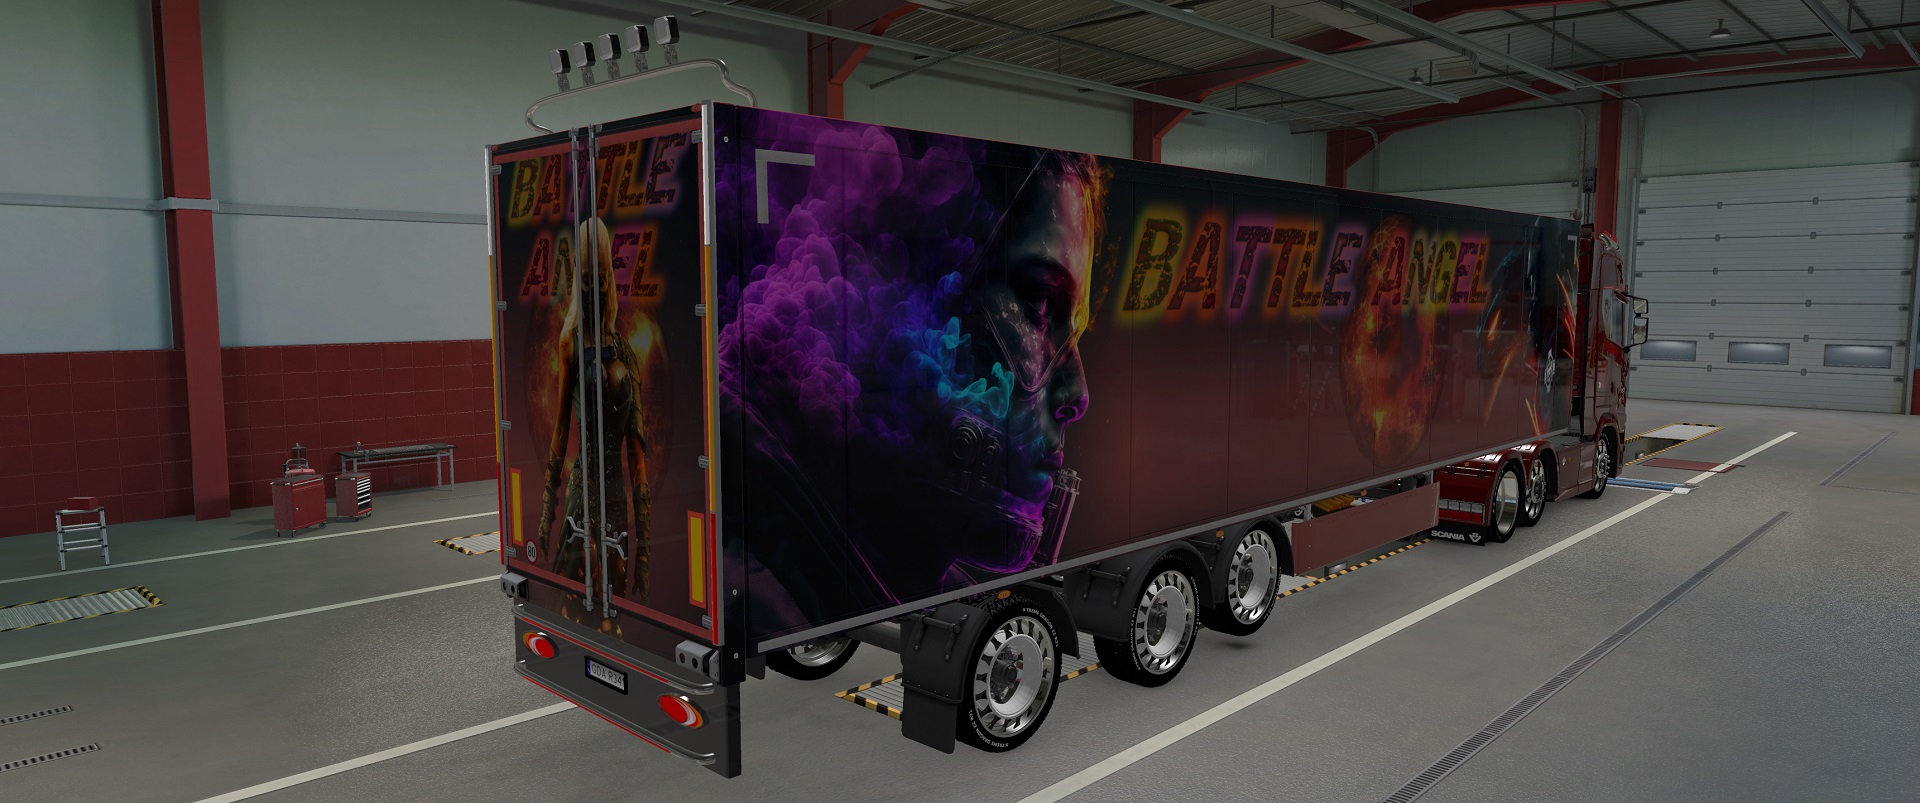
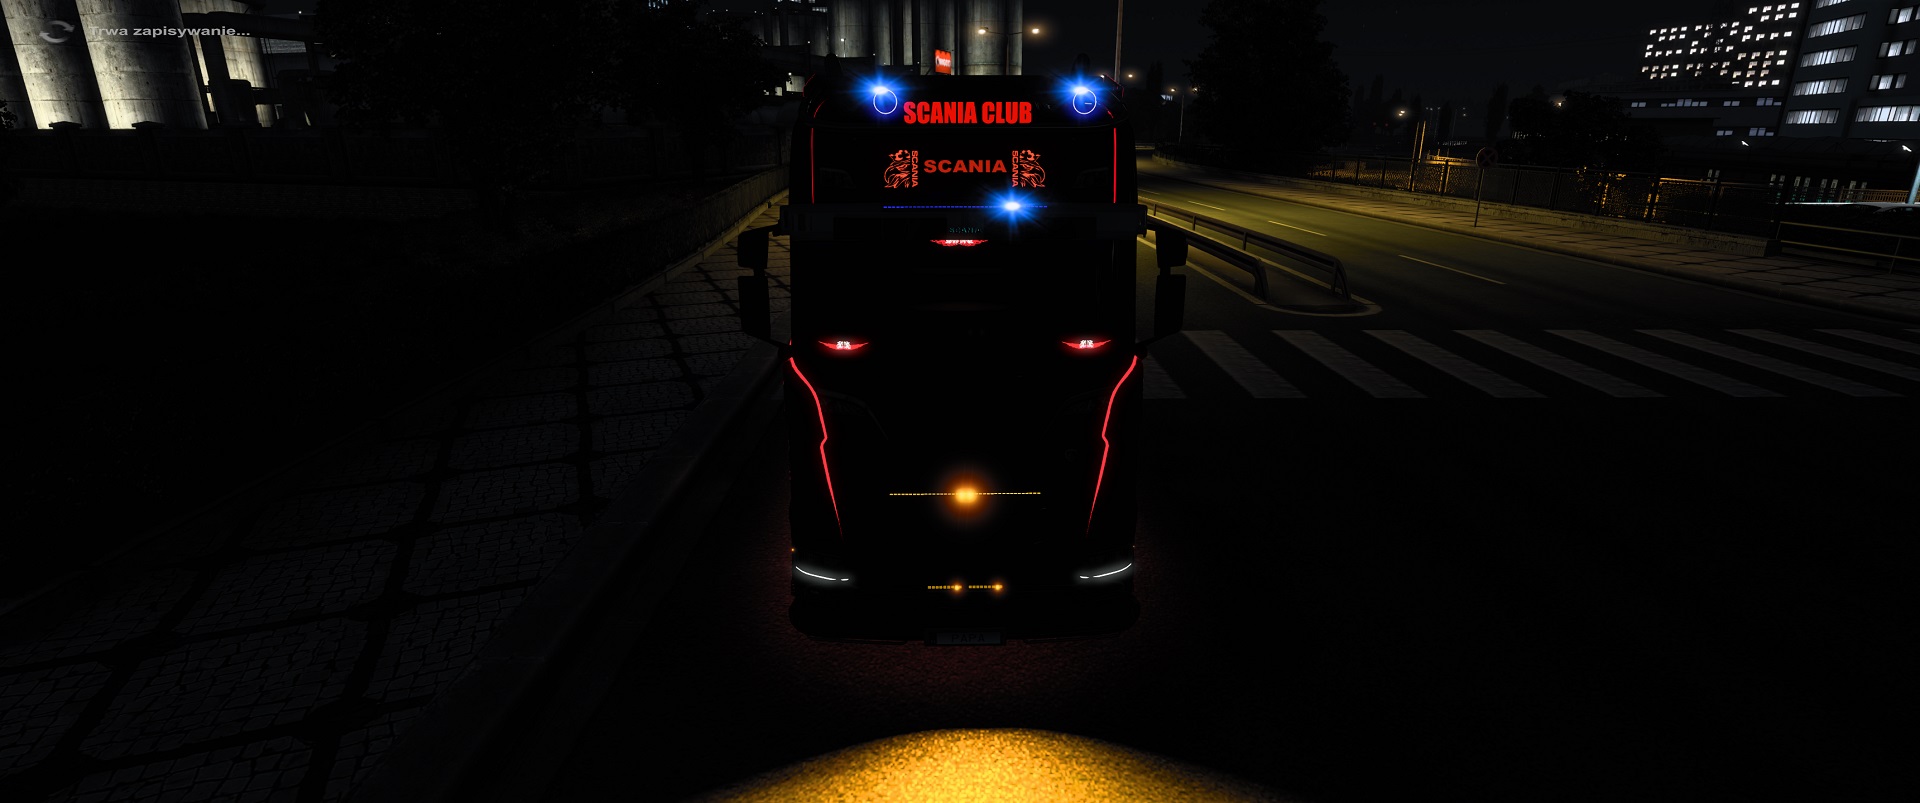
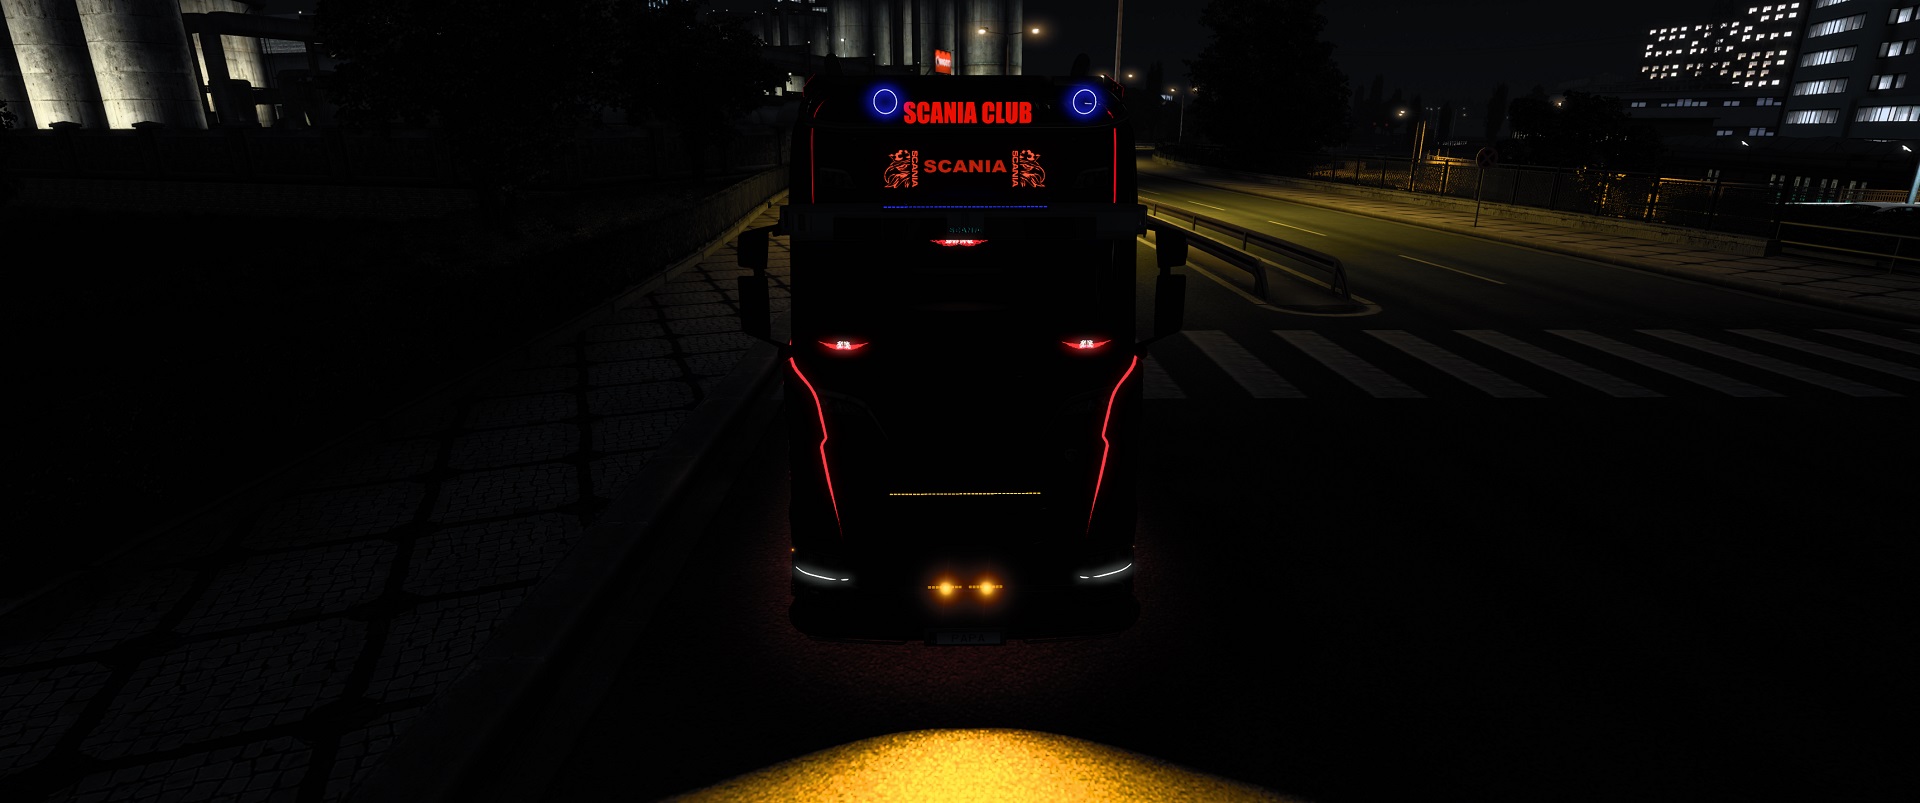
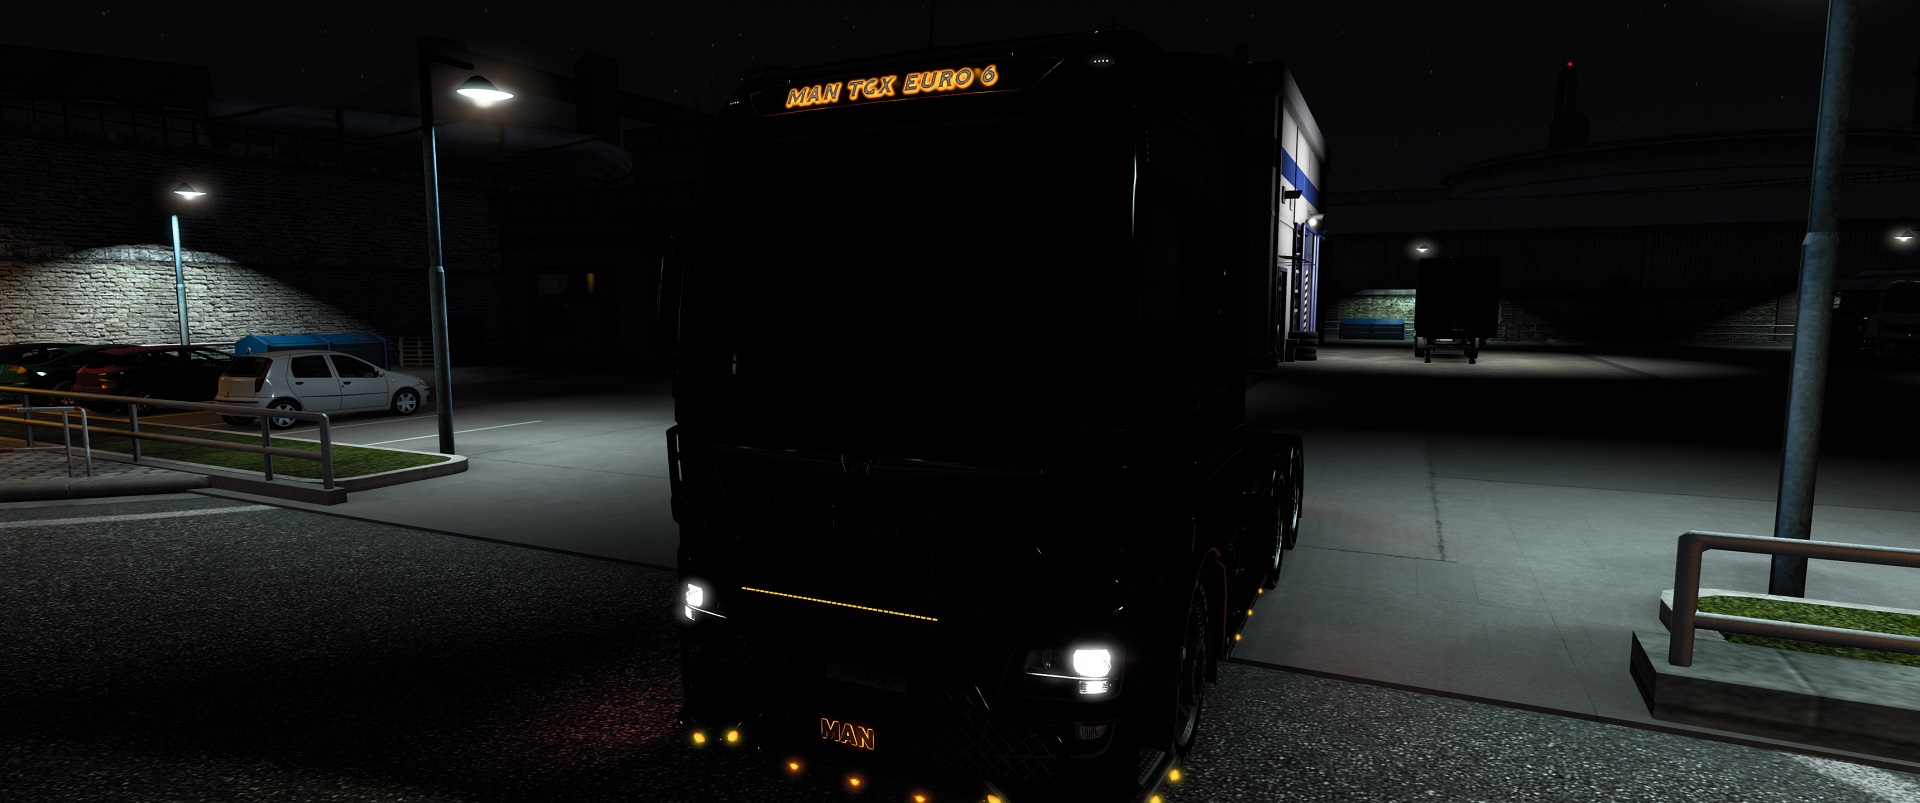
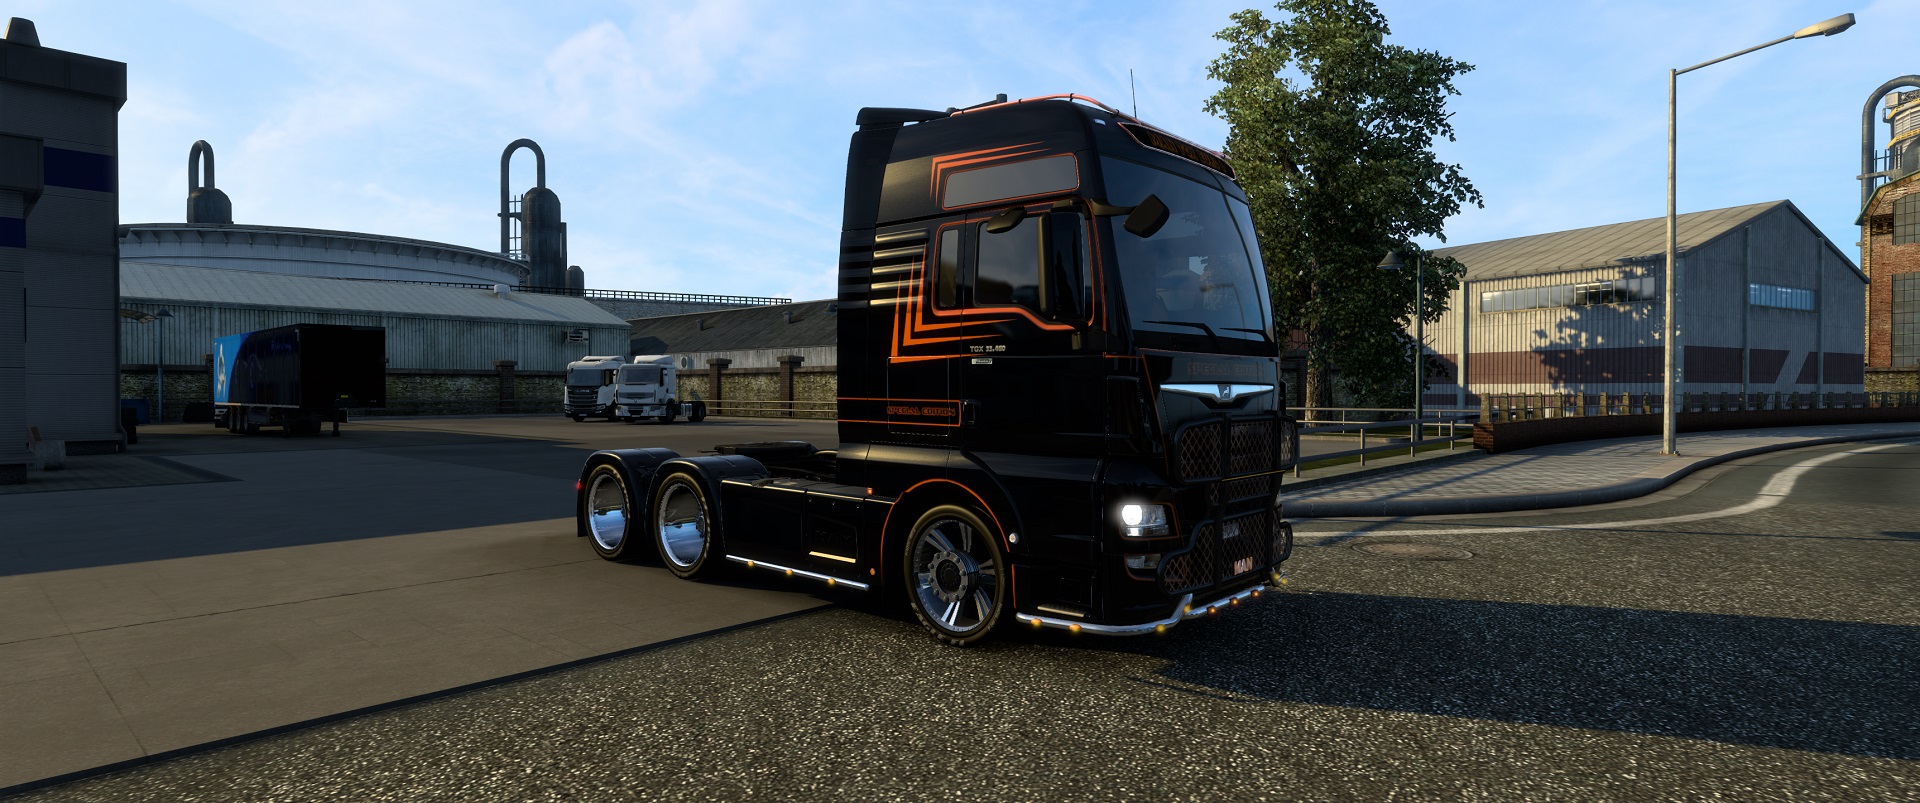
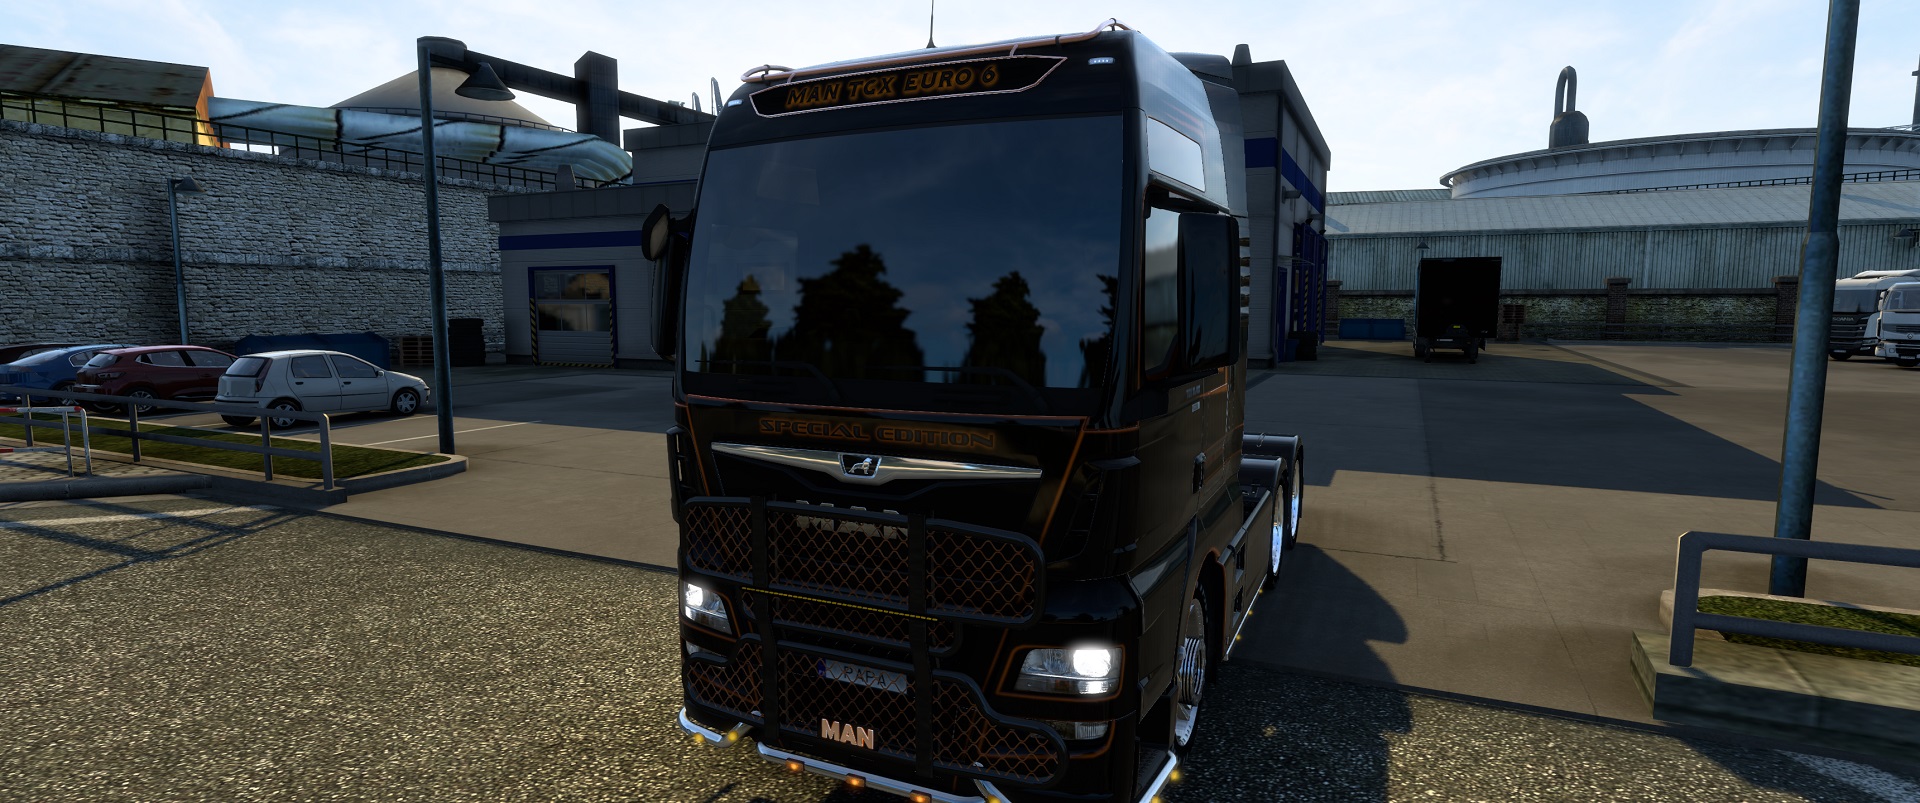
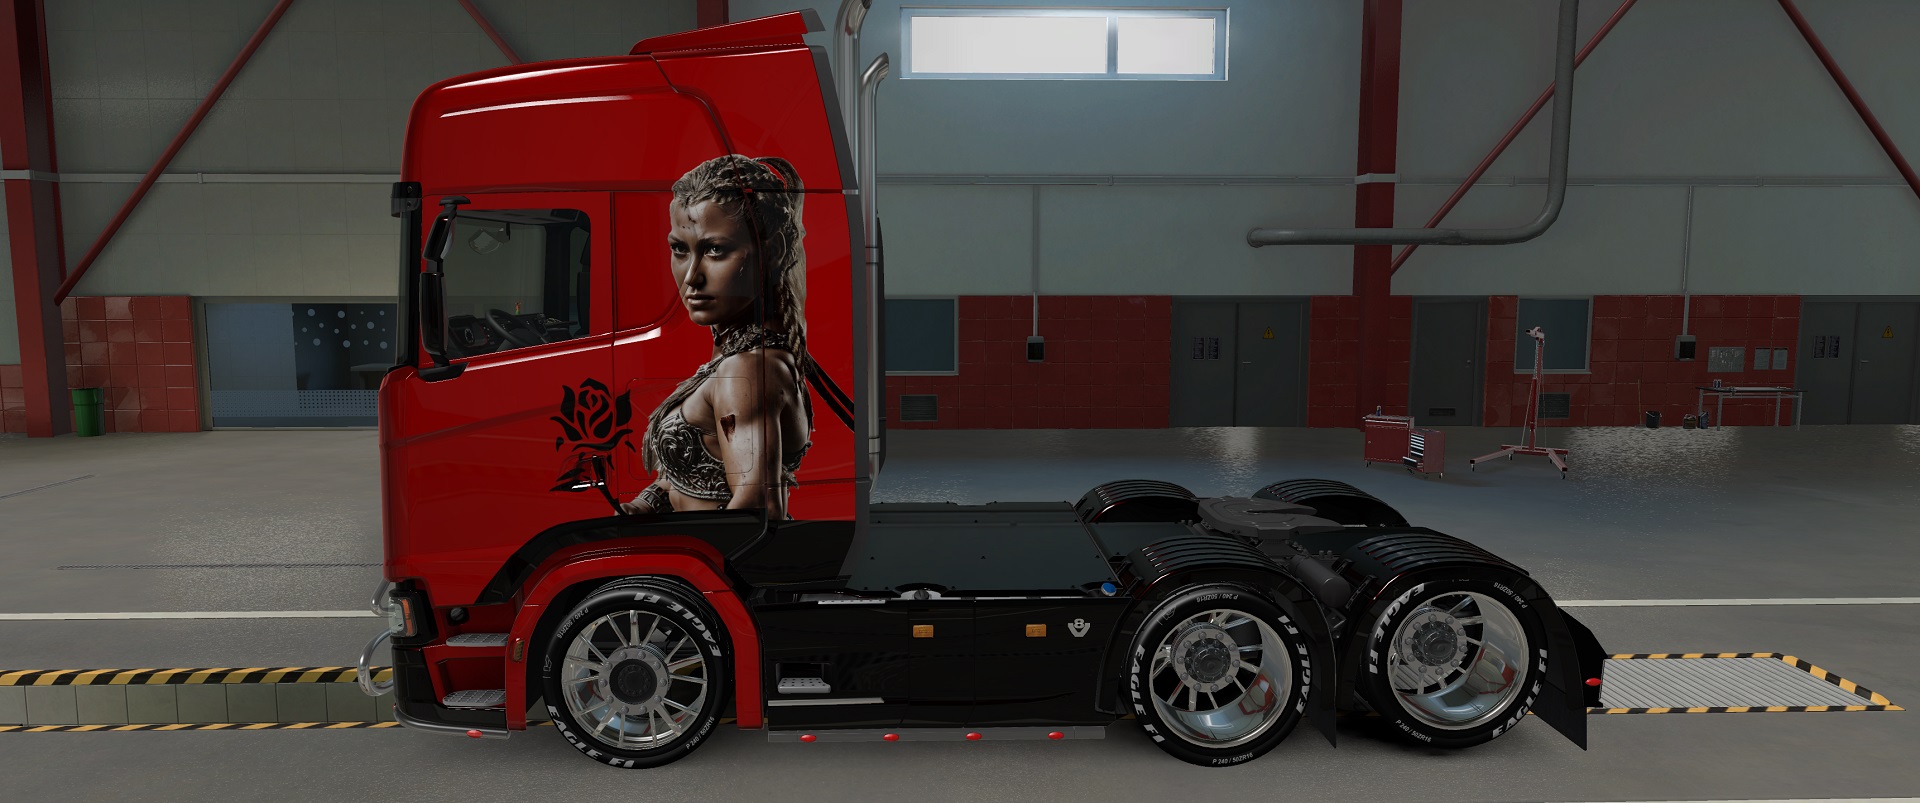
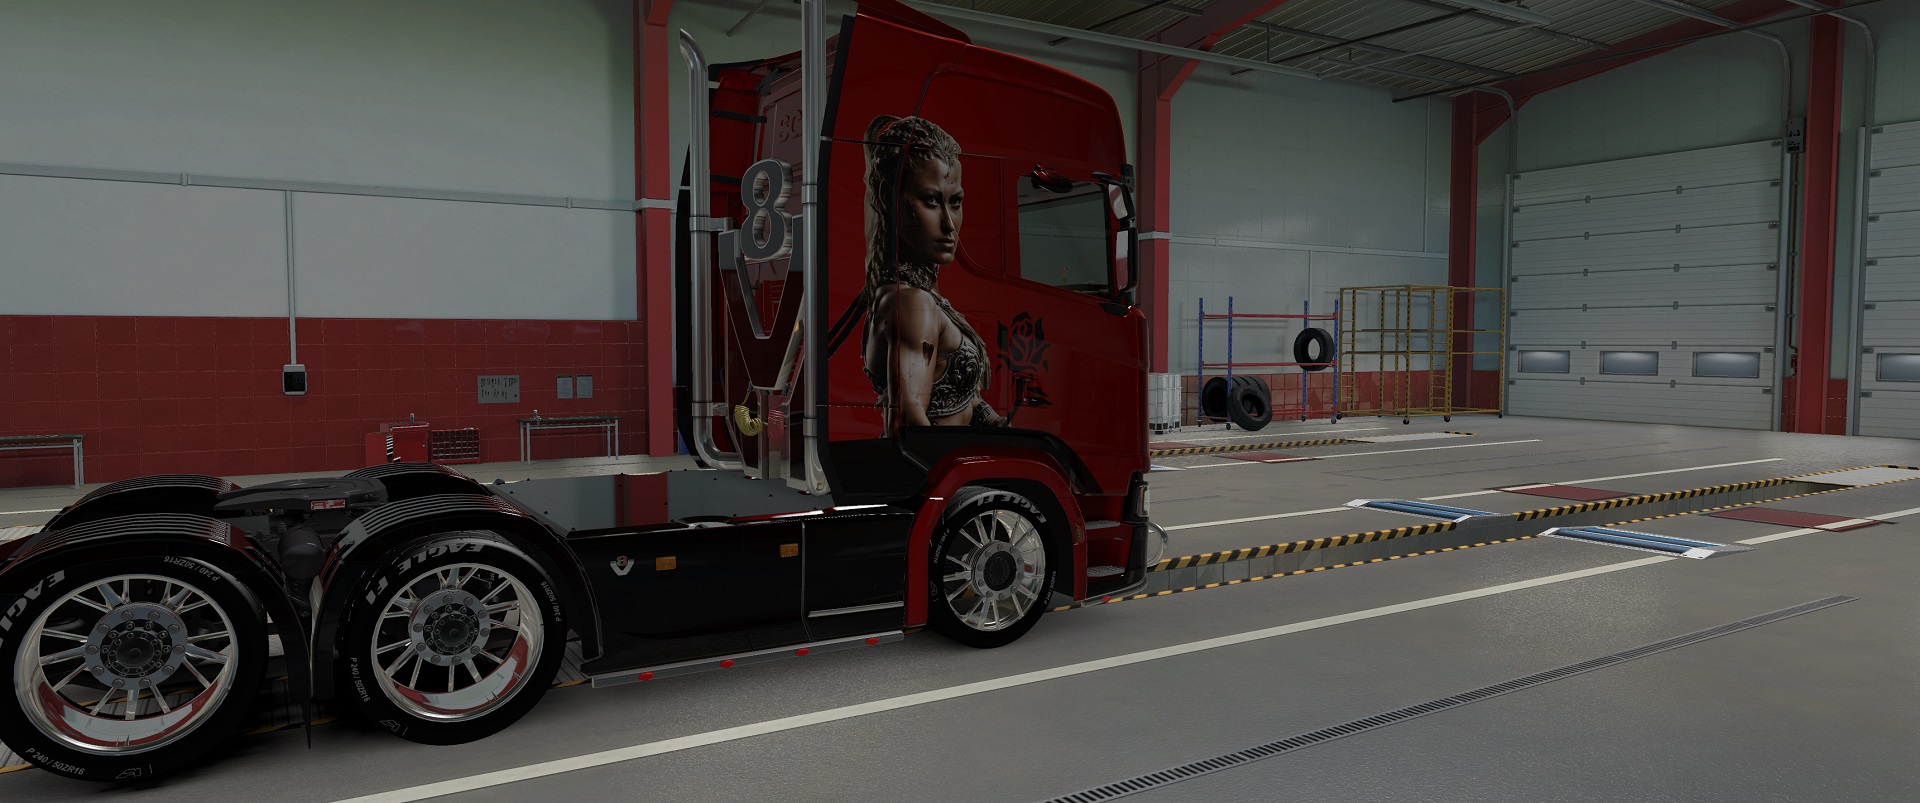
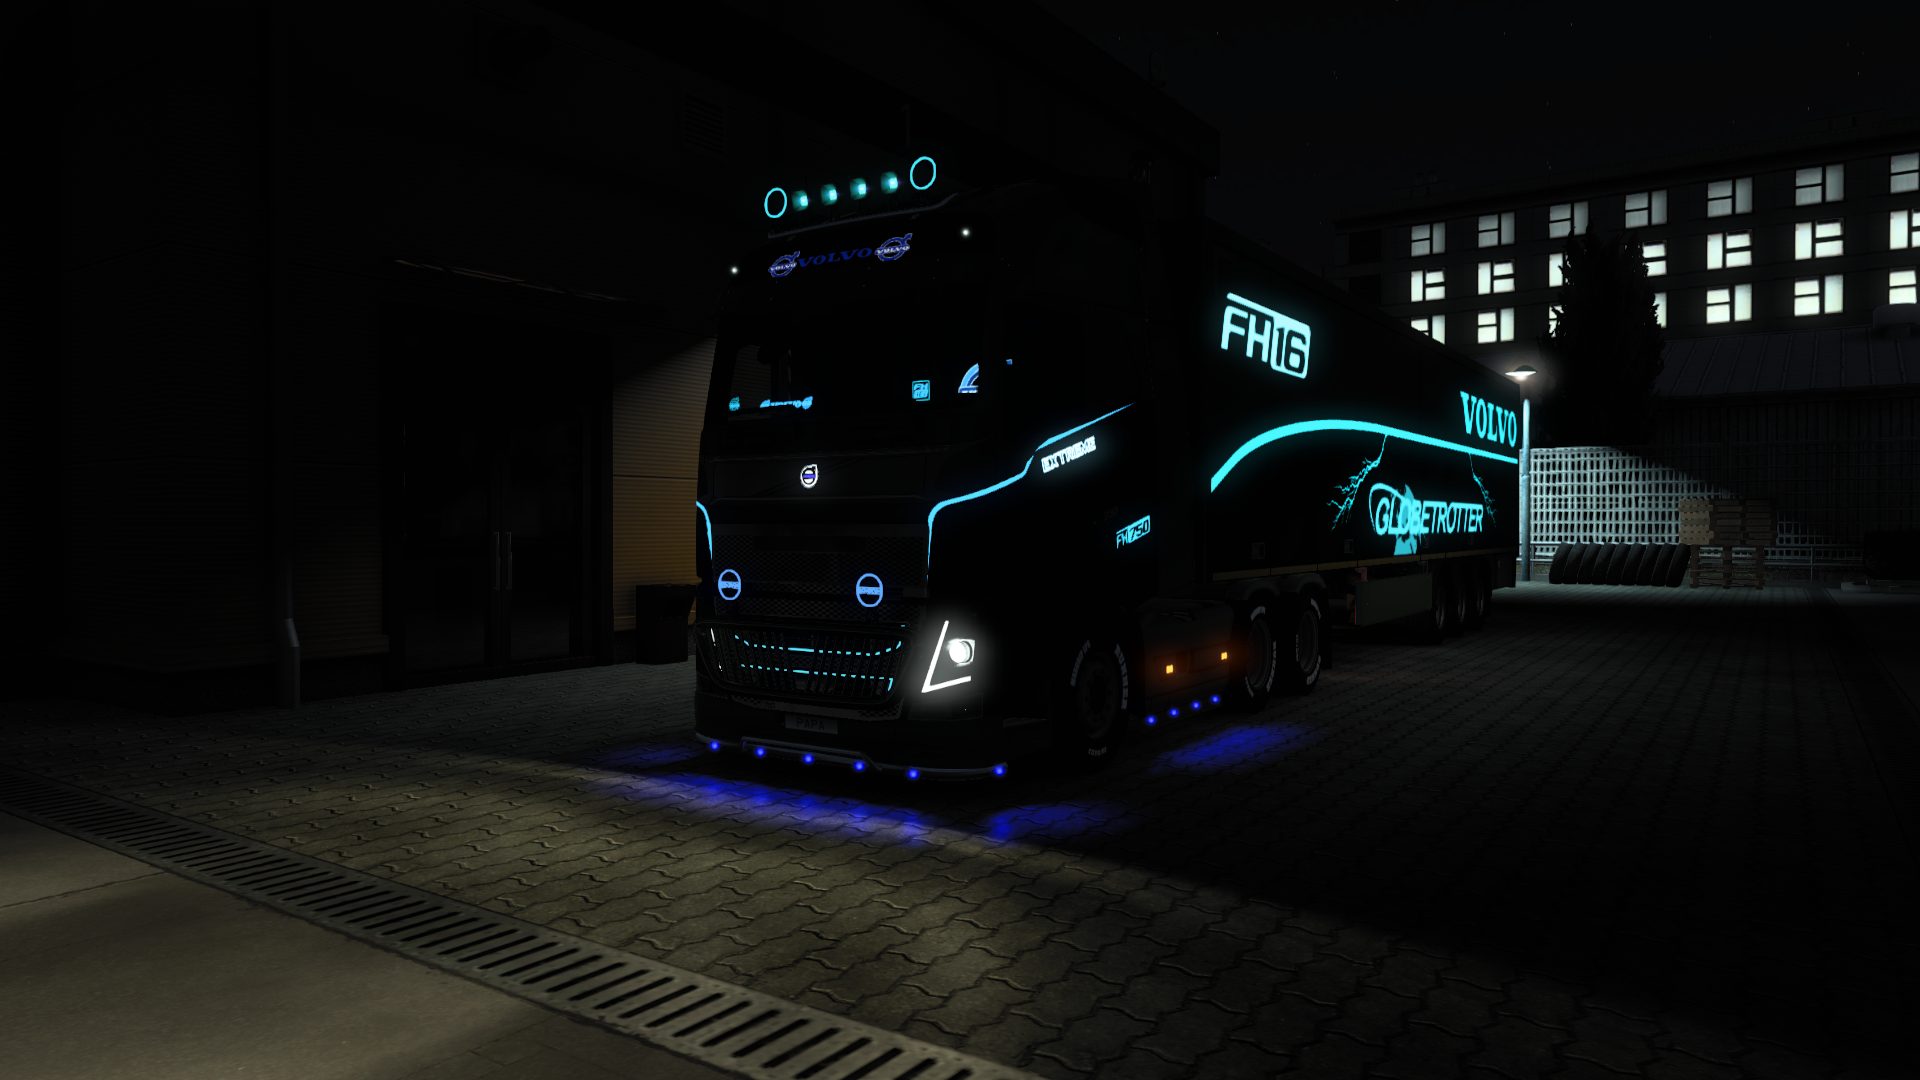
Led strips pack – ETS2 all trucks – tested on 1.46
Do not mount all LED strips on one truck because you will have lags when you turn them on!!!!!
————————————————————————————————
Subscribe to the channel! I don’t publish a lot of videos because it takes a long time to make a mod, so don’t worry, you won’t have 10 notifications a day 😉
My YT: https://www.youtube.com/channel/UCwtwj2tslavnhIrJahKqtVQ


Getting Started with Blender: A Guide to Installing and Using SCS Software Tool
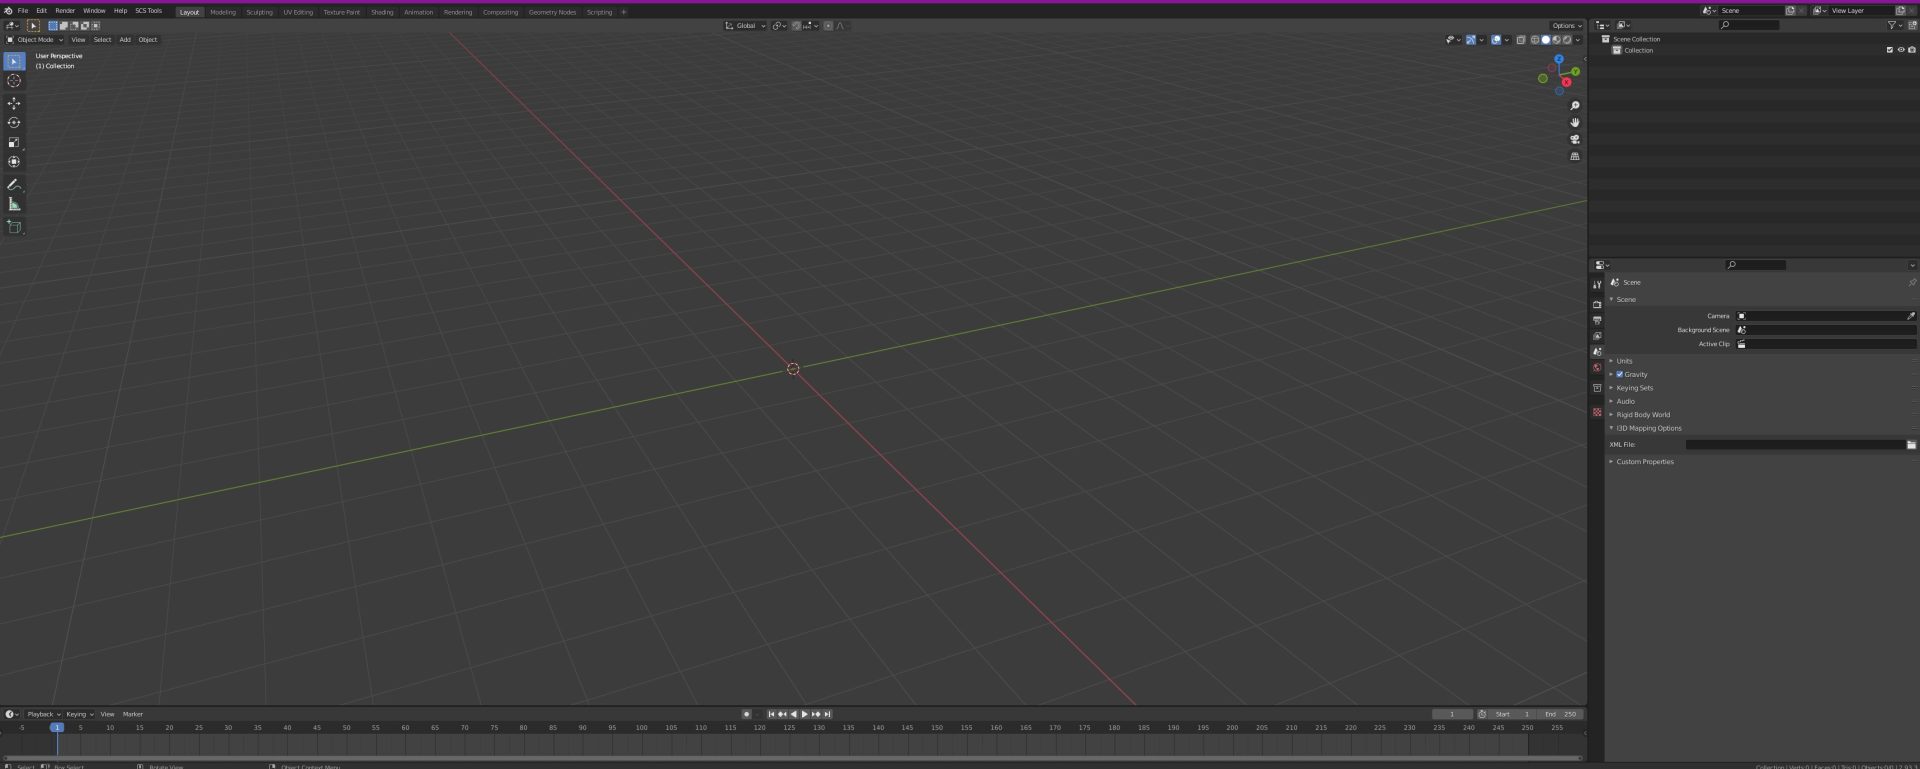
Blender is a powerful 3D modeling software that is widely used by designers, artists, and modders. It’s a great tool for creating custom assets for games like Euro Truck Simulator 2 (ETS2) and American Truck Simulator (ATS). If you’re new to Blender and want to start using it for your modding projects, this guide will help you get started.
Installing Blender
The first step in using Blender is to download and install the software. Blender is available for free from the official Blender website, and there are versions available for Windows, Mac, and Linux. You can download the latest version of Blender by visiting the official Blender website (https://www.blender.org/download/).
Once you’ve downloaded Blender, simply run the installer and follow the on-screen instructions. Blender is relatively easy to install, and you should be up and running in just a few minutes.
Getting to Know Blender
Blender is a complex software, and it can be overwhelming for beginners. However, there are many resources available online to help you get started with Blender. Some useful resources include:
- Blender Guru (https://www.blenderguru.com/): A popular website that offers free tutorials and resources for learning Blender.
- CG Cookie (https://cgcookie.com/): A website that offers both free and paid tutorials for learning Blender and other 3D modeling software.
- Blender Stack Exchange (https://blender.stackexchange.com/): A community-driven Q&A site where you can ask and answer questions related to Blender.
Installing SCS Software Tool in Blender
The SCS Software Tool is a plugin that allows you to import and export game assets for ETS2 and ATS directly in Blender. Installing the SCS Software Tool is relatively easy, and you can follow these steps to get started:
- Download the SCS Software Tool from the official SCS Software website (https://modding.scssoft.com/wiki/Documentation/Tools/SCS_Blender_Tools/Installation).
- Extract the contents of the downloaded file to a location on your computer.
- Open Blender and navigate to Edit > Preferences > Add-ons.
- Click the Install button and navigate to the extracted SCS Software Tool files.
- Select the scs_blender_tools.zip file and click the Install Add-on button.
- The SCS Software Tool should now be installed in Blender. You can access it by clicking on the SCS Tools tab in the Properties panel.
Conclusion
Blender is a powerful 3D modeling software that is widely used by modders and game designers. If you’re new to Blender, getting started can be a bit overwhelming. However, there are many resources available online to help you learn and master Blender. With the SCS Software Tool plugin, you can easily import and export game assets for ETS2 and ATS directly in Blender, making it a great tool for modding. By following the steps outlined in this guide, you can get started with Blender and start creating custom assets for your favorite games.
Here are some useful links for Blender and SCS Software Tool tutorials on YouTube:
Blender Tutorials:
- Blender Beginner Tutorial Series by Blender Guru: https://www.youtube.com/watch?v=TPrnSACiTJ4&list=PLjEaoINr3zgHs8uzT3yqe4iHGfkCmMJ0P
- Donut Tutorial by Blender Guru: https://www.youtube.com/watch?v=JYj6e-72RDs
- Blender 2.8 Tutorial – Introduction to 3D Modeling by CG Geek: https://www.youtube.com/watch?v=TPrnSACiTJ4
- Blender 2.8 Tutorial – Create a Realistic Nature Scene by CG Geek: https://www.youtube.com/watch?v=-Yi0YYfIaDw
- Blender 2.8 Tutorial – Beginner’s Guide to Sculpting by Blender Guru: https://www.youtube.com/watch?v=8gSyEpt4-60
SCS Software Tool Tutorials:
- SCS Blender Tools Tutorial by Squirrel: https://www.youtube.com/watch?v=MG1xQB55Jho
- SCS Blender Tools Tutorial by Harven: https://www.youtube.com/watch?v=ELA1DwI-XvA
- How to Create Custom Trailers for ATS/ETS2 with Blender by DeezNutties123: https://www.youtube.com/watch?v=mlCqt5V7p68
- How to Export and Convert Custom Models for ETS2/ATS by Overfloater: https://www.youtube.com/watch?v=wxbjKJmnSj0
- Creating Custom Trucks for ETS2/ATS with Blender and SCS Tools by DeezNutties123: https://www.youtube.com/watch?v=7ScB8QhSGcA
These resources should provide you with a solid foundation to start working with Blender and SCS Software Tool. Happy learning and modding!
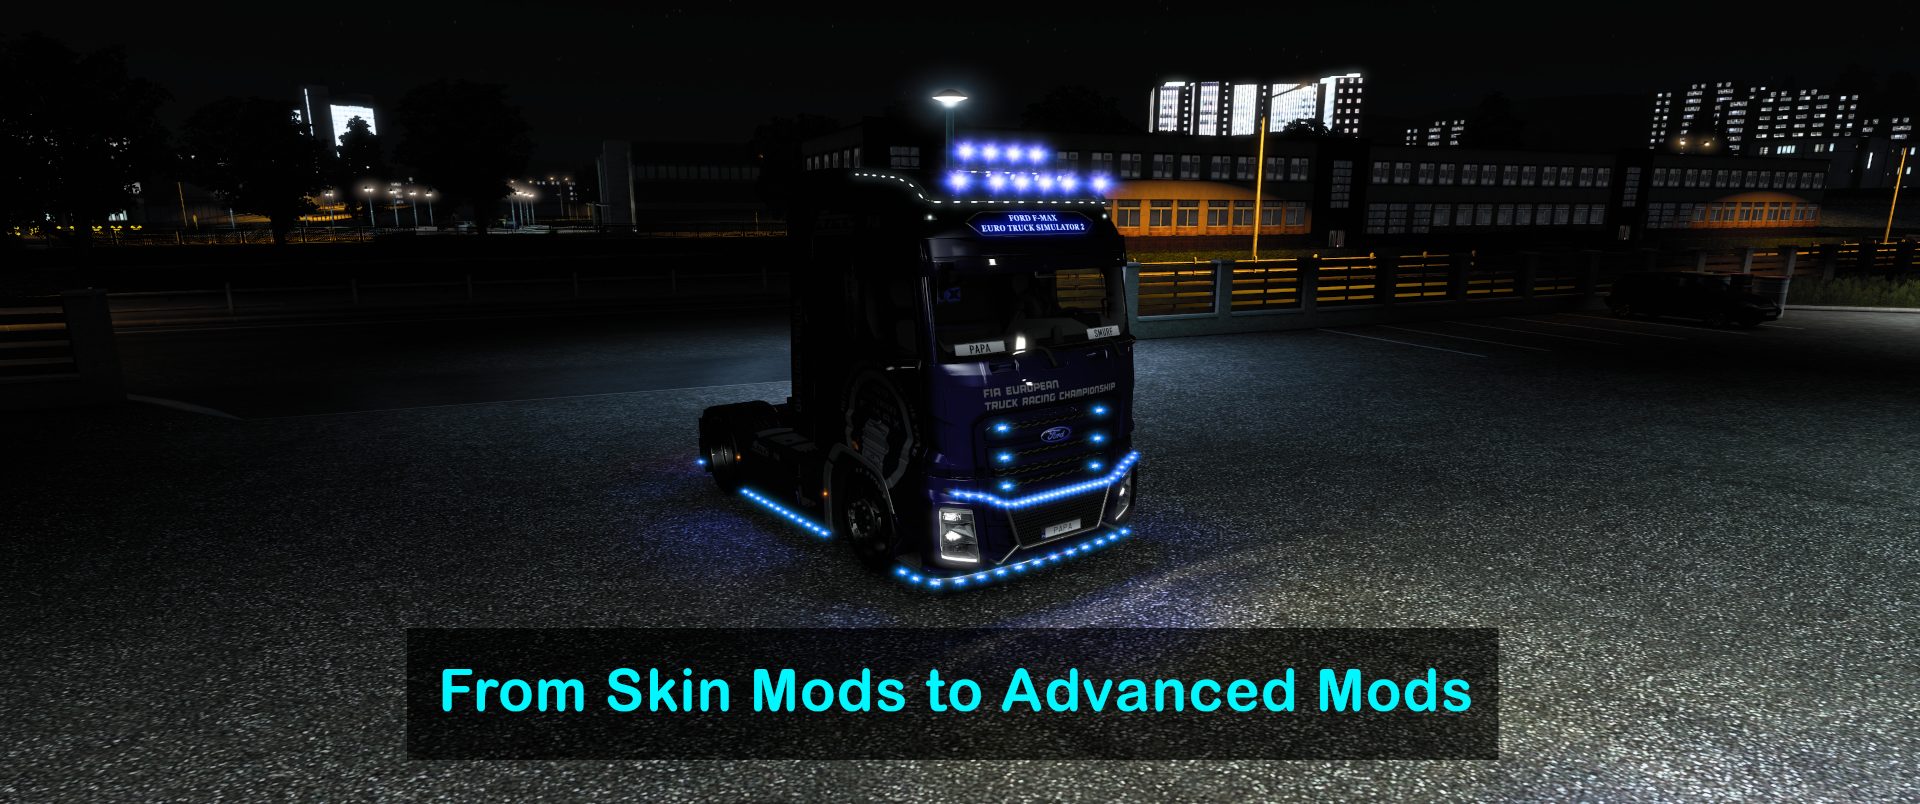
From Skin Mods to Advanced Mods in Blender: My Modding Journey with ETS2
I started my modding journey with Euro Truck Simulator 2 (ETS2) by creating skin mods for trucks and trailers. It was a great way to get started, as skin mods are relatively easy to create and don’t require advanced technical skills. After three years of creating skin mods, I’m now able to create more advanced mods using Blender, a 3D modeling software. In this post, I’ll share my modding journey and how I progressed from skin mods to more advanced mods using Blender.
Starting with Skin Mods
When I first started modding for ETS2, I was drawn to skin mods. Creating a skin mod involves modifying a game’s textures to create a new look for a truck or trailer. It was a great way to start modding, as skin mods are easy to create and don’t require advanced technical skills. For my first skins i didn’t use Mods Studio 2 which allowed me to learn and understand dependencies between def files.
After creating a few skin mods, I began to experiment with more complex designs. I started using more advanced techniques like using multiple layers and creating custom logos for my skin mods. As I got better at creating skin mods, I began to receive positive feedback from other players in the modding community. It was a great feeling to see other players using and enjoying my mods in the game.
Moving on to Advanced Mods with Blender
After creating skin mods for a few years, I began to feel limited by the scope of what I could create. I wanted to create more advanced mods that involved 3D modeling and custom animations. That’s when I started learning how to use Blender, a 3D modeling software. Blender is a powerful tool that allows you to create complex 3D models, animations, and game assets.
At first, learning Blender was a daunting task. It’s a complex software with a steep learning curve. But I was determined to learn and started with the basics. I watched tutorials, read articles, and experimented with simple models. It took time, but eventually, I became more confident with the software and started to create more complex models.
One of the first mods I created with Blender was a custom trailer. It was a challenging project, but I was able to use my experience creating skin mods to design the trailer’s textures. I also learned how to create custom 3D models and animations for the trailer. Now, after three years of modding, I’m able to create even more advanced mods using Blender. I’ve created custom lights, parts for trucks and trailers, and even map mods for Farming Simulator 19. It’s been a rewarding journey, and I’ve learned a lot along the way.
Conclusion
My modding journey with ETS2 started with skin mods, which was a great way to get started with modding. After creating skin mods for a few months, I began to feel limited by the scope of what I could create and started to learn Blender. It was a challenging journey, but it allowed me to create more advanced mods like custom parts for trucks and trailers, and buildings and mods for FS19. If you’re interested in modding for ETS2, I encourage you to start with skin mods and then progress to more advanced mods as your skills improve. It’s a rewarding hobby that allows you to create something unique and share it with other players in the modding community.

Why upload your skins to papasmurfmods.com
Euro Truck Simulator 2 is a game that has become well-known for its customization options, with players able to modify everything from trucks to trailers to maps. One of the most popular forms of customization is skins, which allow players to change the appearance of their trucks. If you’re an author of ETS2 skins, here are some reasons why you should consider uploading your work to papasmurfmods.com.
Wide Audience
papasmurfmods.com is a well-established website that has become a go-to destination for many ETS2 players looking for mods. By uploading your skins to this website, you’re able to reach a wider audience than if you were just to post them on your own blog or social media pages.
Easy to Upload
Uploading your skins to papasmurfmods.com is easy and straightforward, with a user-friendly interface that makes the process a breeze. All you need to do is upload your skin files, and provide a brief description of your work.
Regular Updates
papasmurfmods.com is updated regularly, with new skins being added all the time. By uploading your skins to this website, you’re able to keep your work fresh and up-to-date, ensuring that it remains relevant to the game’s community.
In conclusion, if you’re an author of ETS2 skins, uploading your work to papasmurfmods.com is definitely worth considering. With its wide audience, easy-to-use interface, regular updates, helpful community, and greater exposure, it’s the perfect platform to showcase your work and connect with the game’s community.