How to make a skin for trailer with mods studio 2? Full step-by-step guide/tutorial. PART 5 – Exporting the skin and short explanation.
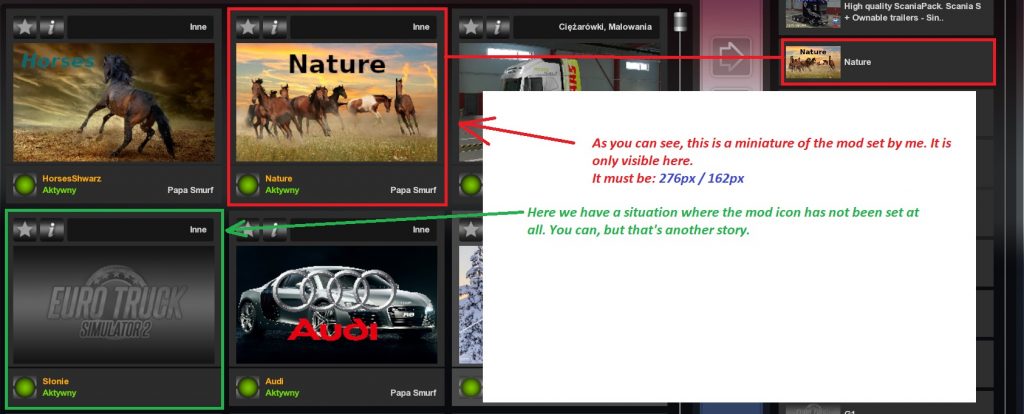
To export a mod in older versions of mods studio 2 you need to set the mod icon. The default mod icon will be set automatically in the new version. What is this? This is the image you see in the mod manager. As pictured above. A thumbnail with where we can show a preview of the skin, etc.
To prepare such an icon, you need to create an image with dimensions of 276px / 162px, put on it whatever you want to be there and save it as JPG. You can also use the default icon. It doesn’t change anything. However, if you want your skin to look more professionally, it’s worth to make this icon by yourself.
Whatever you decide, it’s time to go to the last field, which is optional. It’s up to you. In this field you can add more information about your mod. You can write whatever you want there. By using prefixes in square brackets you can make the text colored. So, for example, you can write [red] Visit my website: www.papasmurfmods.com
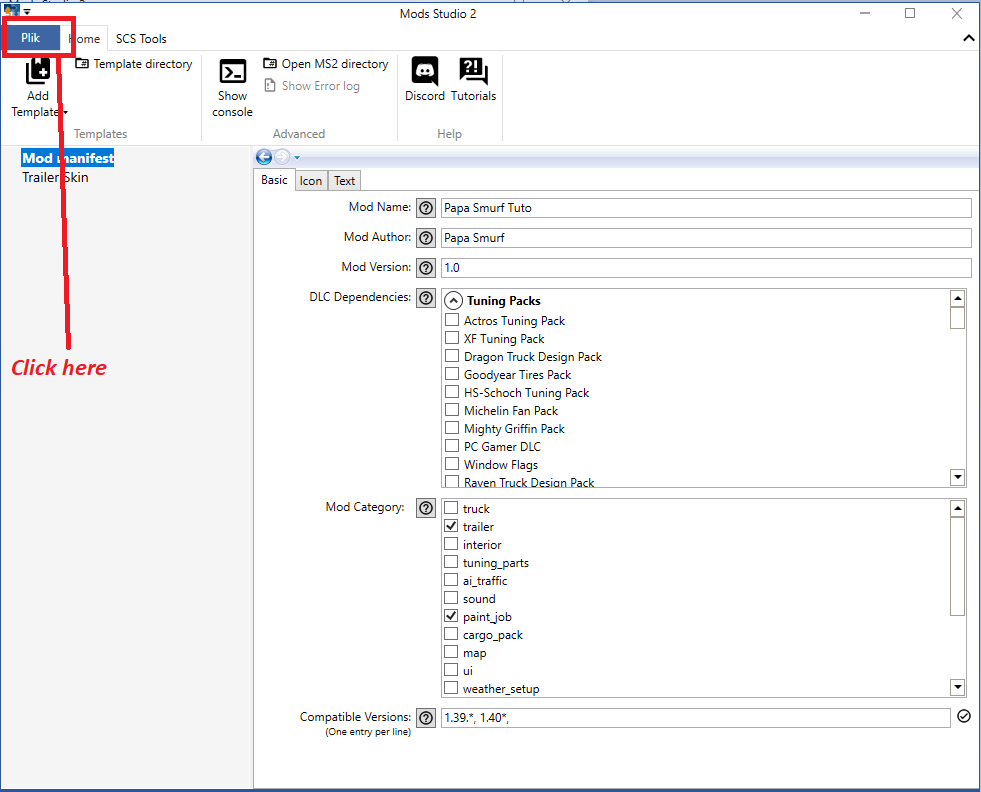
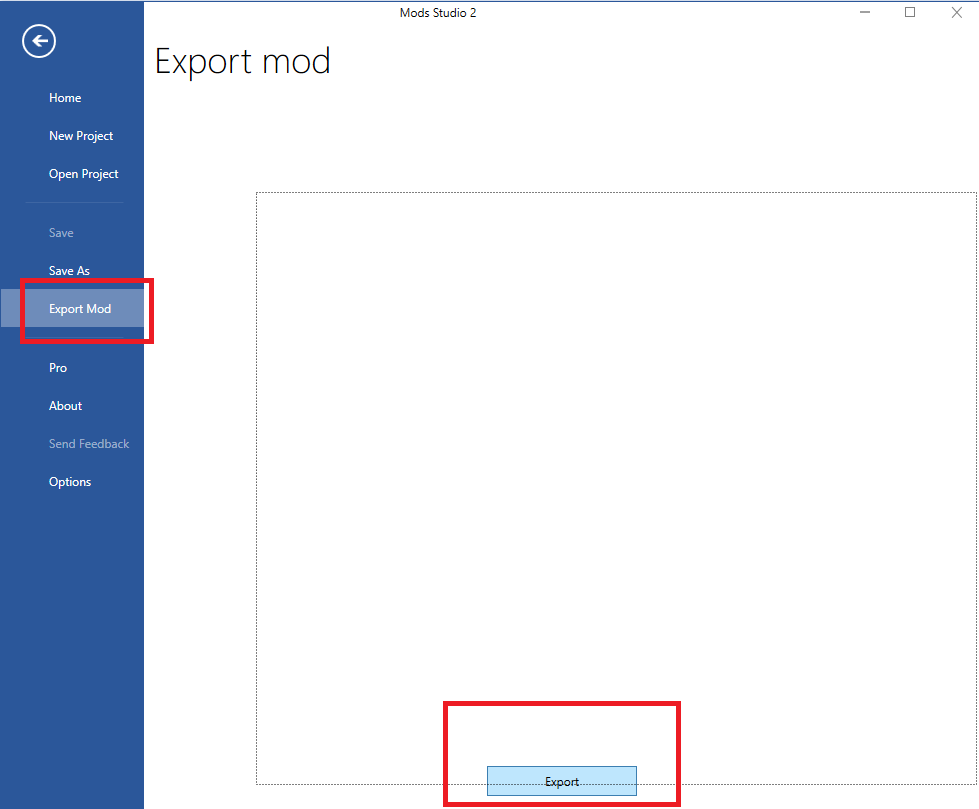
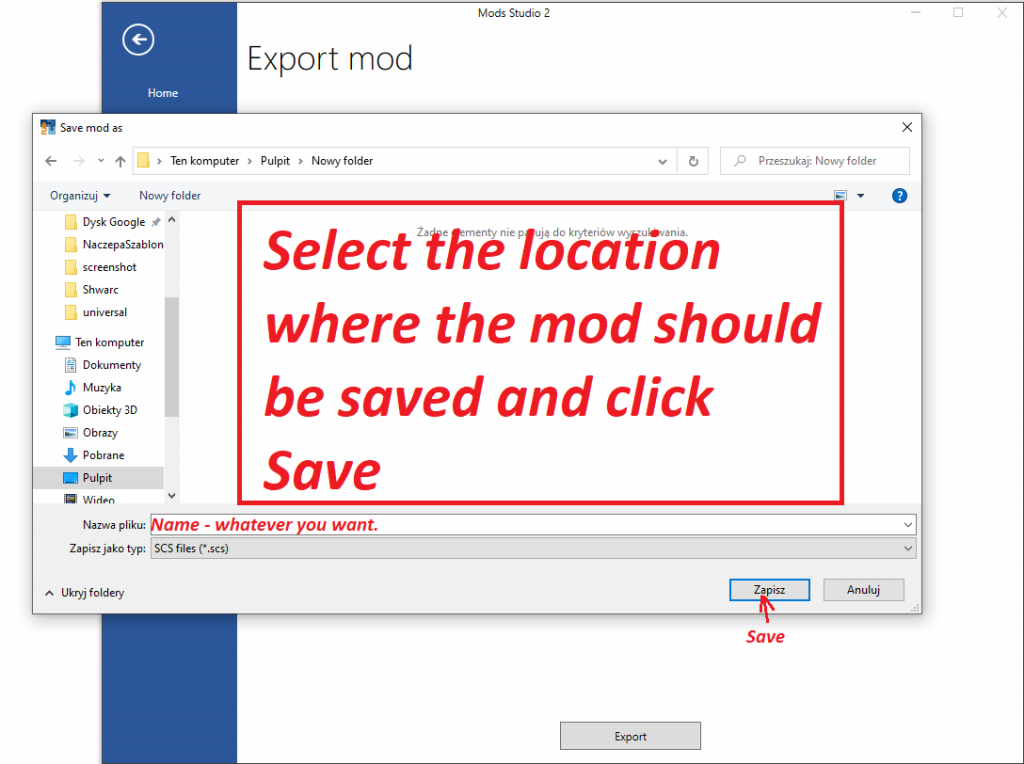
Once done, click on the file in the top left corner and select Export Mod and at the bottom, click Export.
That’s it. Now copy and paste the received scs file into the mod folder in the game, activate the mod and check if the skin works.
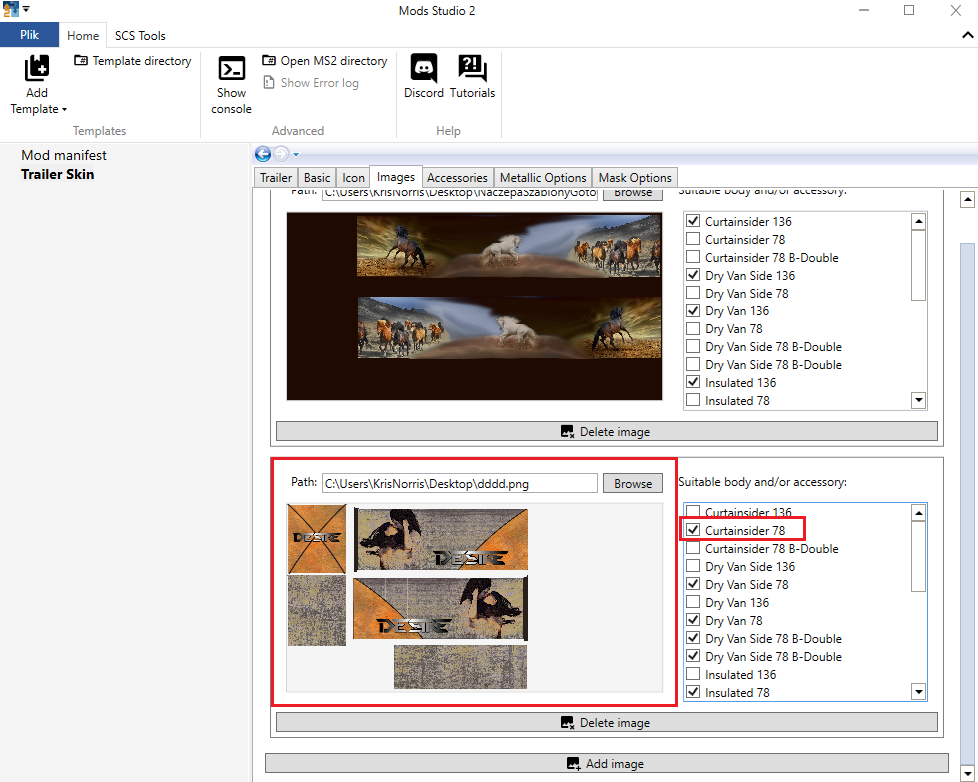
If you want the skin to be also used on short trailers, you have to make a smaller template mentioned at the beginning and add it in the mods studio as a second picture. Then you select next to all fields that end the name with 78. See the picture below. There are 25 fields for a long and a short trailer in total. I always count them to make sure that I did not miss any. So 9 for long and 16 for short.
